Clocking in and out, fixing a missed punch, and the three org-wide rules — geofencing, breaks, and split shifts — that shape every timesheet.
Role ladderCaregiverDSP / Home SupervisorManagerDirectorAdmin
Using this guide
Start with Who and Where, then follow the numbered steps. On desktop, Home, Clients, Timesheet and other destinations may appear in the left sidebar instead of a bottom tab. The Admin menu groups additional tools.
Available actions depend on your role, permissions, enabled programs and organization settings. If a tool is missing, ask your administrator to check access. Expand a Settings Hub section to reveal its controls, use that section’s Save button, and wait for confirmation.
Screenshots show the demo web app. Some show a starting screen or an empty list rather than a completed task; read the caption. Click an image to enlarge it. Use Ctrl+F (Command+F on Mac) to find a task, label or keyword.
Clock in and out of a shift
WhoAll staffWhereHome tab — shift timer card
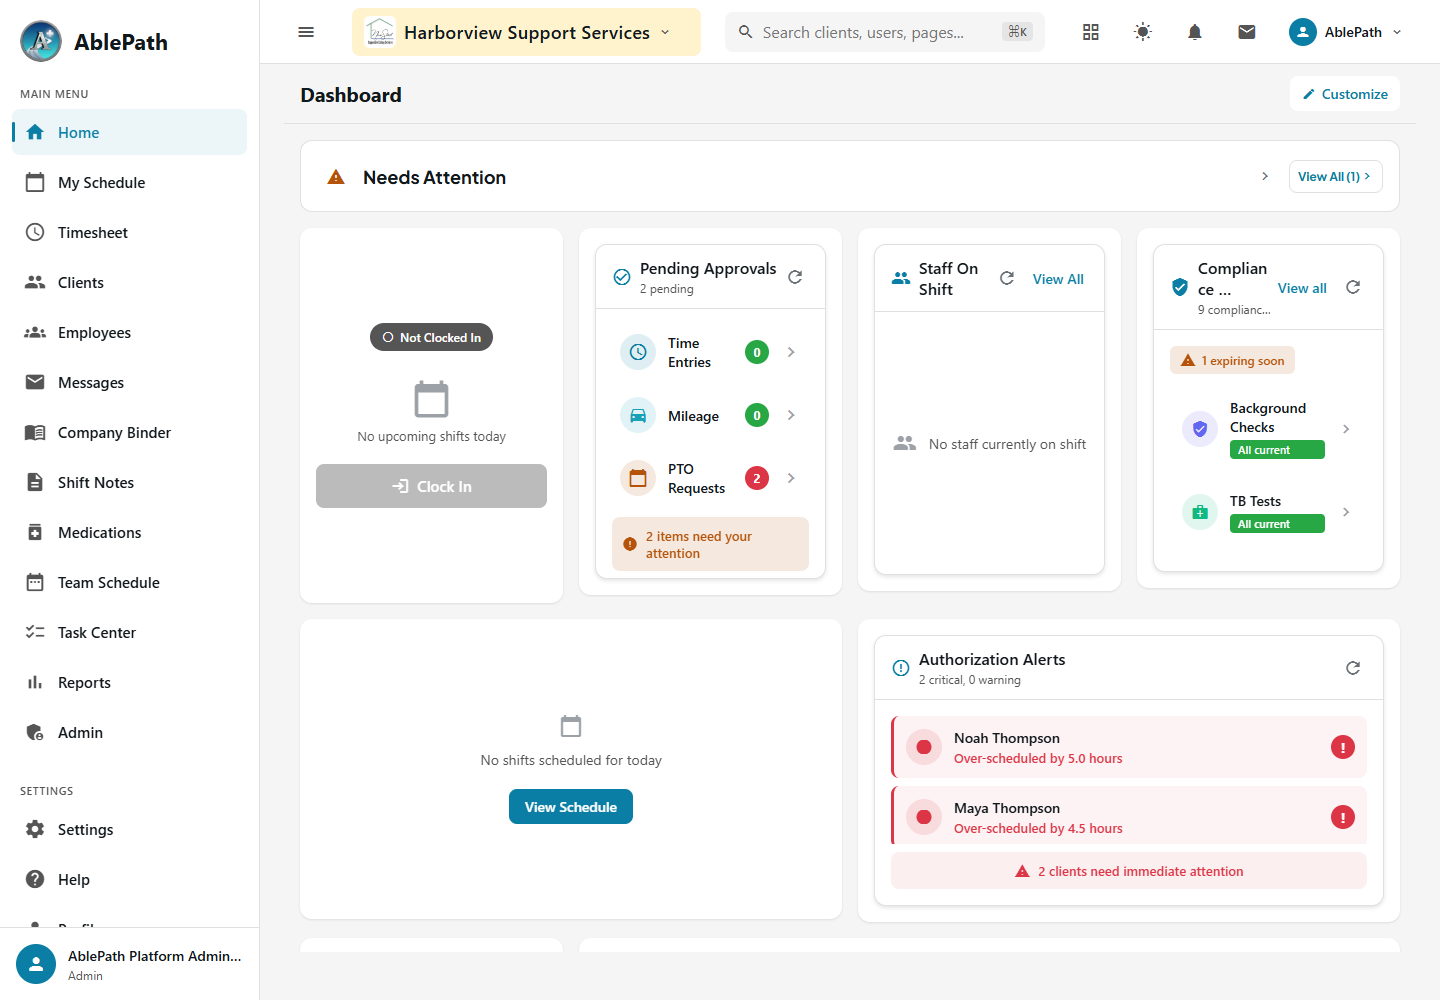
Admin Home starting screen; an active shift timer and clock-out flow are not shown. Click to enlarge.
On the Home tab, tap the clock-in control. The app captures your location, and — if the organization requires it — checks that you're inside the client's approved geofence.
Clocking in early or late against the scheduled shift may prompt you for a short reason.
Once in, a live ring timer tracks your elapsed time and switches to an amber "Overtime" state once you pass the scheduled duration.
To clock out, tap the control again. You can log break minutes, start/end mileage, and hand off to a next shift if one follows immediately.
If medications were due during the shift and haven't been logged, you'll see a warning before clock-out completes.
GotchaOffline punches can be queued locally and synced when connectivity returns. Check that the punch has synced before treating the timesheet as final. Required shift, location, photo or documentation checks may still prevent completion. An offline clock-out timestamp more than 5 minutes ahead of the server’s receipt time is rejected; this checks the timestamp, not how long the punch waited offline. If it is rejected, check the device date/time and request a correction.
Submit a timesheet or request a correction
WhoAll staffWhereTimesheet tab
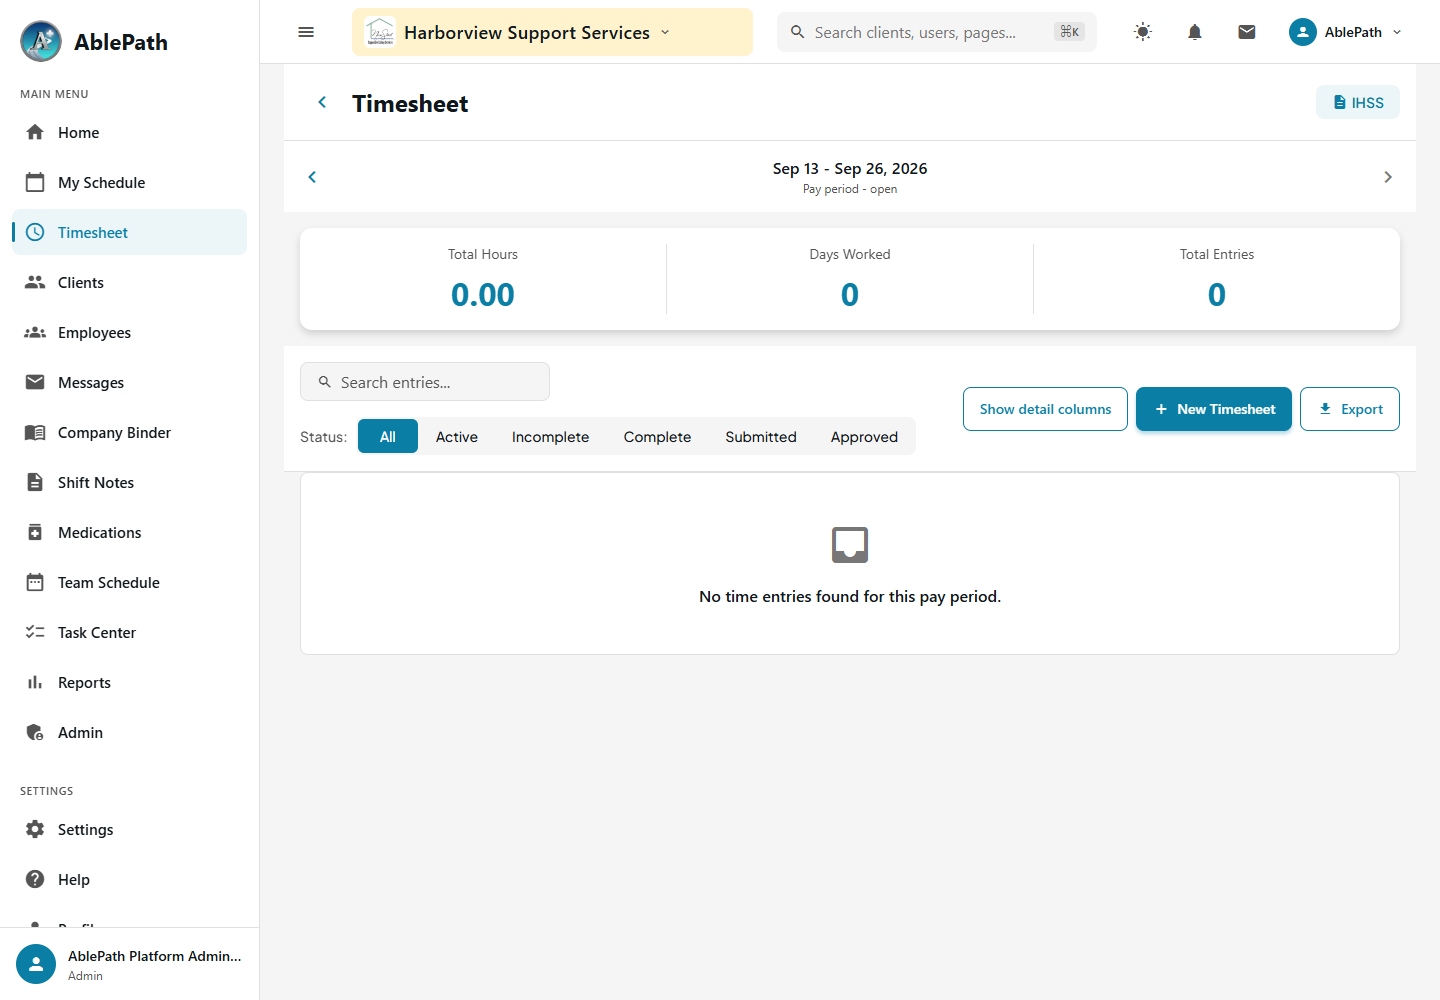
Empty Timesheet starting screen; the Request Adjustment form is not shown. Click to enlarge.
Open the Timesheet tab and select a pay period.
Review your entries; tap one to see detail, or tap Request Adjustment to correct it.
Pick an adjustment type — Time Correction, Missed Clock In, Missed Clock Out, Break Adjustment, or Other — enter the correct time and a reason.
Submit; it routes to your supervisor for approval.
When the period is ready, use Submit Timesheet to send it for approval as a whole.
GotchaIf you arrive here from a Home-tab alert about an incomplete punch, the correct adjustment form opens automatically with a sensible default clock-out already filled in — you're not starting from a blank form.
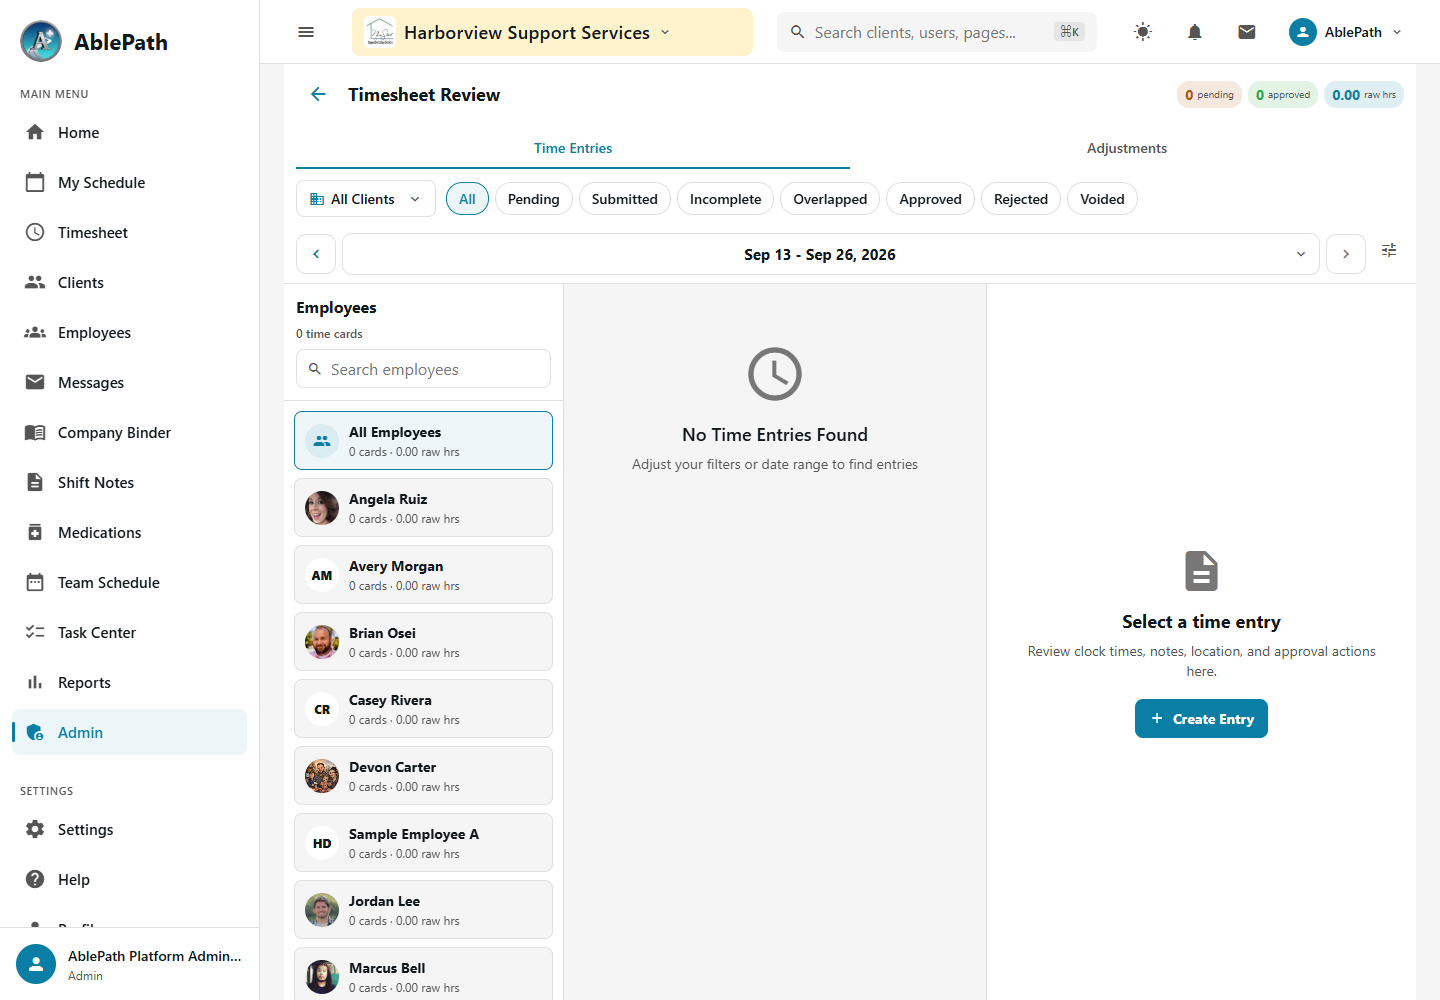
Empty Timesheet Review starting screen; entry details and approval actions are not shown. Click to enlarge.
Switch between the Timesheets and Adjustments tabs.
In Timesheets, filter by status (All / Pending / Incomplete / Overlapped / Approved / Rejected / Voided) or by date range / pay period.
Tap an entry to open it, then Approve or Reject.
In Adjustments, review staff-submitted correction requests the same way.
GotchaAn entry can be "Overlapped" (conflicts with another entry) and still technically pending at the same time — the overlap badge is what to watch for, since a plain "pending" filter alone can bury it.
See who's currently clocked in
WhoManager and aboveWhereAdmin tab → Employees & HR → Active Clock-Ins
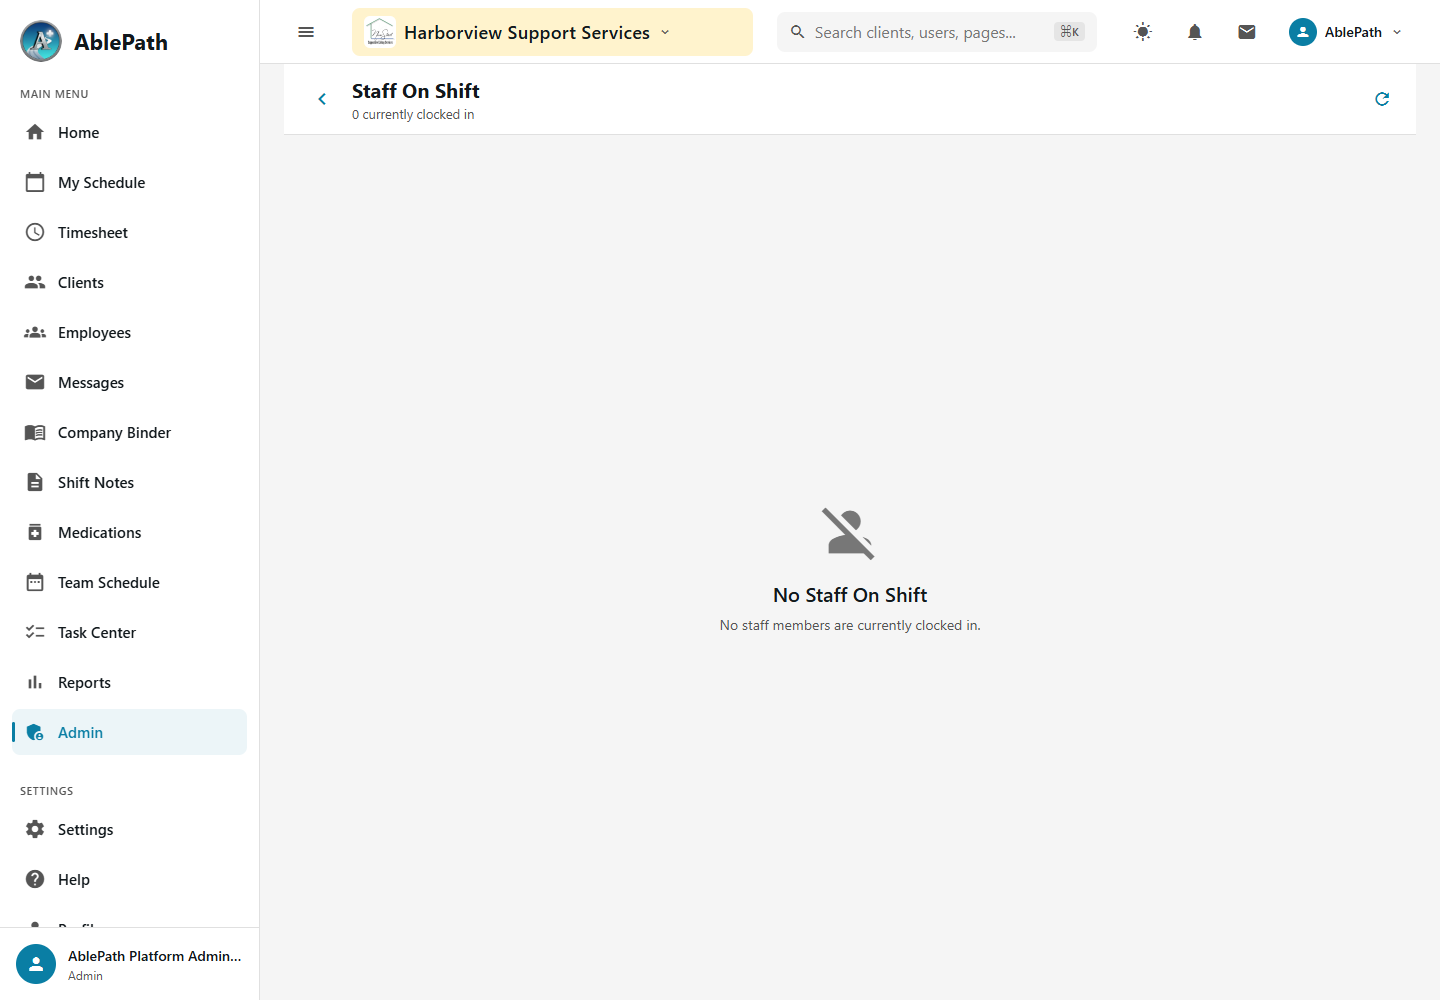
Open Active Staff to see everyone with a shift currently running — name, client, service type, clock-in time and location, and running duration.
Tap a duration to jump straight into that timecard.
GotchaA shift that's active but already flagged as needing an adjustment won't show up here — check the Timesheets tab for those instead.
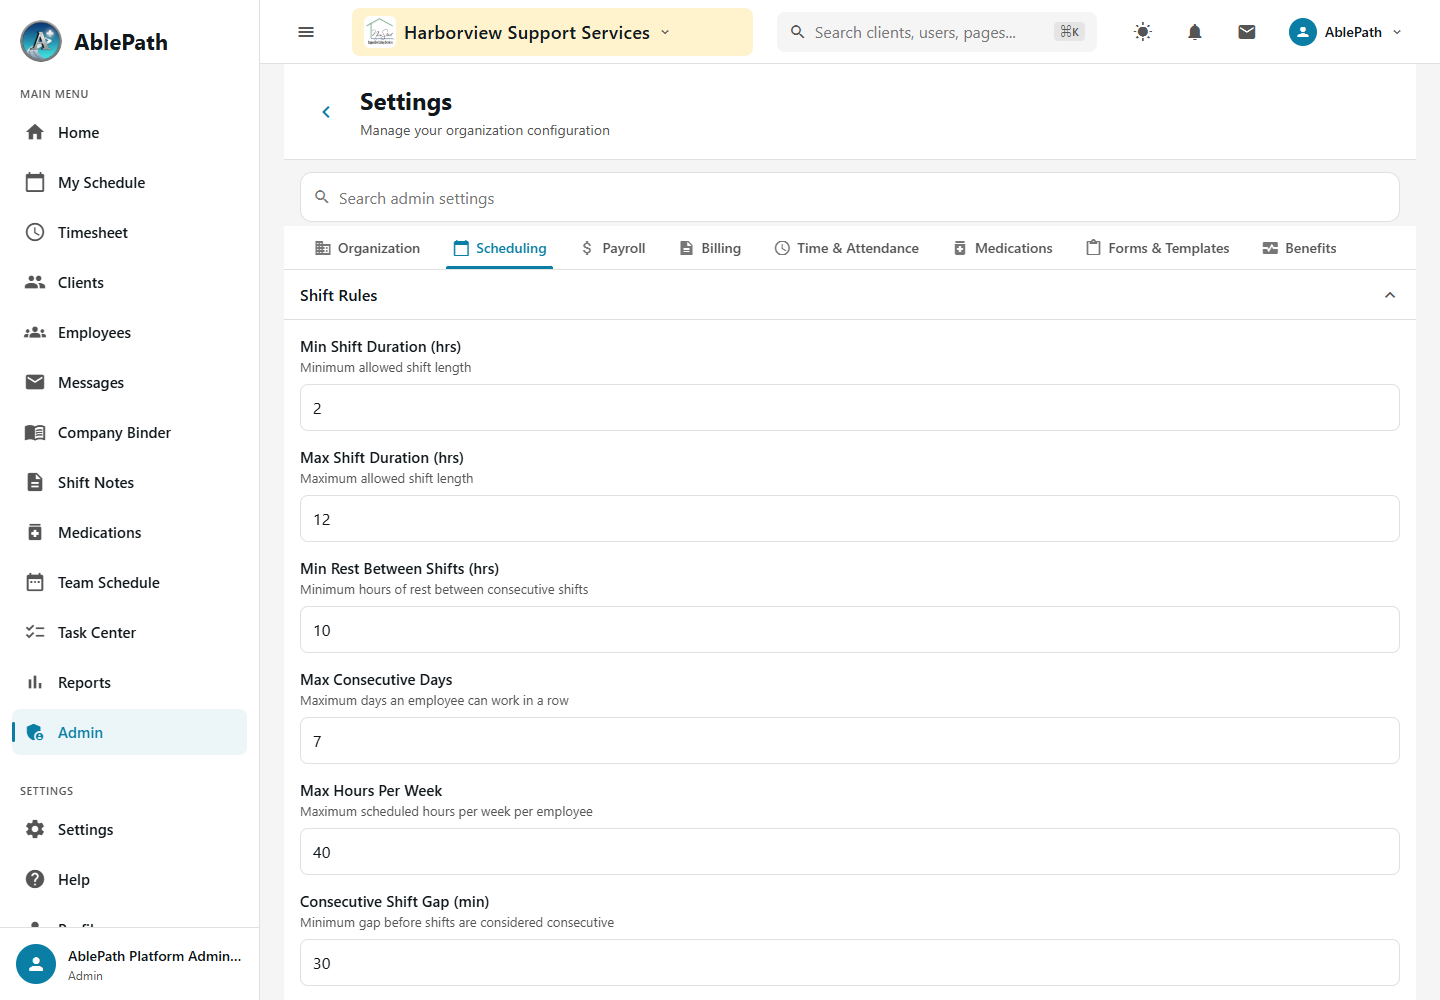
Scheduling settings starting screen; expand Geofencing to find the controls described below. Click to enlarge.
Toggle Enable Geofencing to check staff location against approved addresses at clock-in.
Set the Default Radius in meters (200m by default; can be overridden per address).
Choose an Enforcement Level: None, Warn (allows clock-in with a warning), or Block (prevents it entirely).
Save.
GotchaAn older standalone version of this screen still exists and works identically for anyone with it bookmarked — but the Settings Hub tab above is the current, findable path.
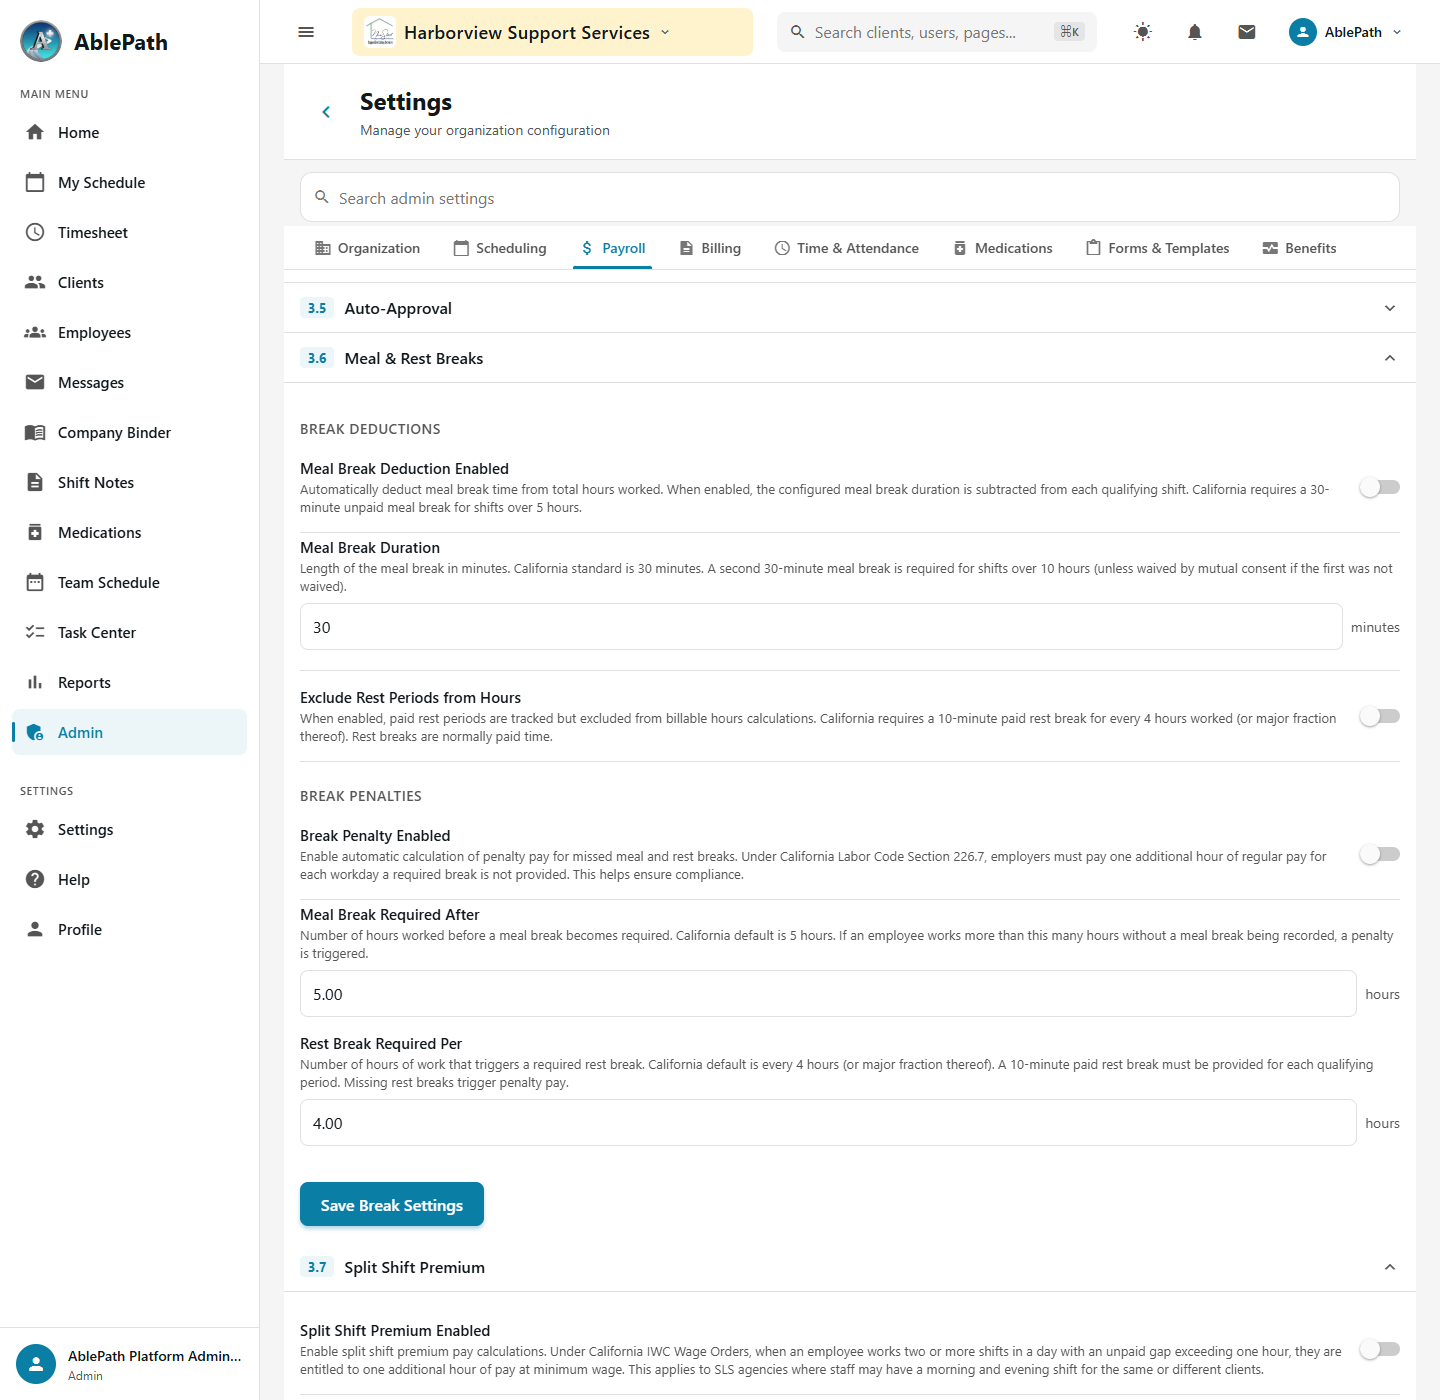
Expanded Meal & Rest Breaks controls in the demo. Click to enlarge.
Expand Meal & Rest Breaks, then use Break Penalty Enabled to turn on the app’s missed-break pay calculation. Confirm the configured rules with your payroll administrator.
Set Meal Break Required After (default 5 hours) and Rest Break Required Per (default 4 hours).
Select Save Break Settings and wait for the success message.
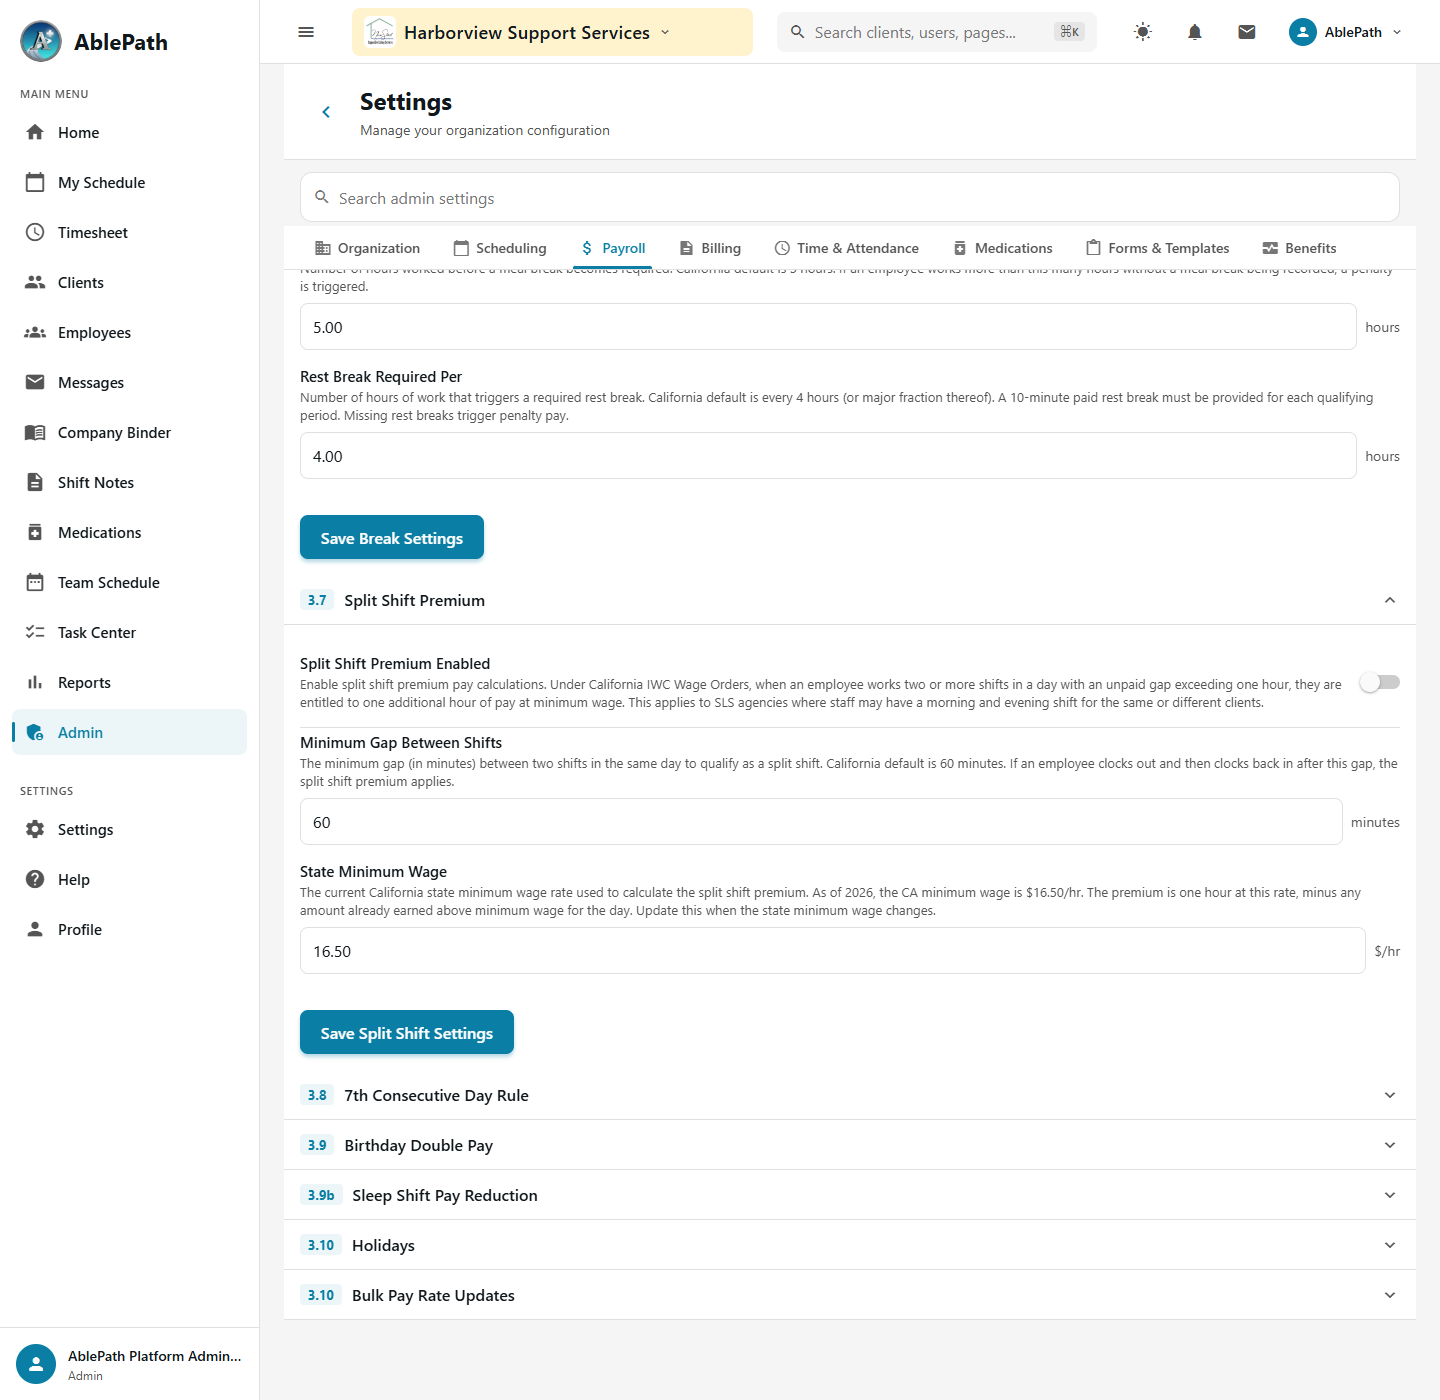
Expanded Split Shift Premium controls. The demo’s $16.50 value and help text are outdated; follow the current-rate guidance below. Click to enlarge.
Expand Split Shift Premium, then toggle Split Shift Premium Enabled.
Set the minimum gap between shifts (default 60 minutes) that counts as a split shift.
Set the State Minimum Wage used to calculate the premium. The demo’s $16.50 is an older configured value. California’s statewide minimum is $16.90 from January 1, 2026; check the applicable requirements before saving. See the California DIR minimum-wage guidance.
Select Save Split Shift Settings and wait for the success message.
Configure the EVV provider and Sandata credentials
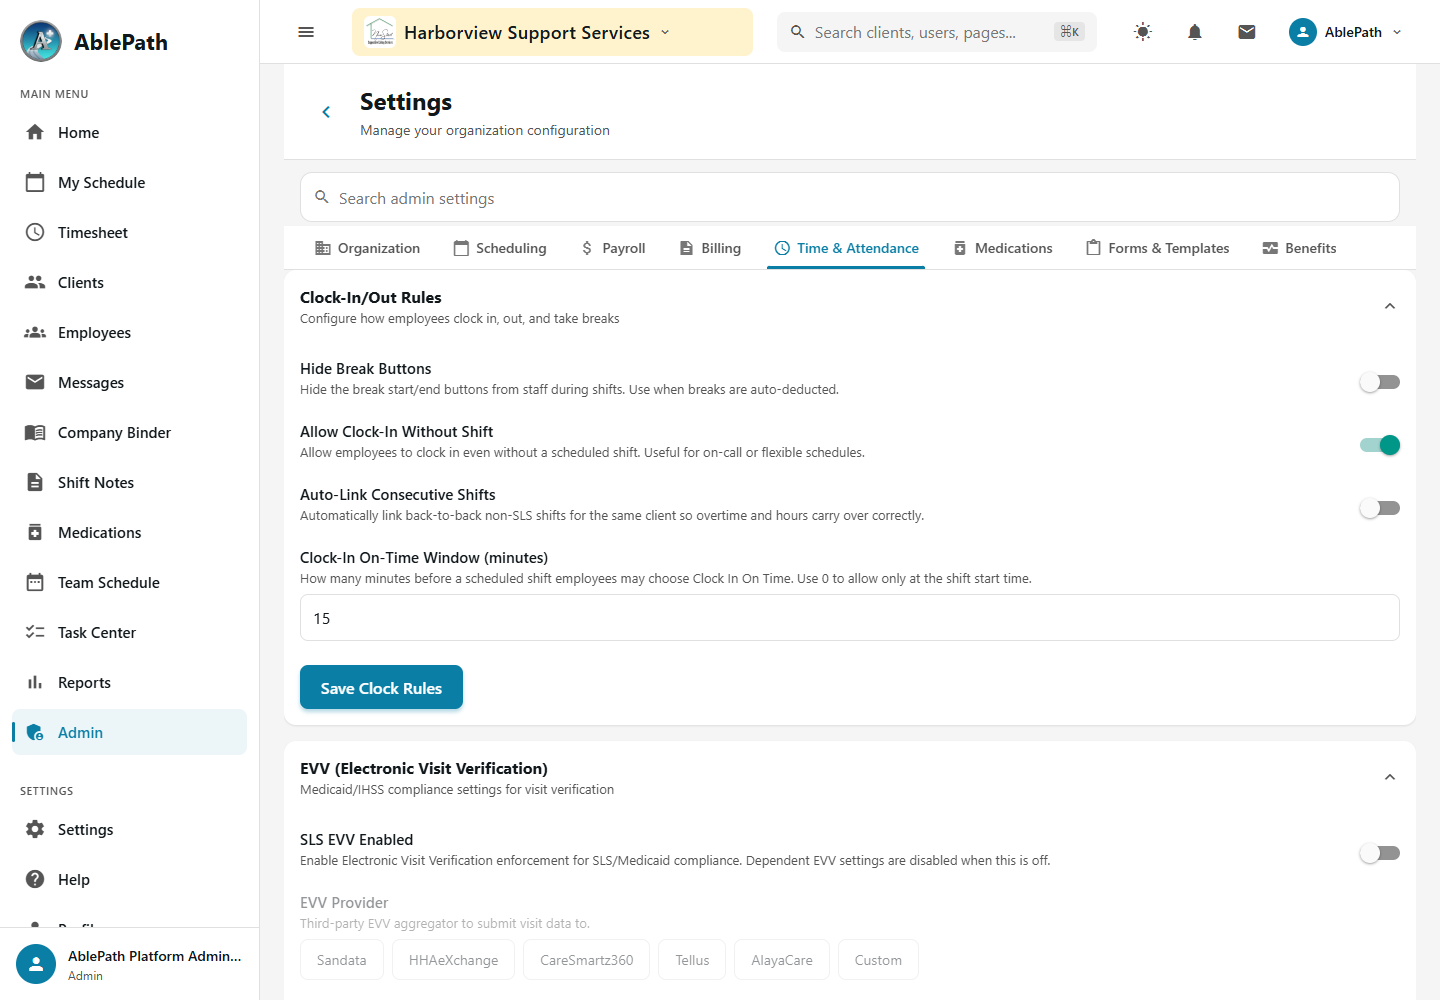
WhoAdmin, ManagerWhereAdmin tab → System Config → Settings Hub → Time & Attendance tab
Under Clock-In/Out Rules: hide break buttons, allow clock-in without a scheduled shift, auto-clock consecutive shifts, and set scheduled-clock-in lead minutes.
Under EVV: enable it, pick a provider (Sandata, HHAeXchange, CareSmartz360, Tellus, AlayaCare, or Custom), require GPS (with an accuracy threshold) and/or a clock-in/out photo, and set auto-submit and its frequency.
If the provider is Sandata, a Sandata API Configuration section appears: Provider ID, Account ID, Username, Password, Provider Qualifier (defaults "MedicaidID"), Environment (UAT/Production), and Dry Run Mode.
GotchaOnce saved, credential fields show masked placeholders and clear on reload — leaving them blank on your next save does NOT wipe the stored credential, it just leaves it unchanged. Dry Run Mode defaults ON, so a fresh Sandata setup won't actually submit anything to the aggregator (see EVV Exports in the Billing guide) until it's explicitly turned off.