Adding people, controlling exactly what they can see, and keeping a record of who did what — plus the messaging and HR tools built on top of it.
Role ladderDSP / CaregiverManagerDirectorAdminPlatform Admin (cross-org)
Using this guide
Start with Who and Where, then follow the numbered steps. On desktop, Home, Clients, Timesheet and other destinations may appear in the left sidebar instead of a bottom tab. The Admin menu groups additional tools.
Available actions depend on your role, permissions, enabled programs and organization settings. If a tool is missing, ask your administrator to check access. Expand a Settings Hub section to reveal its controls, use that section’s Save button, and wait for confirmation.
Screenshots show the demo web app. Some show a starting screen or an empty list rather than a completed task; read the caption. Click an image to enlarge it. Use Ctrl+F (Command+F on Mac) to find a task, label or keyword.
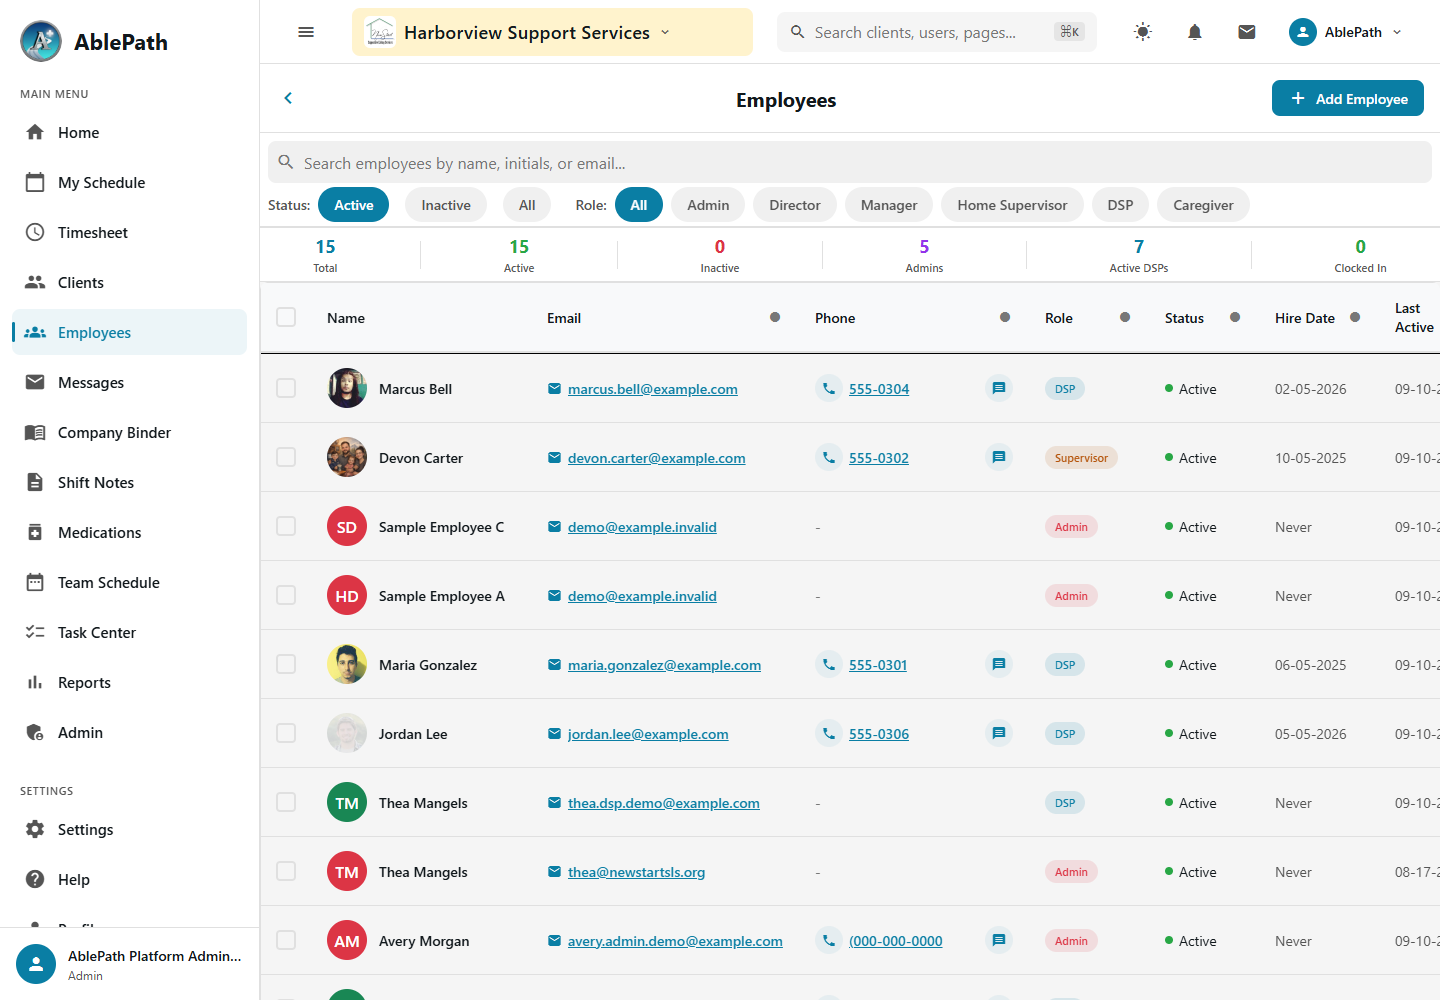
Add a new employee
Screen reference: Add a new employee. Click to enlarge.
Fill in Email, Password, First Name, Last Name, Phone (optional), Role (Admin/Director/Manager/Home Supervisor/DSP/Caregiver), and Hire Date (defaults to today).
The password is checked live against the organization's own password policy — minimum length and character requirements can vary by org.
Submit — you'll see "User created successfully!" once it's done.
GotchaEmail must be unique across the whole organization. Behind the scenes, the system automatically creates a personal staff message group for the new hire, adds all Admin/Director/Manager/Supervisor users to it, and assigns default messaging permissions by role — none of that is optional or skippable.
Edit a user's role, or what a role can do
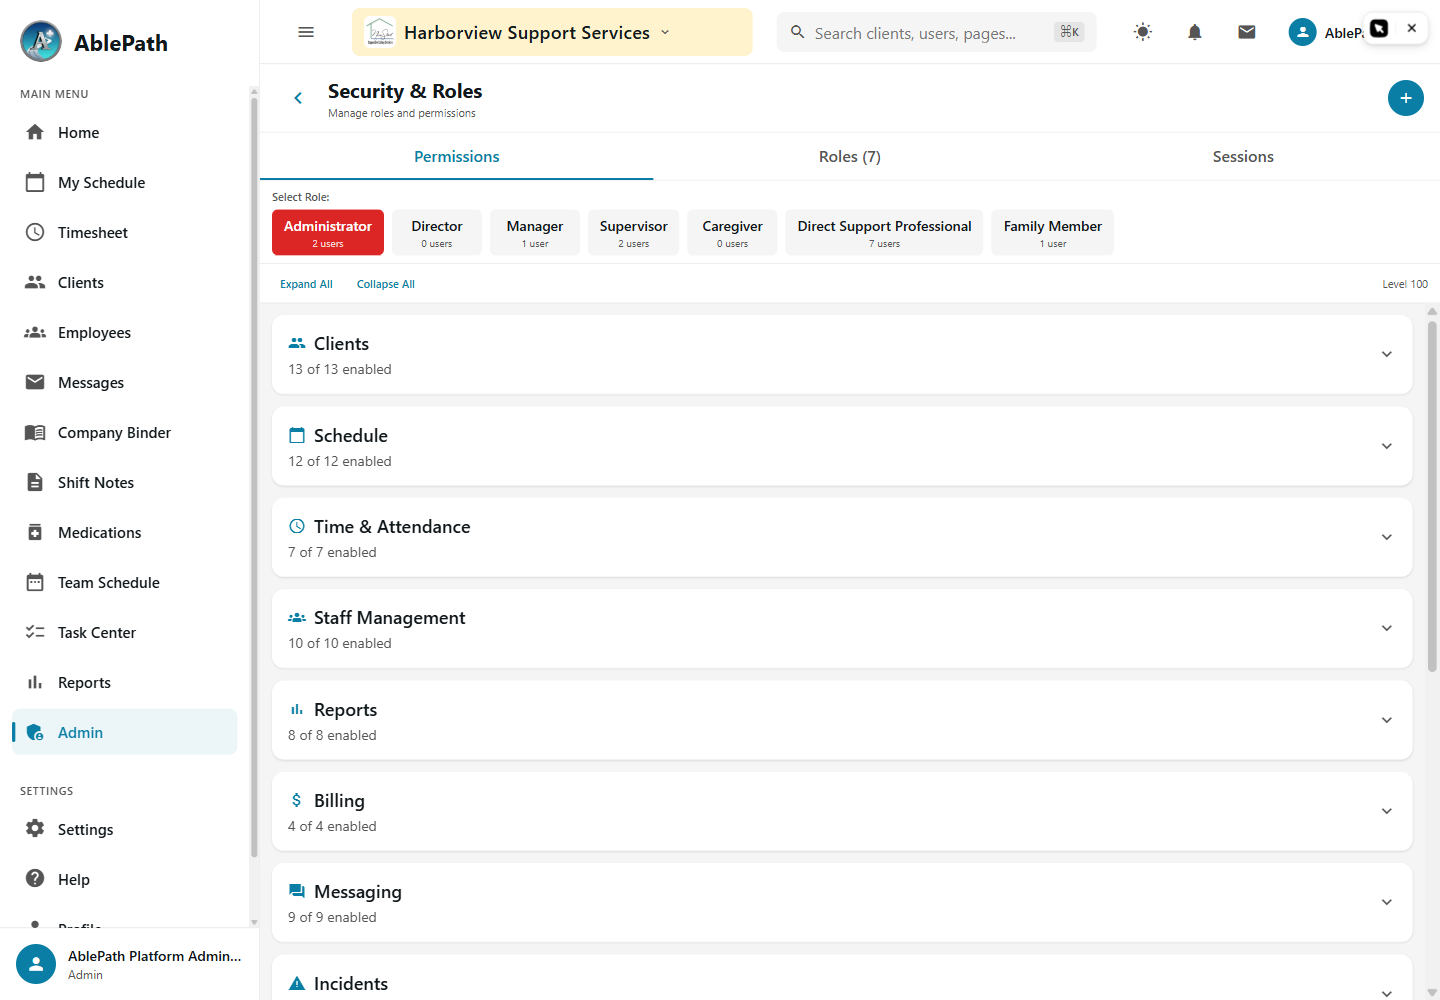
Screen reference: Edit a user's role, or what a role can do. Click to enlarge.
WhoRequires the admin.security permission for role changesWhereA user's profile (individual) · Admin tab → System Config → Security & Roles → Permissions (role-wide)
Change one person's role: open their profile, edit the role field, save. You can't assign a role equal to or higher than your own — the system blocks that server-side.
Change what a role can do: go to Admin → System Config → Security & Roles → Permissions, pick a role, expand a category, and flip individual switches — permissions are grouped by category, and the available keys can change as features are added.
Changes are staged until you click Save, so you can review before committing.
GotchaThe Security screen also has Roles (create/rename/recolor custom roles based on a system base role) and Sessions tabs living on the same screen — they're tabs, not separate pages, so don't go looking for a different menu item.
Review the audit log
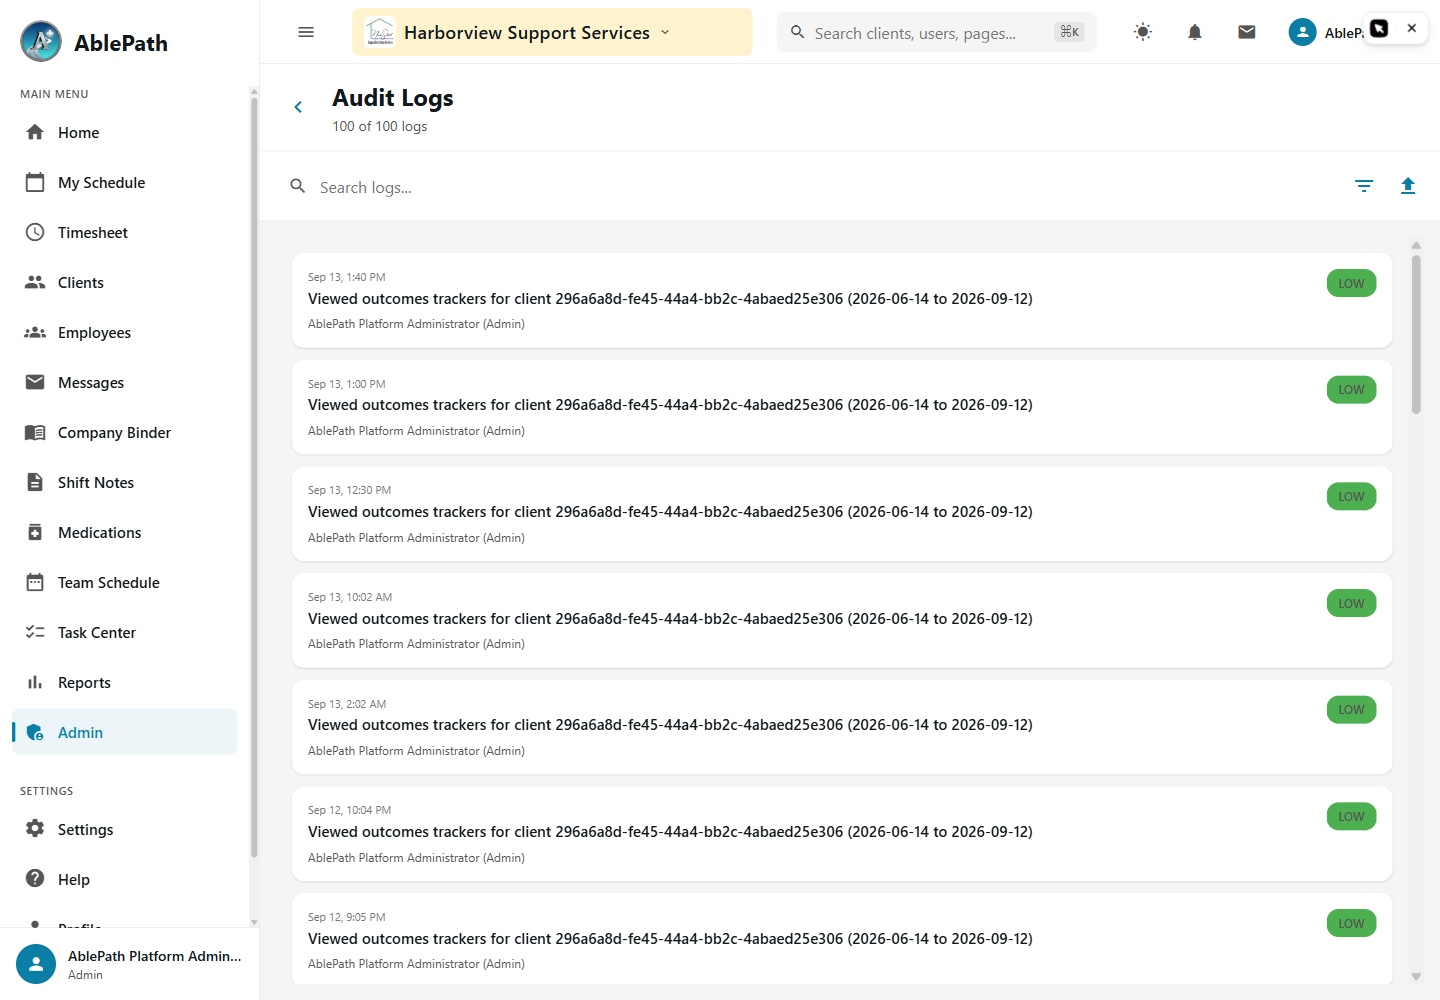
Screen reference: Review the audit log. Click to enlarge.
Entries show actor, action, a severity badge (Low/Medium/High/Critical), target, and field-by-field before/after changes where applicable.
Filter by severity using the chip row.
Export — choose CSV or JSON.
GotchaEvery sensitive action across the whole app writes here — user creation, role changes, PHI access — it's the single source of truth for "who did what," not a security-only log.
Manage active sessions / revoke a device
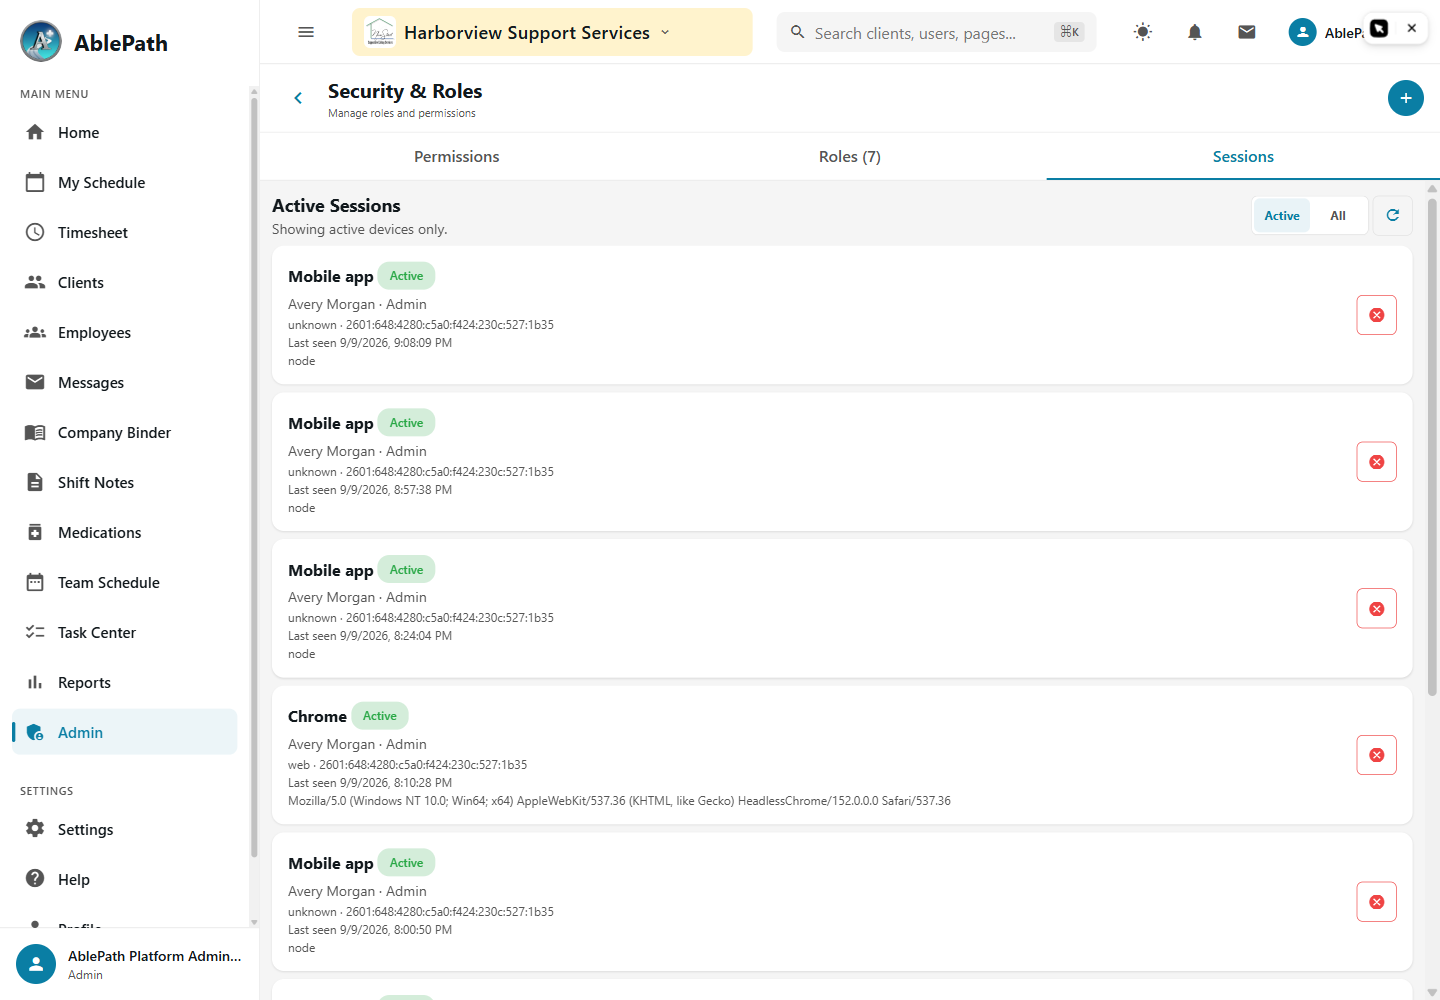
Screen reference: Manage active sessions / revoke a device. Click to enlarge.
WhoRequires the admin.security permissionWhereAdmin tab → System Config → Security & Roles → Sessions
Toggle between Active and All sessions.
Each row shows device/platform, IP, first-seen/last-seen, and whether it's your current session.
Revoke a session to force that device to log out.
GotchaThis isn't the same as "force clock out" on a user's profile — that only ends an active shift; it doesn't touch their login sessions.
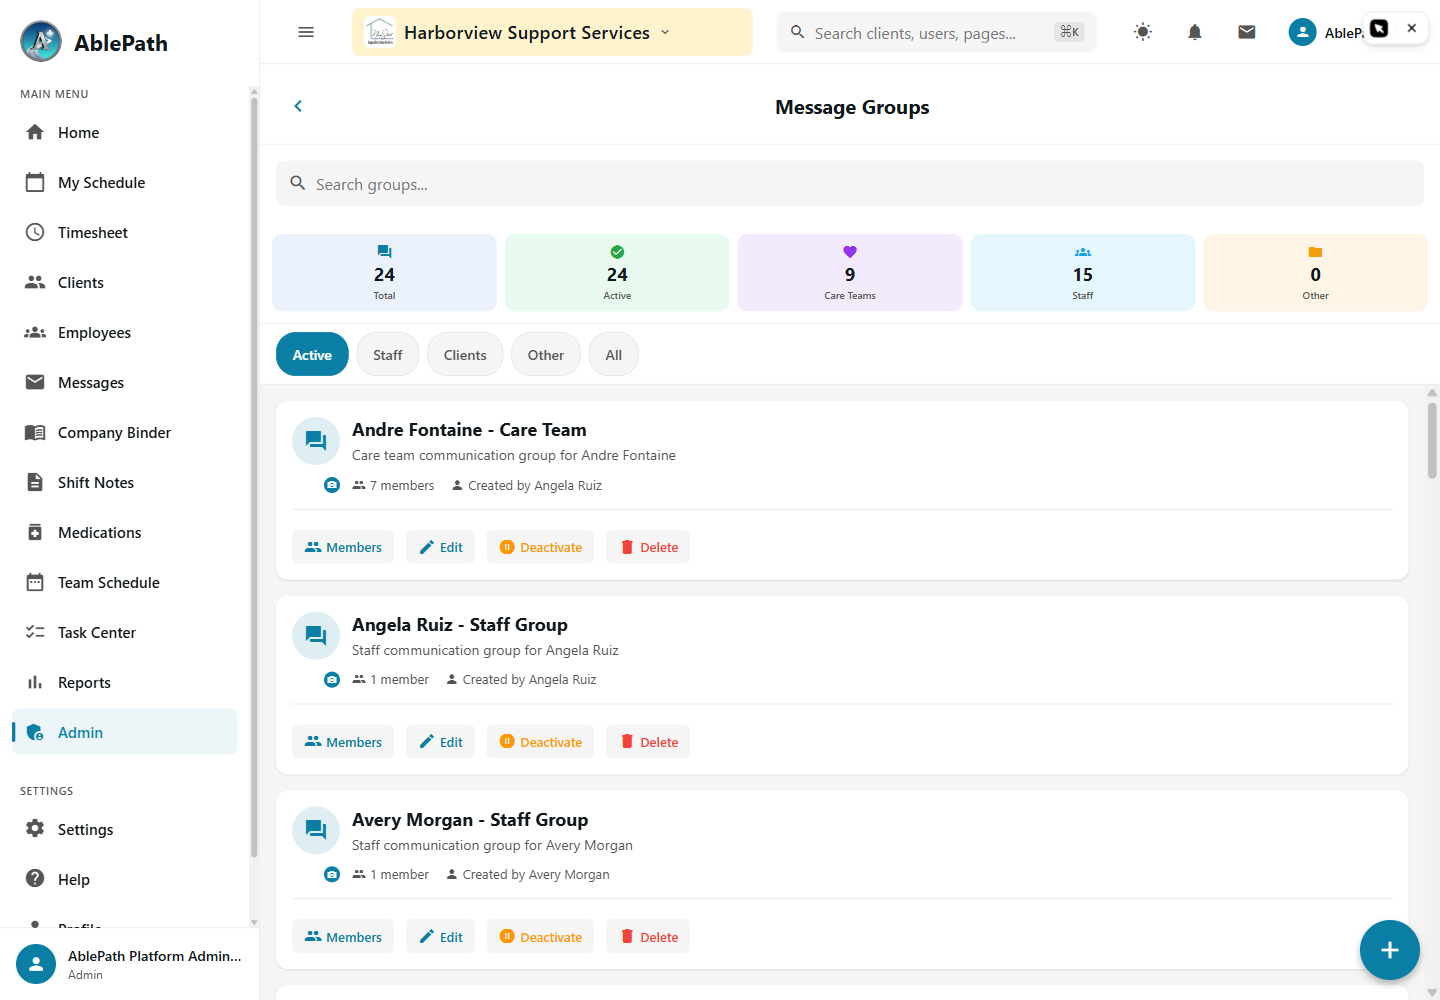
Send a message or send an announcement
Screen reference: Send a message or send an announcement. Click to enlarge.
WhoAny staff (per their messaging permissions) · messaging.announcements permission for broadcastsWhereHome tab → Quick Actions → Messages → New · Admin tab → Communication → Message Groups
Announcement: choose a Target Audience — All Staff, By Role, or Specific Users — a Type (General/Policy Update/Schedule/Training/Emergency), and a Priority (Low/Normal/High/Urgent), then write and send.
Groups: create a group with a name, description, and optional photo from Message Groups.
GotchaYou don't need to create a group for a new employee or a new client — those personal and client-team groups are created automatically. Direct messages and groups are two different systems underneath, so "group" always means a standing message group, never a 1:1 thread.
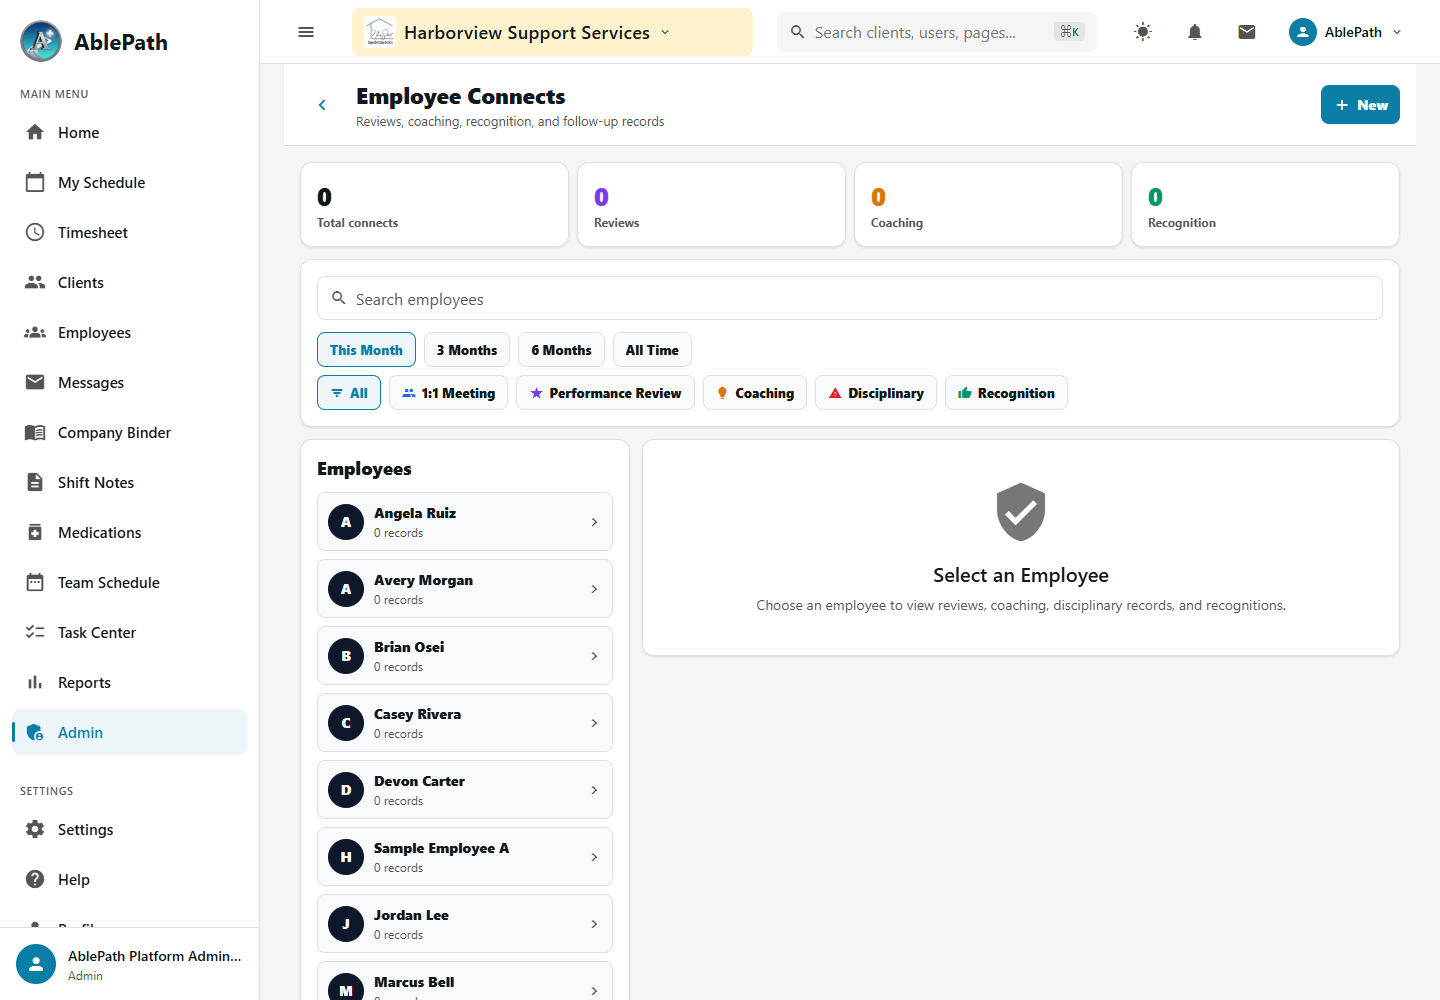
Log a confidential employee connect
Screen reference: Log a confidential employee connect. Click to enlarge.
WhoManager and aboveWhereAdmin tab → Employees & HR → Employee Connects → New
Pick the employee and a Connect Type: 1:1 Meeting, Performance Review, Coaching, Disciplinary, or Recognition.
Each type reveals different fields — e.g. Performance Review pulls in a review period, a 1–5 rating, attendance summary, and prior-goal follow-up automatically; Disciplinary asks for incident description, corrective action, and a follow-up date if needed.
Set date, location, and notes.
Toggle Confidential and Visible to Employee — independently.
GotchaConfidential and Visible-to-Employee are two separate switches, not opposites — you can have a confidential record the employee can still see, or a non-confidential one hidden from them.
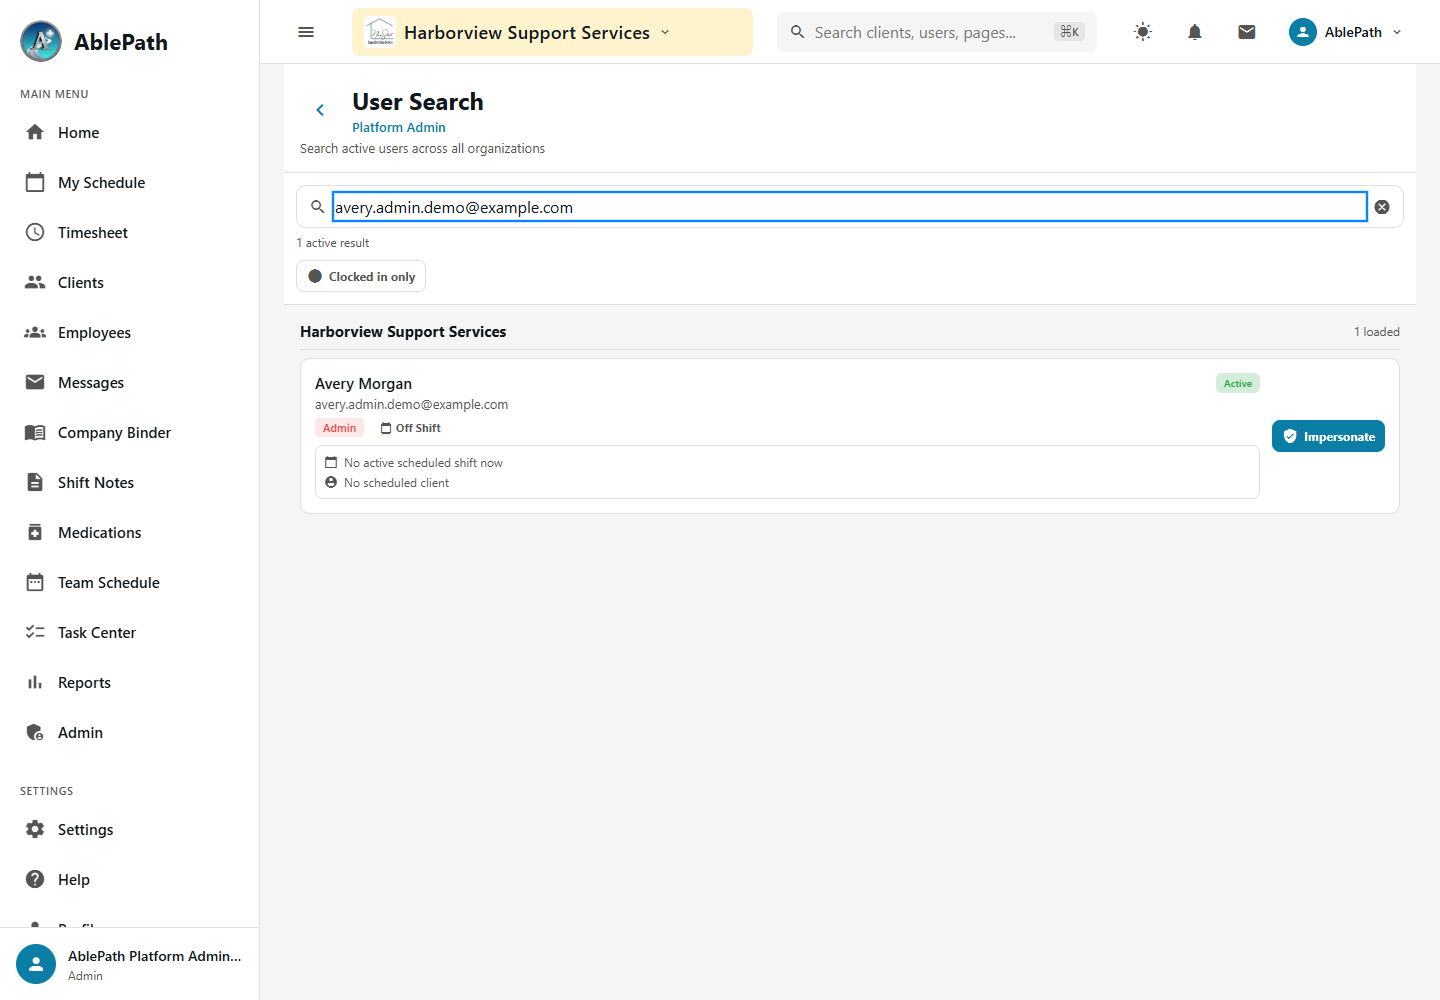
Search users, or impersonate one for support
Screen reference: Search users, or impersonate one for support. Click to enlarge.
WhoPlatform Admin (cross-org) · Director/Admin (own org)WherePlatform Admin area (separate from the Admin tab, for platform-level admins) → User Search
Search by name or email; optionally filter to "Clocked in only."
Results show role, organization (for platform admins), and live clock/shift status.
Choose Impersonate on a user and confirm.
GotchaImpersonation is fully audit-logged, and you can't stack it — once you're impersonating someone, the option to impersonate a second person disappears until you exit.
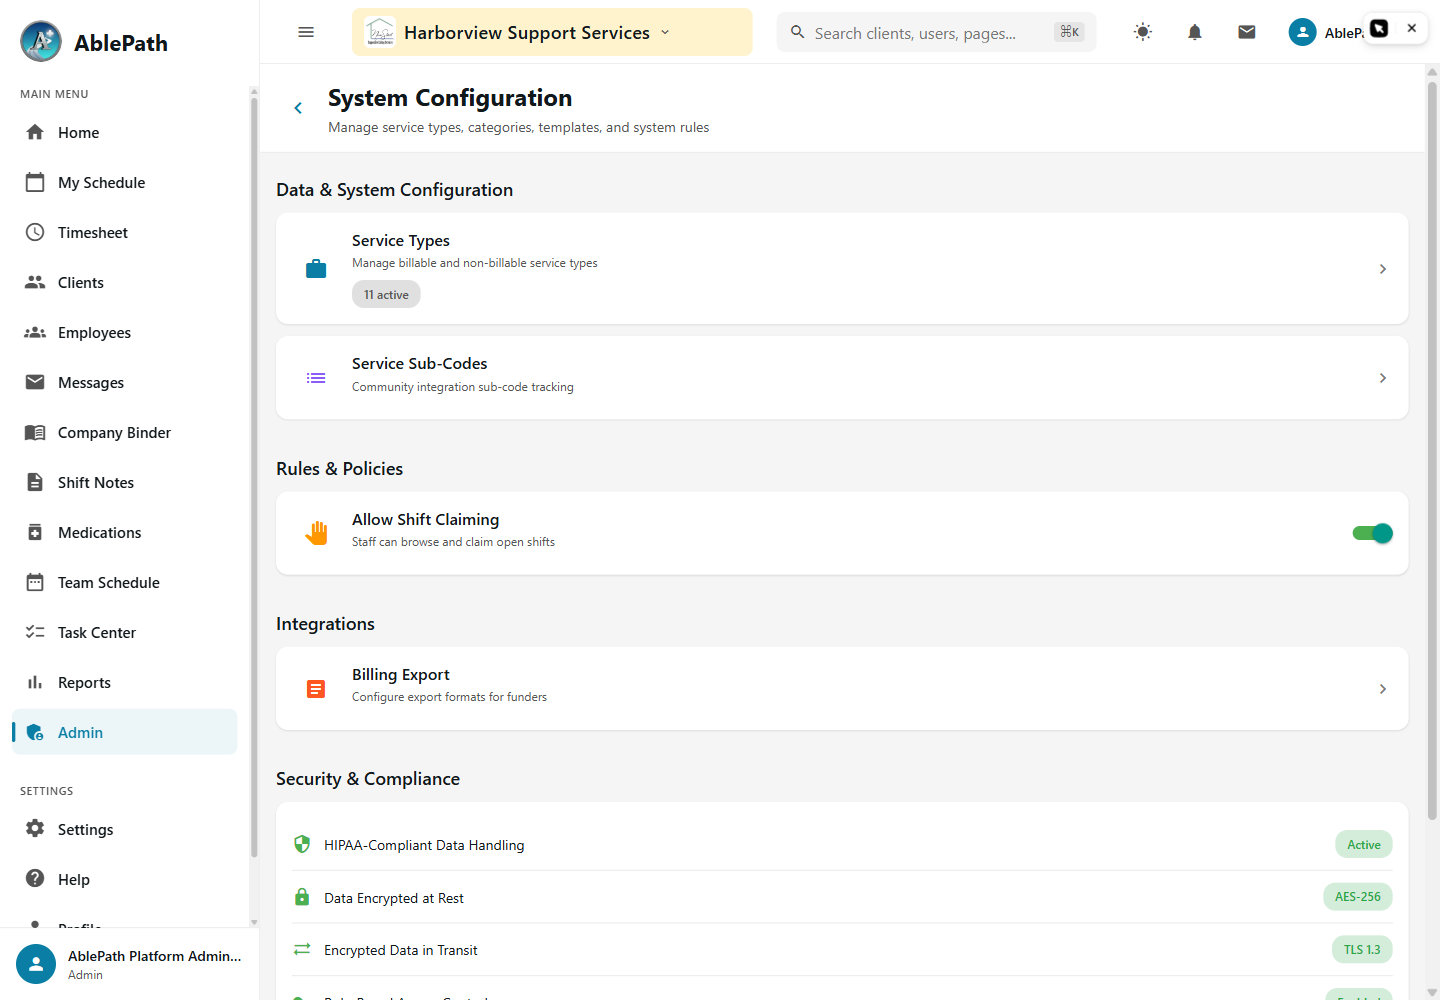
Configure org-wide settings
Screen reference: Configure org-wide settings. Click to enlarge.
WhoRequires the admin.config permissionWhereAdmin tab → System Config → System Overview
Review configured Service Types for the organization.
Toggle Allow Shift Claiming to turn the open-shifts marketplace on or off for everyone.
Billing-related settings (rate cards, service codes) link out to their own dedicated screens.
GotchaThe shift-claiming toggle updates optimistically — on a flaky connection you may briefly see it flip on before it snaps back off if the save actually failed. Don't assume the visible state is final until it settles.
HR, compliance & communication
Track staff certifications and compliance
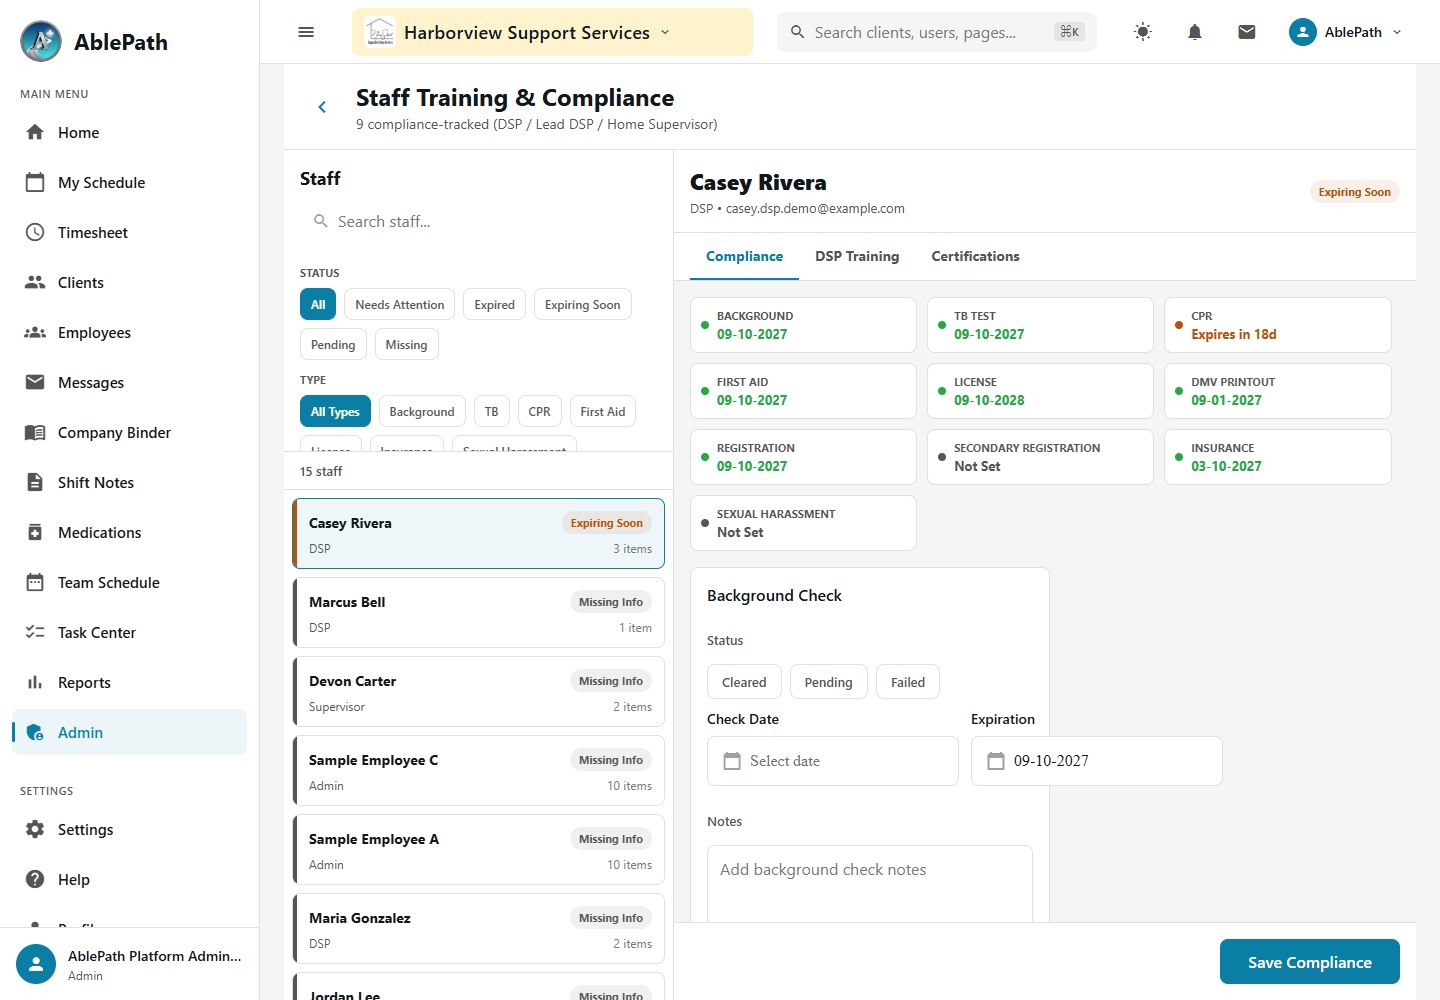
Screen reference: Track staff certifications and compliance. Click to enlarge.
WhoManager and aboveWhereAdmin tab → Employees & HR → Staff Training & Compliance
Review the dashboard and any compliance alerts (expiring or missing items) at a glance.
Filter staff records by status or search by name.
Open a staff member to update background check status/date/expiration, TB test status/date/expiration, CPR and First Aid dates/expirations, and driver's license number/expiration — each with its own notes field.
Switch between the Compliance, Training, and Certifications tabs in the same modal.
GotchaThis is the admin-side compliance record — separate from the Training module's courses/lessons and from a staff member's own Profile → Certifications page. The two aren't automatically synced, so verify what staff have self-reported rather than assuming it flows through here.
Track and resolve a general incident report
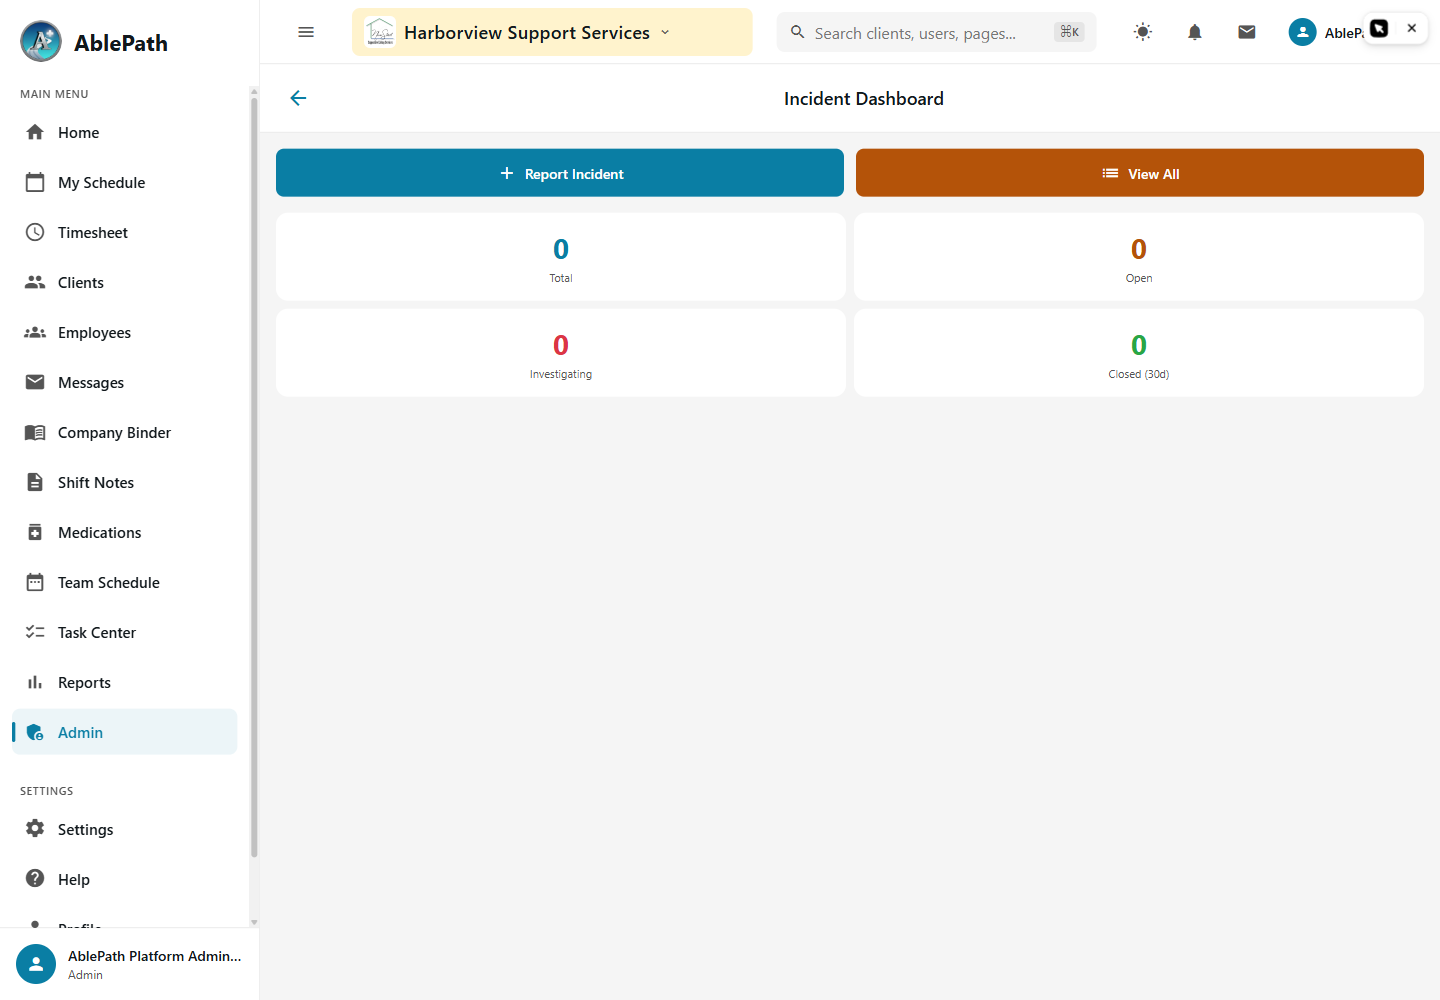
Screen reference: Track and resolve a general incident report. Click to enlarge.
The dashboard shows totals by severity and category, an Overdue Actions count, and a recent-incidents list.
Open an incident to its four tabs: Details, Investigation, Actions, Follow-ups.
On Investigation, Start Investigation to begin root-cause analysis.
On Actions, add corrective actions with due dates and Verify a completed one to close it out.
On Follow-ups, schedule and mark follow-ups Complete.
A closed incident can be Reopened with a required reason.
GotchaThis is the internal root-cause/corrective-action workflow — separate from the DDS/Regional-Center-facing SIR process. General Incidents has no regulatory deadline; SIR does. Watch the Overdue Actions card as your early warning that corrective actions are slipping.
Monitor EVV compliance
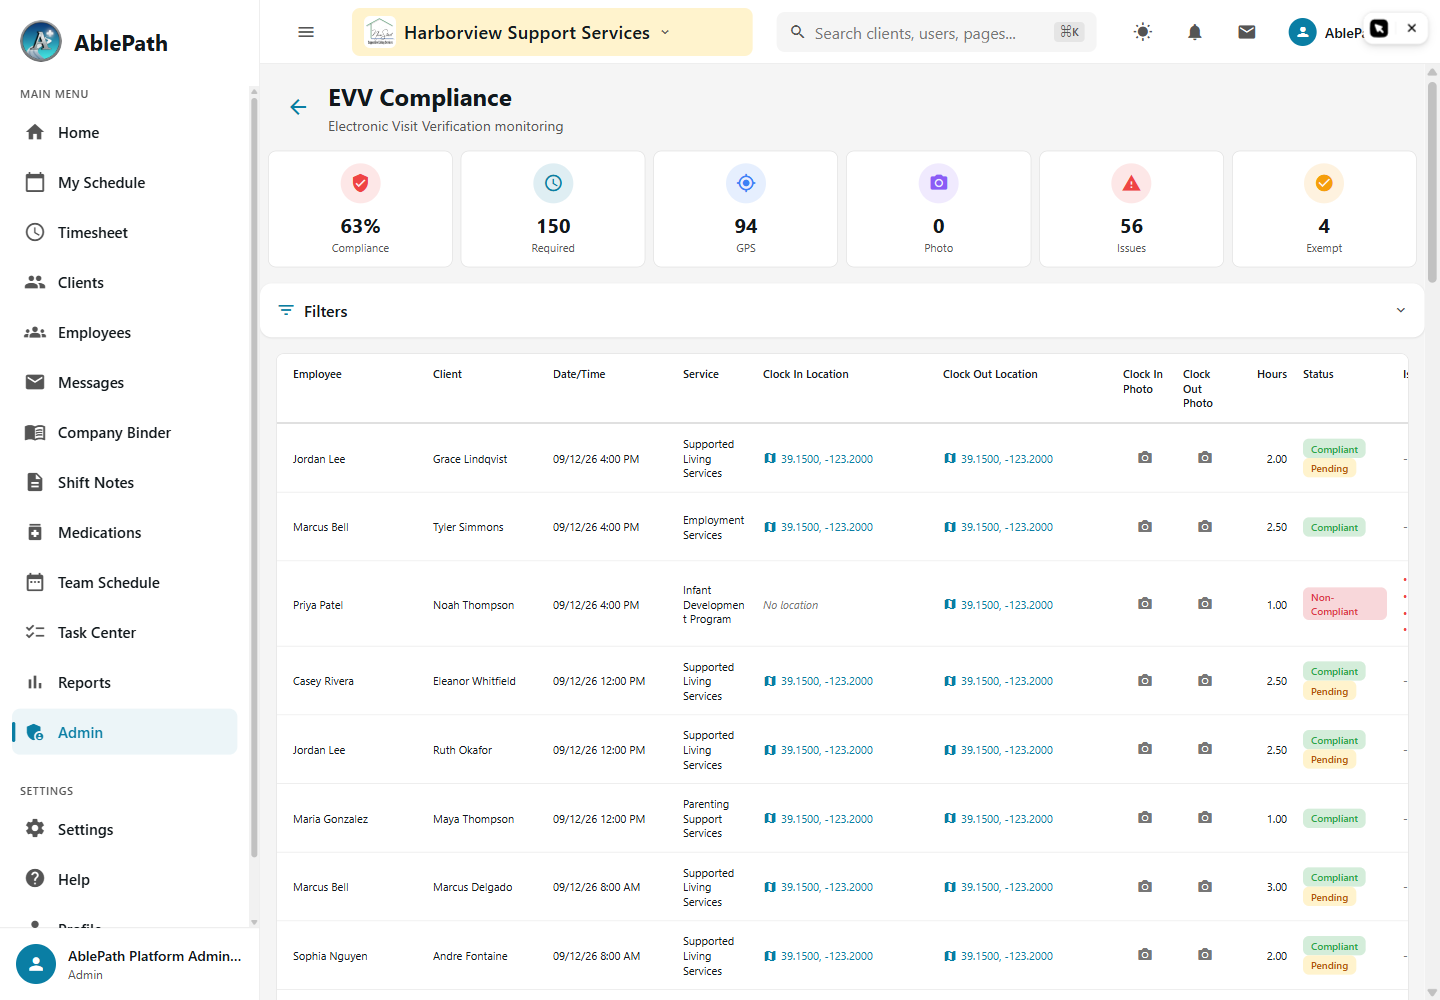
Screen reference: Monitor EVV compliance. Click to enlarge.
Set a date range (defaults to the last 30 days) and filter by employee, client, or compliance status.
Review the dashboard stats, then the entry list below.
Tap an entry to view its clock-in/out verification photo, with pinch-to-zoom.
GotchaCompliance tracking only goes back to the organization's EVV tracking start date — requesting an earlier range won't surface older data because it predates tracking, not because of a filter bug.
Run a report from the report library
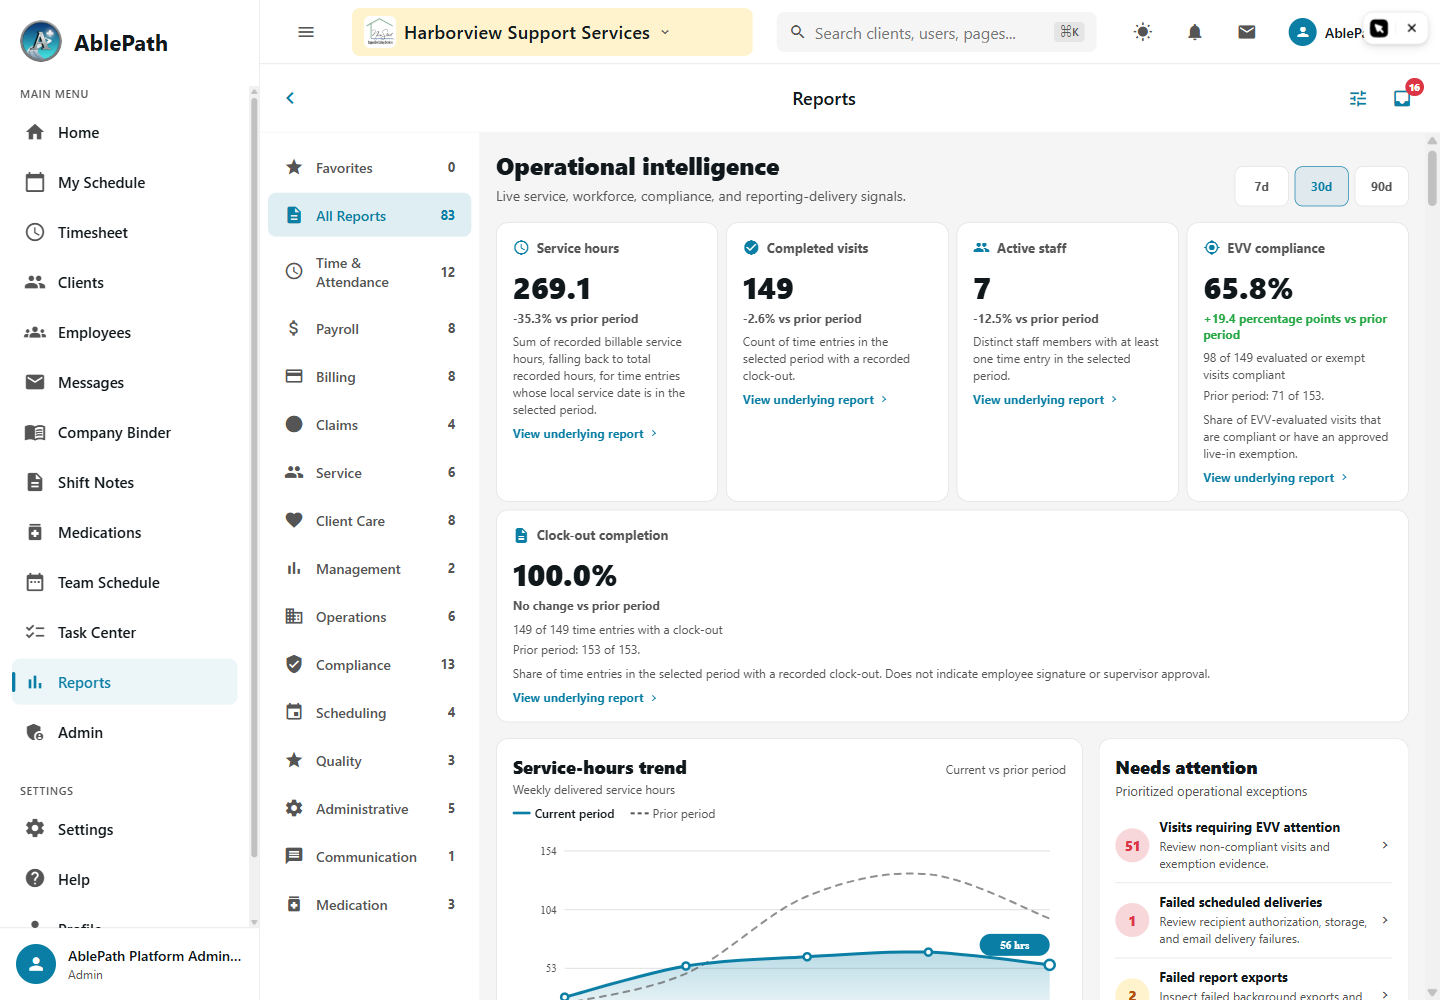
Screen reference: Run a report from the report library. Click to enlarge.
WhoManager and aboveWhereAdmin tab → Compliance & Reporting → All Reports
Browse reports by category, or check Favorites for reports you've starred before.
Pick a report; if it needs a date range, set Start/End — some report types use pay-period-aware range pickers.
Generate it — you're blocked with a message if a date-dependent report is missing its range.
GotchaFavorites are stored on the device you starred them from — they don't follow you to a different phone or the web app.
Schedule a report for automatic delivery
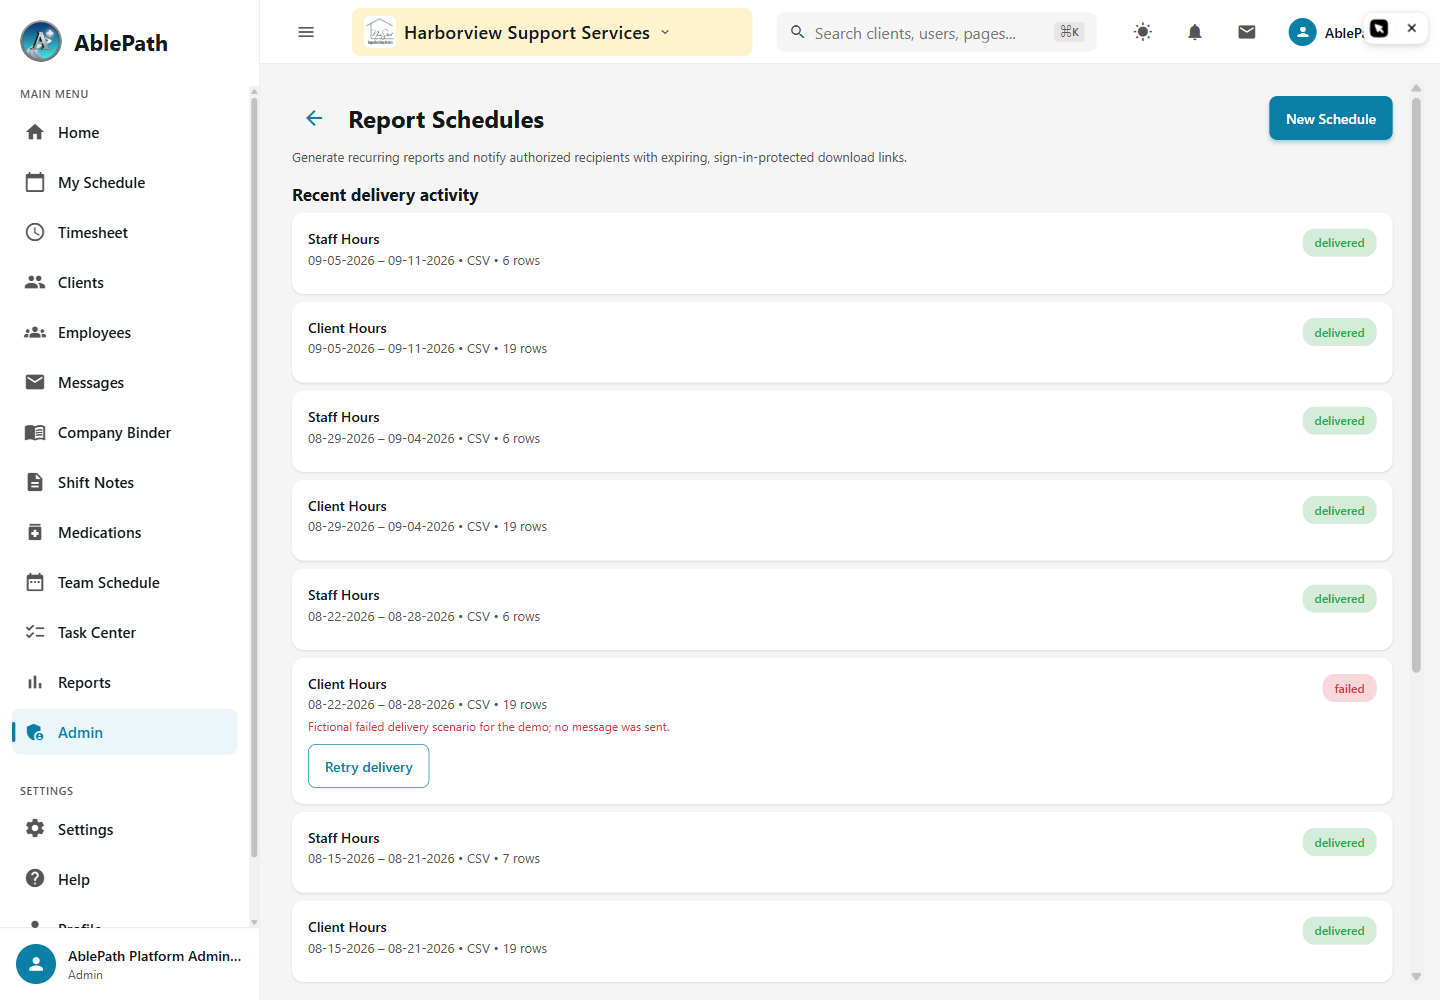
Screen reference: Schedule a report for automatic delivery. Click to enlarge.
Pick a report type from the catalog, and a frequency: Daily, Weekly, Bi-weekly, or Monthly (Monthly needs a day of month).
Set the delivery time in 24-hour HH:MM format.
Enter recipients as a comma-separated list of emails, and choose a format: PDF, CSV, or Excel.
Save — it appears in the schedule list along with its last 10 executions.
GotchaReport type and at least one recipient are both required — leaving either blank blocks the save with a validation message instead of failing silently.
Create and manage announcements
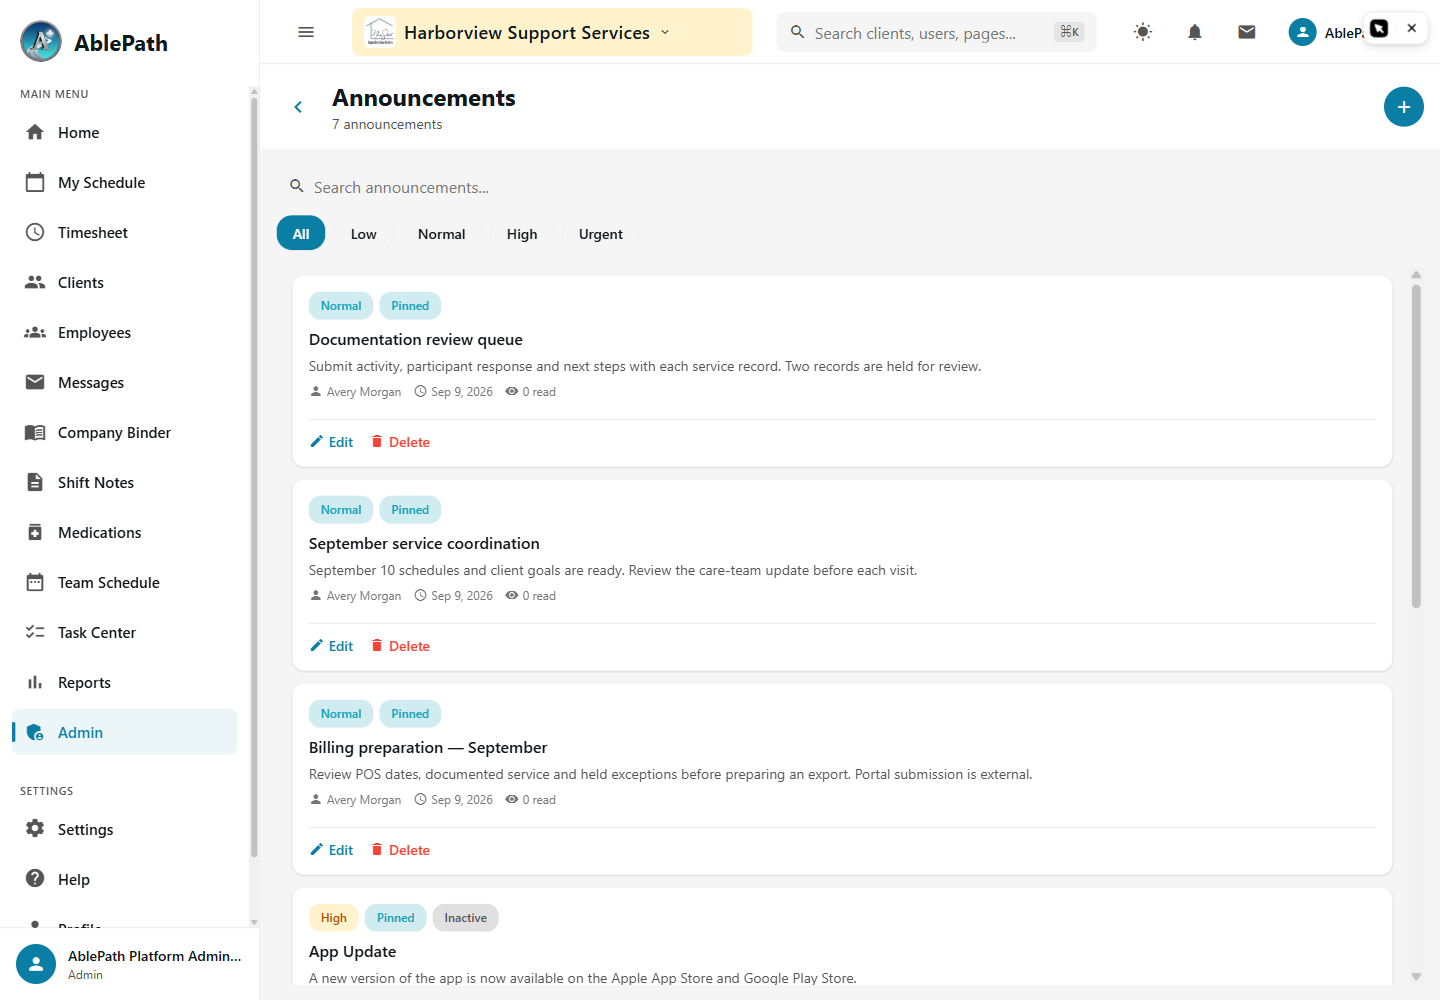
Screen reference: Create and manage announcements. Click to enlarge.
WhoManager and aboveWhereAdmin tab → Communication → Announcements
Enter a title and compose the message in the rich text editor.
Choose a type (General, Policy Update, Schedule, Training, Emergency) and priority (Low, Normal, High, Urgent).
Choose a target audience: All Staff, By Role, or Specific Users.
Save — it's added to the managed announcements list, where it can be edited or removed later.
GotchaThis is the persistent, manageable library — distinct from firing off a one-off announcement through Messages → New. Choosing "By Role" without picking at least one role blocks the save.
Review your notifications
Screen reference: Review your notifications. Click to enlarge.
WhoAll staffWhereNotification bell/badge (personal feed, not an admin-menu item)
Open Notifications to see system alerts and updates addressed to you.
Tap one to jump to the relevant screen — a pending approval, a schedule change, and so on.
GotchaThis is your personal feed, not a broadcast tool — to send something to others, use Announcements or Messages instead.
Control messaging permissions per user
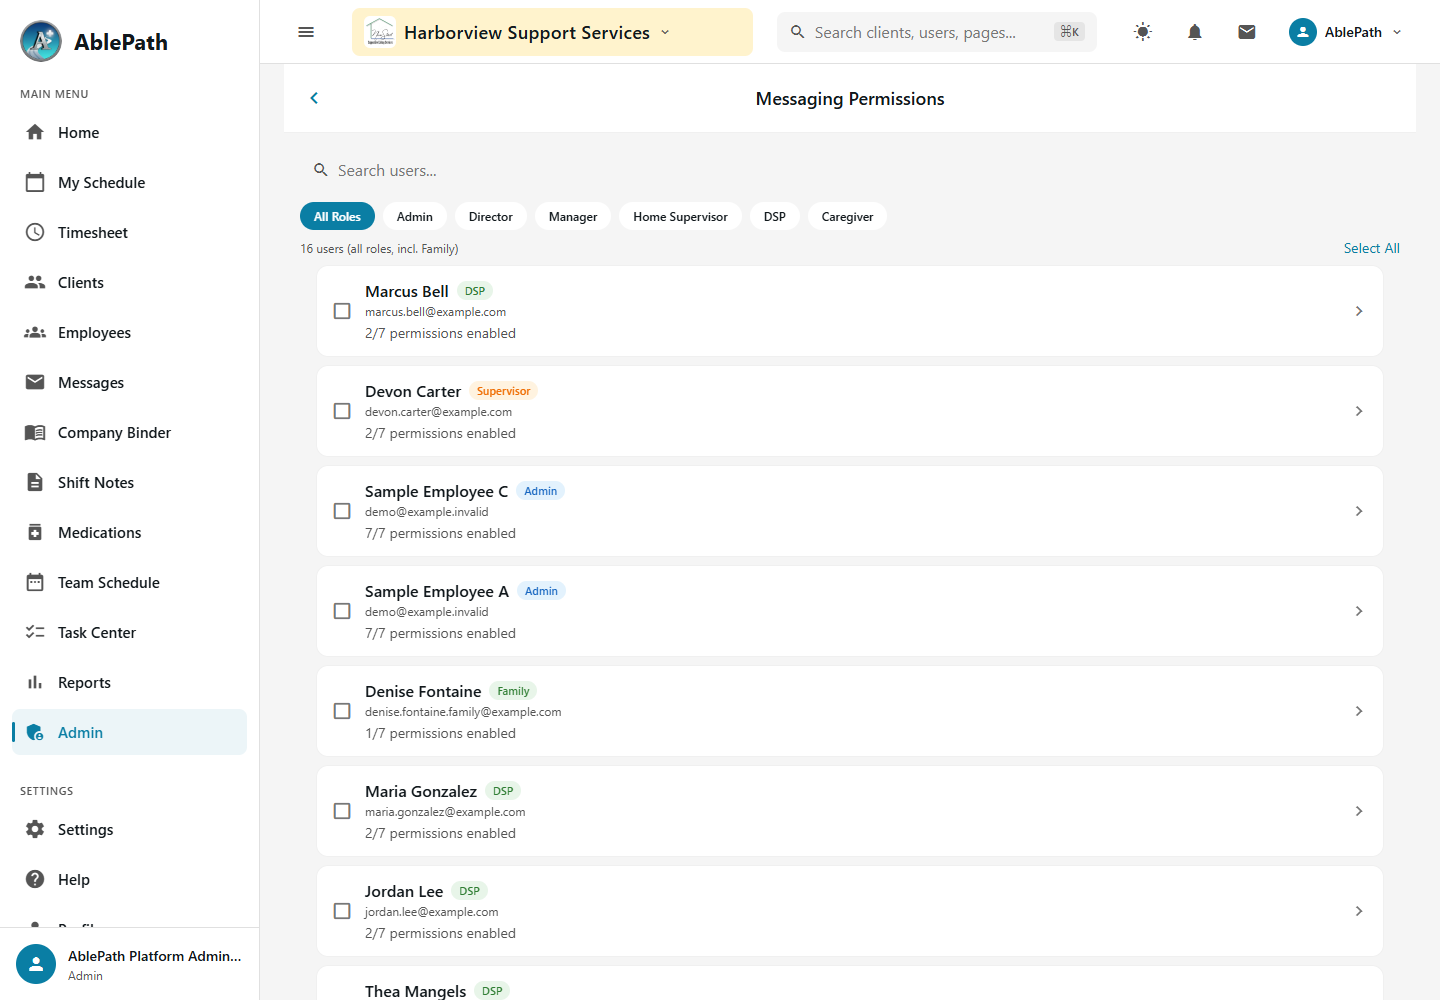
Screen reference: Control messaging permissions per user. Click to enlarge.
WhoAdmin, Director onlyWhereAdmin tab → Communication → Messaging Permissions
Search or filter the user list by role.
Open a user to edit their individual permissions — view, send, direct-message, announcements, and group-management rights.
Save, or use Reset Permissions to revert one user back to their role's defaults.
GotchaThis edits one user at a time — there's no bulk-apply, so a change meant for an entire role has to be repeated person by person.
Configure PTO, sick time, and leave policies
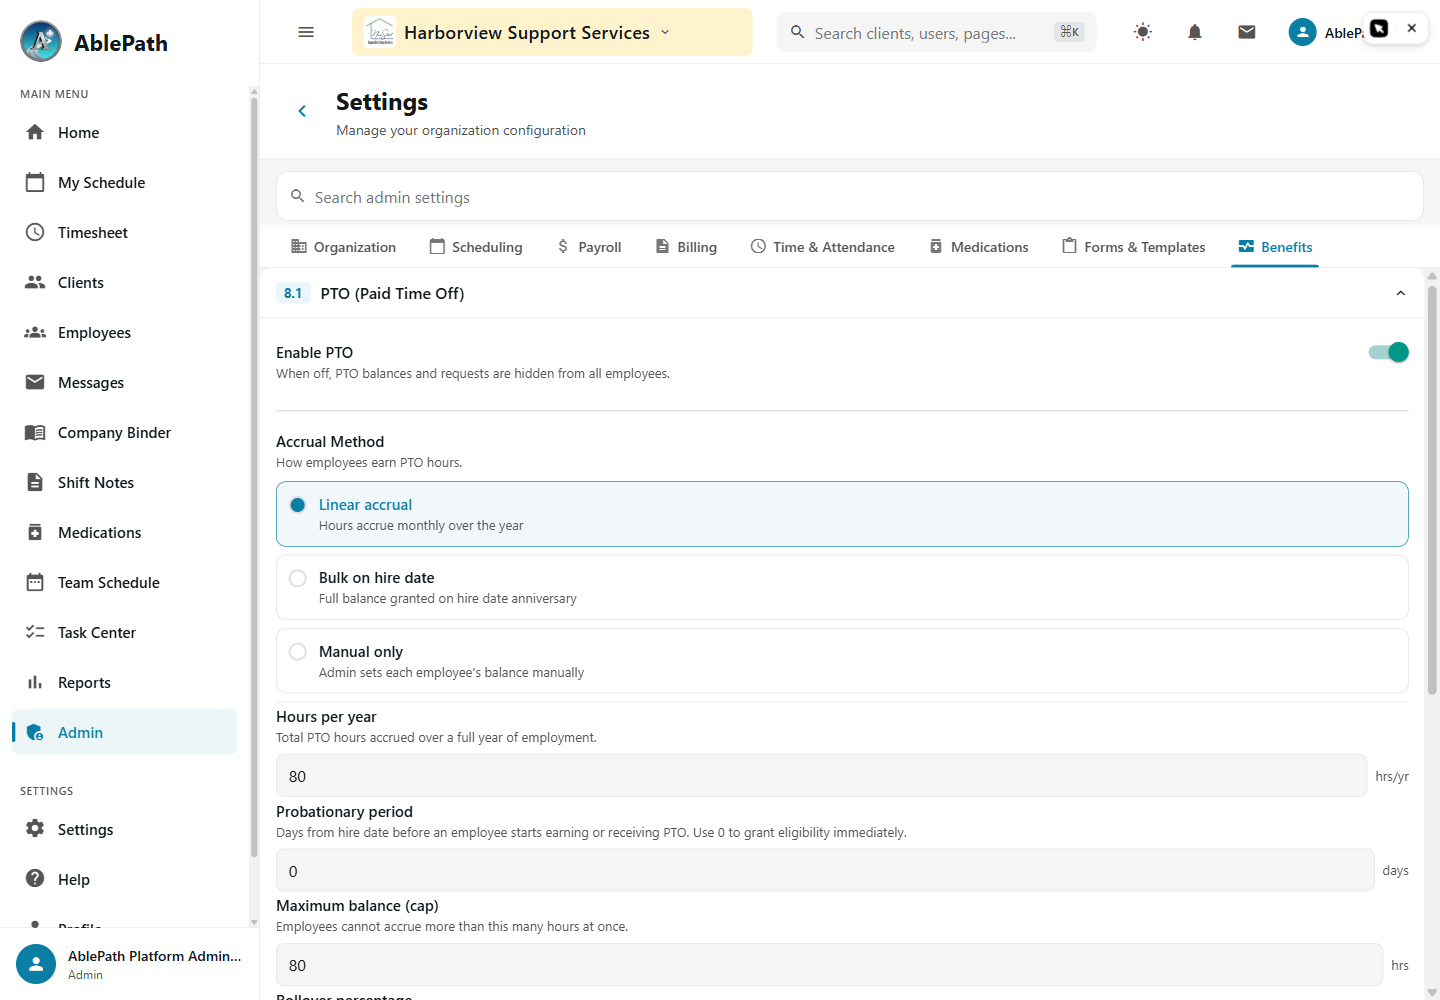
Screen reference: Configure PTO, sick time, and leave policies. Click to enlarge.
Under PTO: toggle it on/off, pick an accrual method (Linear, Bulk on Hire Date, or Manual), and set hours/year, initial grant, max hours, rollover, and a probation period.
Under Sick: the same shape of settings, plus whether the balance resets on the hire anniversary.
Under Bereavement: toggle paid bereavement and set max paid hours.
Under Request Types: choose which time-off types actually appear when staff submit a request.
GotchaA request type can stay enabled even if its underlying balance type is turned off — e.g. "Vacation" stays selectable and simply won't deduct from any balance if PTO is disabled. Enabling PTO doesn't automatically enable the Vacation request option, or vice versa; they're controlled separately.
Configure organization profile, security, and compliance rules
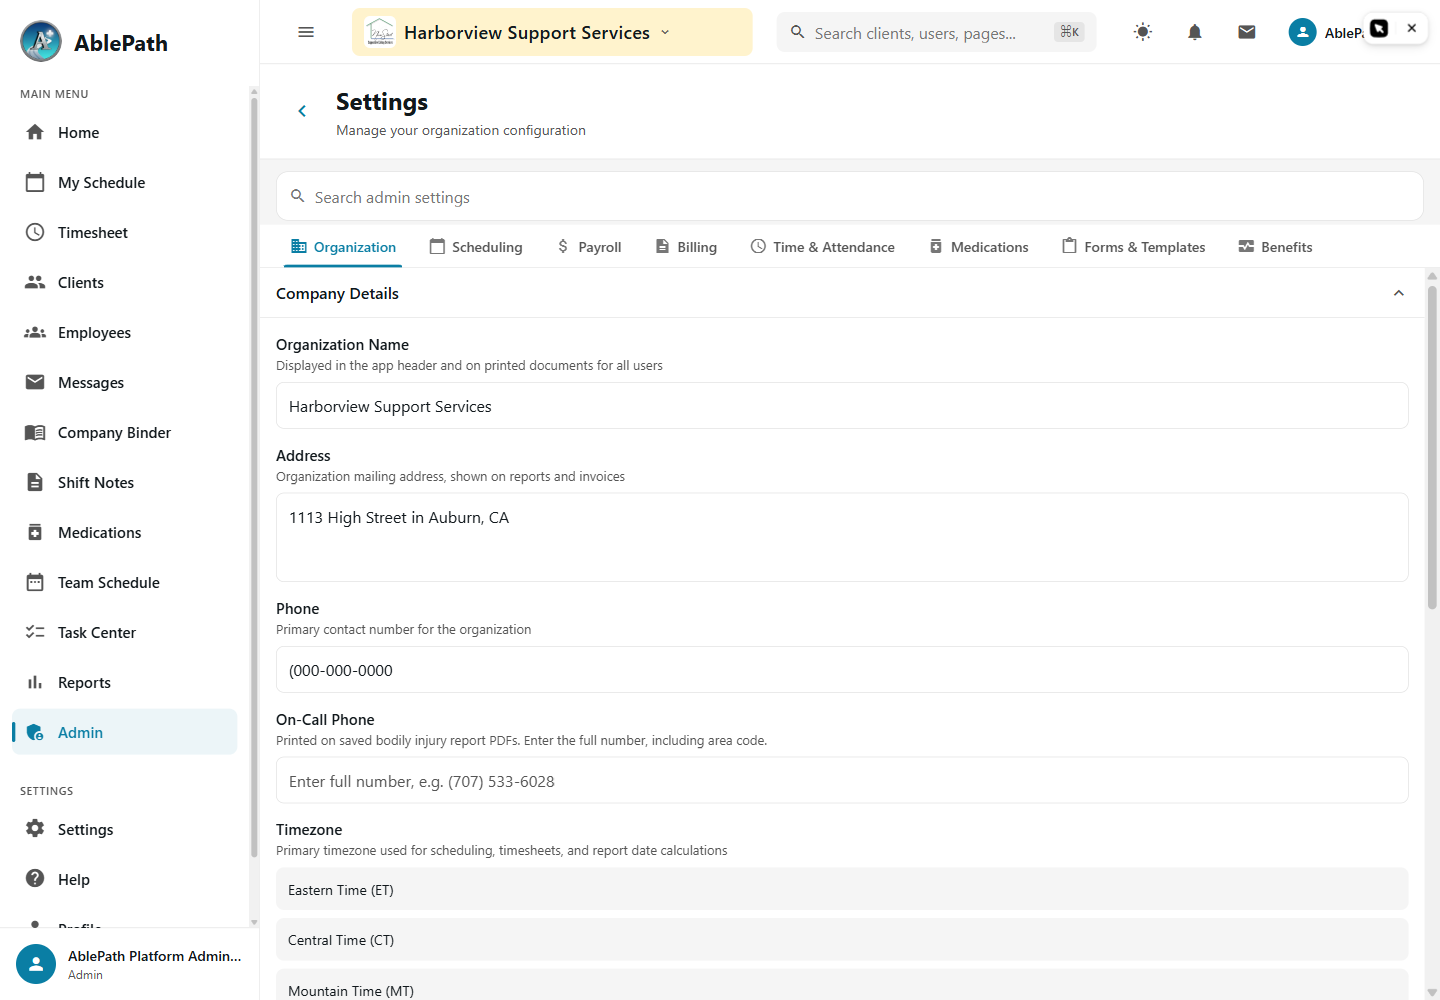
Screen reference: Configure organization profile, security, and compliance rules. Click to enlarge.
Company Details: org name, address, phone, on-call phone (printed on SIR PDFs), timezone, logo.
Name Display Format: format pattern (First Last / Last First / Last, First / First M. Last), middle initial, suffix, all-caps, and which population it applies to.
Security & Password Policy: lock-screen timeout, minimum password length and character requirements, whether staff can change their own password, password expiration and history, and account lockout after repeated failed logins.
Print & Report Defaults: default date ranges, logo/page numbers, orientation, paper size, custom header/footer text.
Staff Compliance: toggle which of ten compliance items are tracked at all (Background Check, TB, CPR, First Aid, Driver License, DMV Printout, Auto Registration ×2, Auto Insurance, Sexual Harassment Training) — turning one off hides it everywhere, including dashboards and reminders.
IHSS Integration: Co-Employer Mode (merges IHSS and non-IHSS hours for overtime calculations) and whether IHSS hours are included in payroll exports.
GotchaTurning off "Allow User Password Changes" is what forces every staff password to be set manually by an admin from their profile — self-service and forgot-password stop working the moment it's off.