Start with Who and Where, then follow the numbered steps. On desktop, Home, Clients, Timesheet and other destinations may appear in the left sidebar instead of a bottom tab. The Admin menu groups additional tools.
Available actions depend on your role, permissions, enabled programs and organization settings. If a tool is missing, ask your administrator to check access. Expand a Settings Hub section to reveal its controls, use that section’s Save button, and wait for confirmation.
Screenshots show the demo web app. Some show a starting screen or an empty list rather than a completed task; read the caption. Click an image to enlarge it. Use Ctrl+F (Command+F on Mac) to find a task, label or keyword.
Add a new client
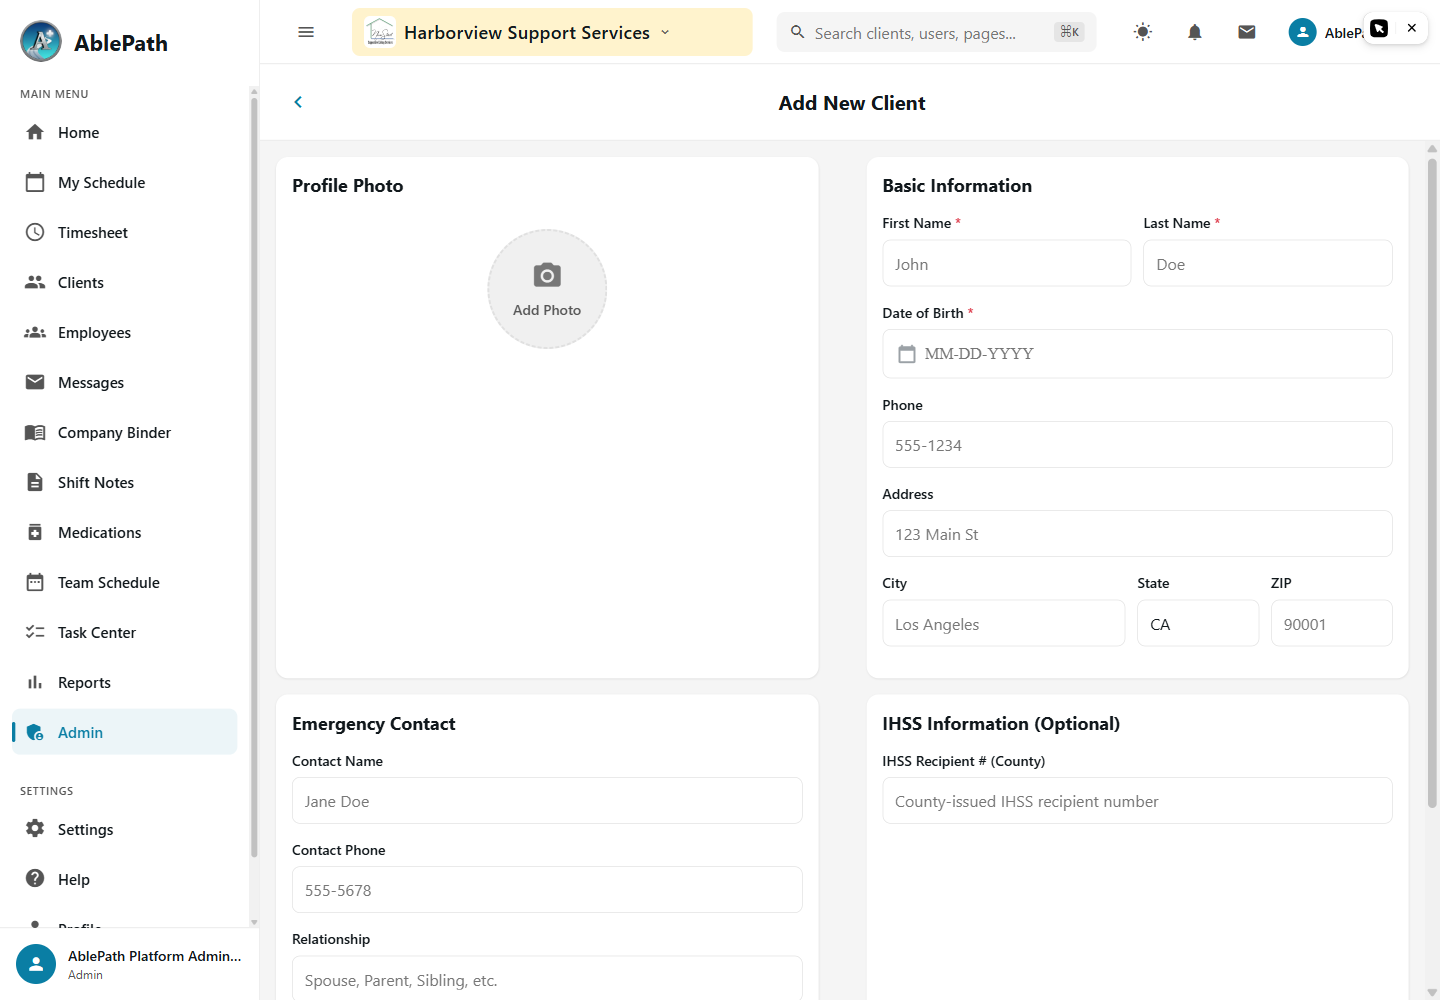
Screen reference: Add a new client. Click to enlarge.
Fill in first name, last name, and date of birth (all required), plus a profile photo if you have one.
Add insurance provider/ID if applicable.
Enter the client's address — it's geocoded automatically for EVV geofencing.
Save.
GotchaIf the address can't be geocoded, you still get a "Client created successfully" message, but with a follow-up warning that GPS coordinates weren't set — meaning EVV geofence verification won't work for that client until the address is fixed.
Track ISP goal progress ("Outcomes")
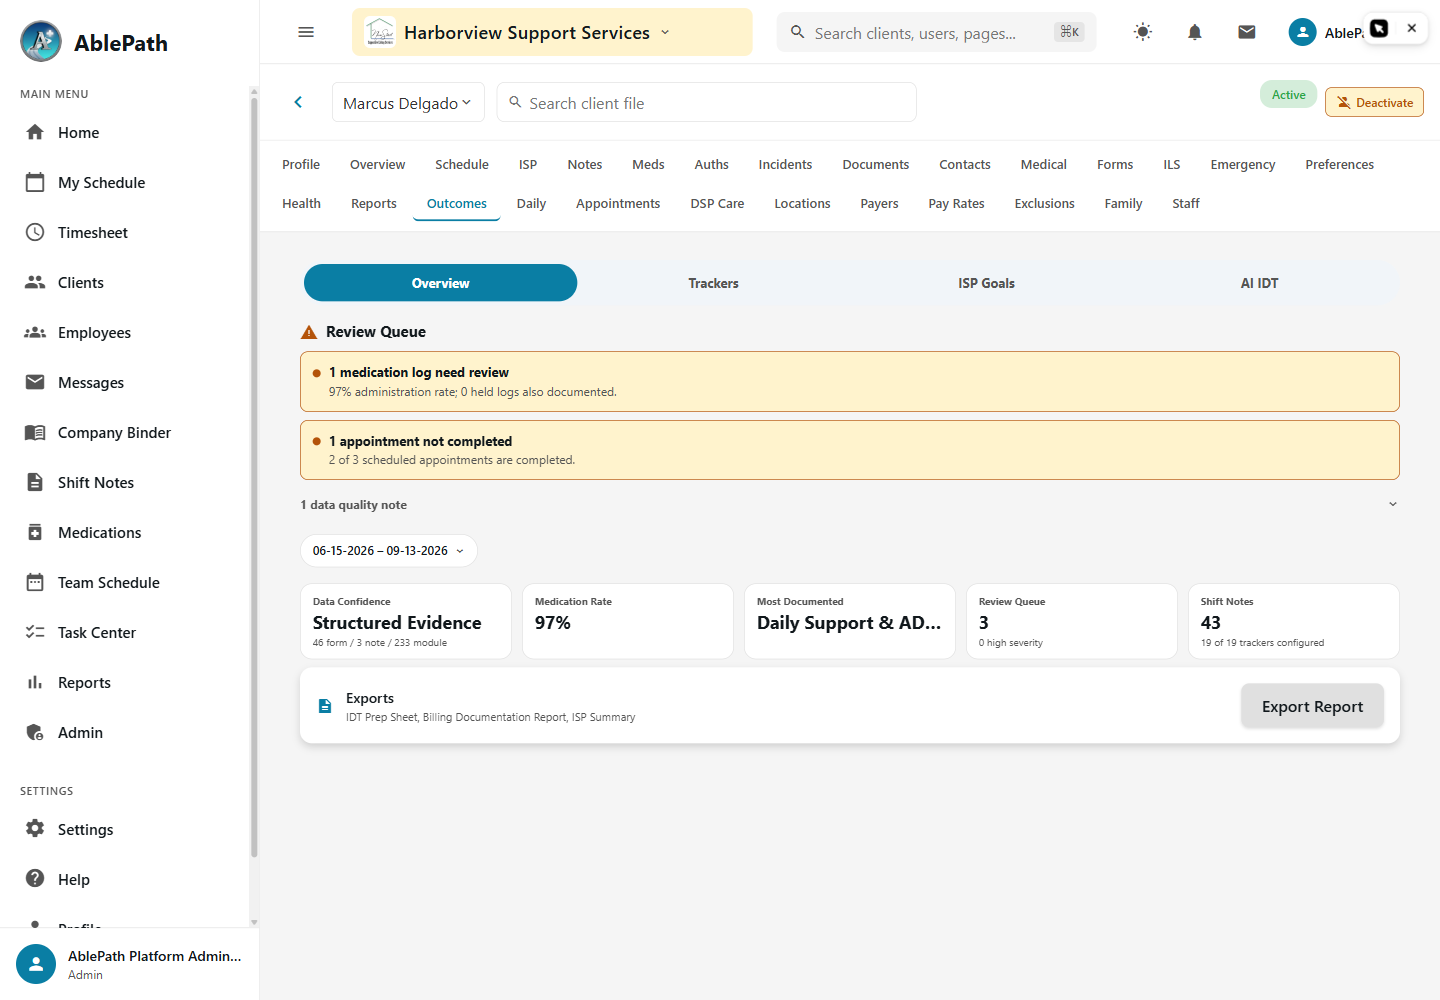
Screen reference: Track ISP goal progress ("Outcomes"). Click to enlarge.
WhoManager and above (edit) · Family (read-only summary)WhereAdmin tab → Client Services → Client Management → a client → Outcomes tab
Open a client's Outcomes tab and set a date range (defaults to the last 90 days).
Filter trackers by category, or leave on "All."
Each metric shows as a card with a weekly bar chart, its data source (form answers vs. shift-note text), and a comparison to the prior period.
Use Export to generate a PDF — an IDT summary, a billing documentation report, or an ISP summary.
GotchaTrackers pull automatically from shift-note text and custom-form answers. A tracker that's mostly built from narrative note-text (rather than structured form answers) gets flagged as an insight — a nudge to get staff filling out the structured form instead. Care Plan Task trackers show zero progress until active tasks are actually scheduled against real shifts.
Review a specific goal's trend line
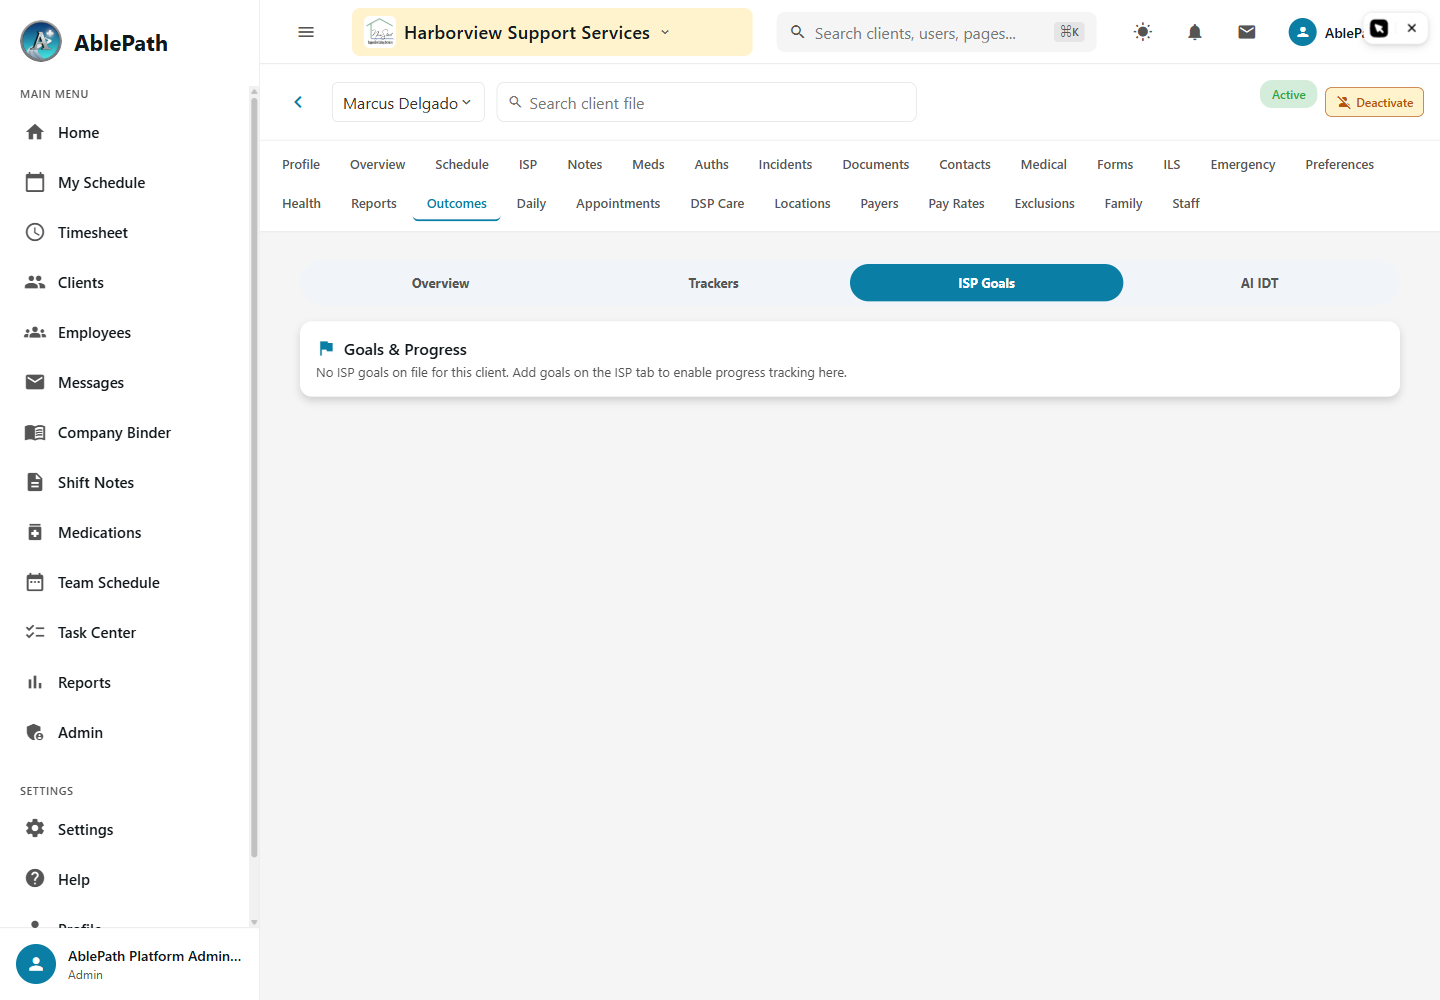
Empty ISP Goals screen. A populated goal history and trend chart still need a screen reference. Click to enlarge.
WhoManager and aboveWhereOutcomes tab → Goal Progress card
Each ISP goal is listed with its status and target date.
Tap a goal to expand its progress-entry history and trend (improving / stable / declining).
Tap again to enlarge the chart.
GotchaAn empty chart isn't a bug — it means staff haven't logged progress against that goal yet, not that the feature is broken.
Schedule, complete, or reschedule an appointment
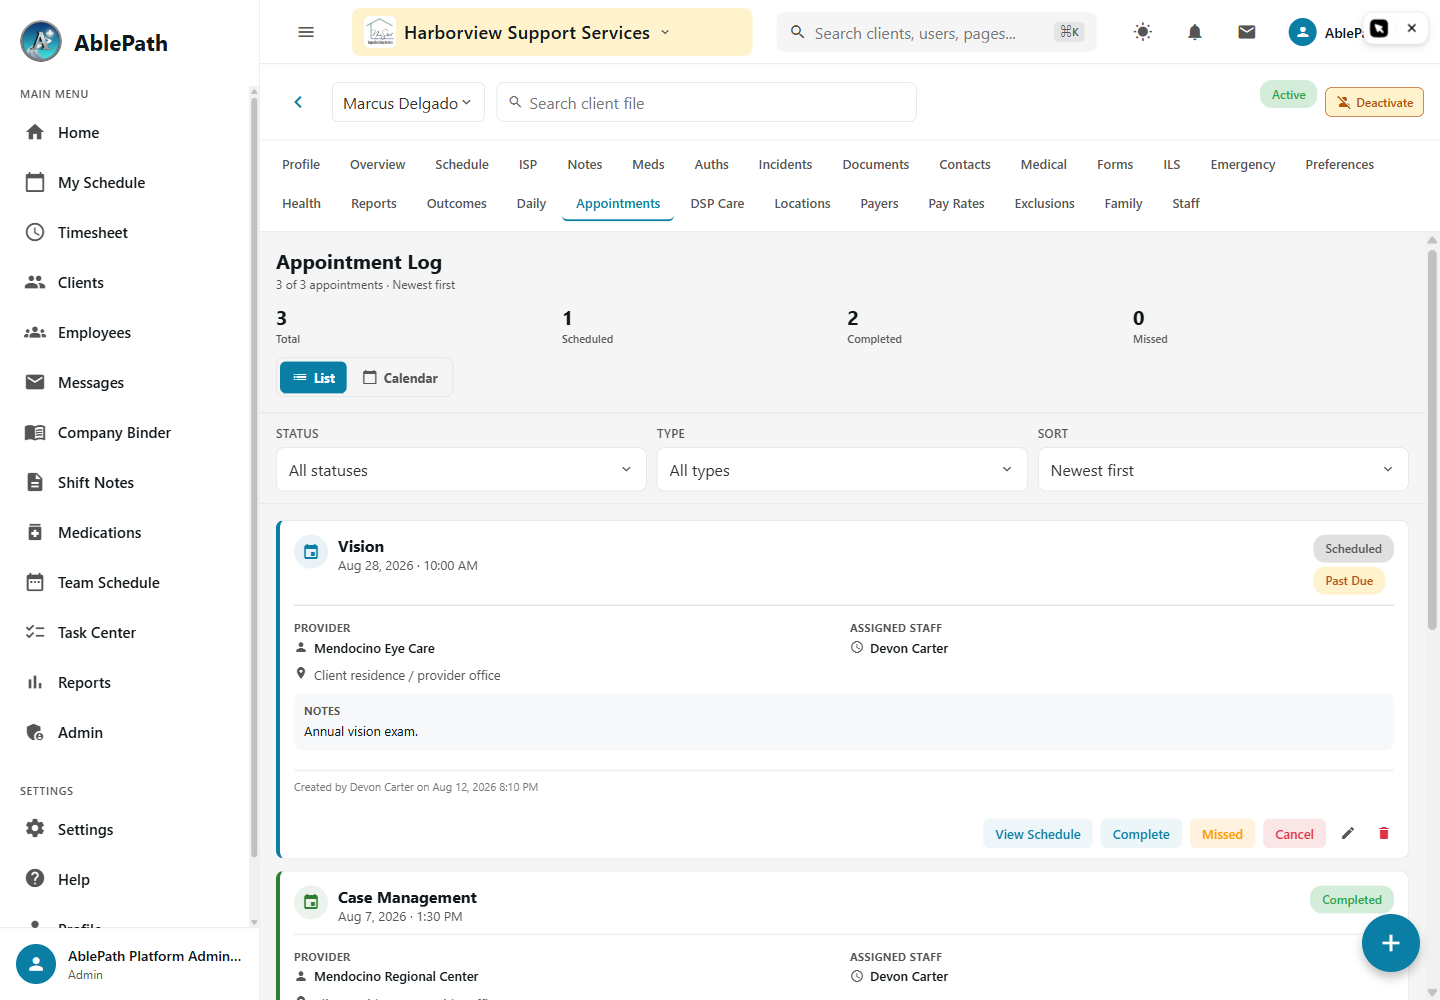
Screen reference: Schedule, complete, or reschedule an appointment. Click to enlarge.
Add Appointment: fill type, provider, location, date/time, end time, and assigned staff — you can also link it to a covered SLS shift if the times overlap.
Saving checks for a staff scheduling conflict before it lets you submit.
To complete a visit, record outcome and vitals (temperature, weight, blood pressure, oxygen saturation, pulse) plus any new medications.
To reschedule a missed or cancelled visit, the reschedule action carries forward transportation mode, provider phone, and prep instructions into the new booking automatically.
GotchaIf a follow-up appointment fails to auto-book after a visit is marked complete, it surfaces as a pending follow-up banner instead of silently disappearing — that's a deliberate recovery path, not an error to dismiss. There's also an org-wide queue at Admin tab → Client Services → Appointments if you want every client's appointments in one list instead of one at a time.
Family portal
Grant a family member portal access
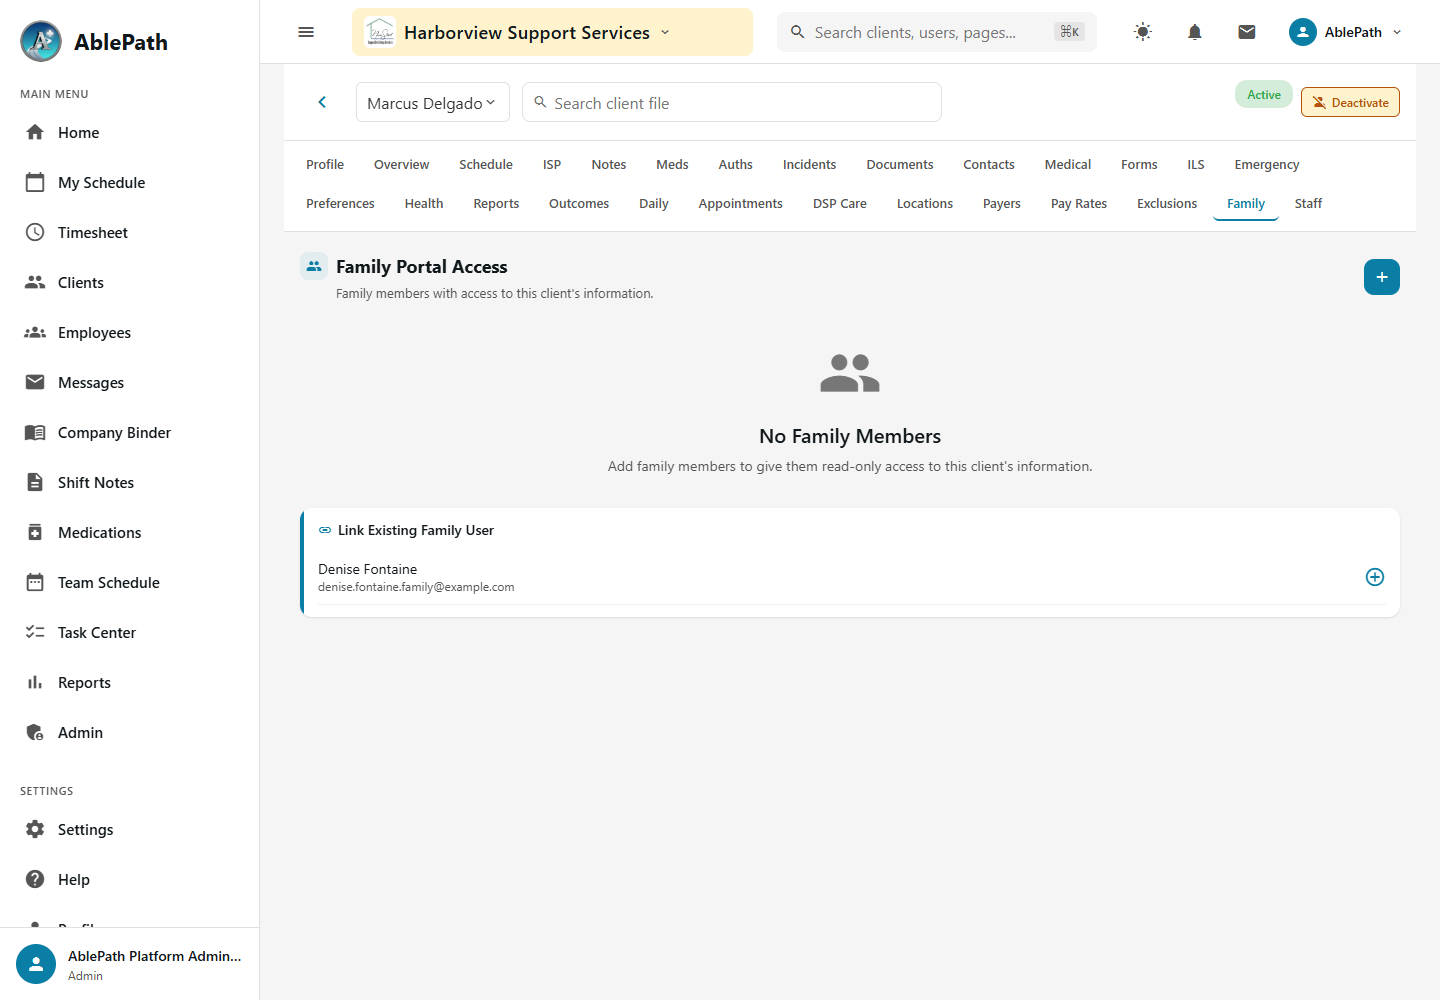
Screen reference: Grant a family member portal access. Click to enlarge.
WhoManager and aboveWhereAdmin tab → Client Services → Client Management → a client → Family Access section
Add Family Member to create a brand-new family account (name, email, phone), or Link Existing if they already have a family account for another client.
Toggle each permission individually: Can View Schedule, Can View Service Notes, Can View Medications, Can View ISP, Can Message Staff.
For a new account, select Create & Link. Confirm that the family member appears for the intended client, then review their access permissions.
GotchaThese permissions are per client, per family member — the same person can have different visibility on two different clients they're linked to.
View a client's info as a family member
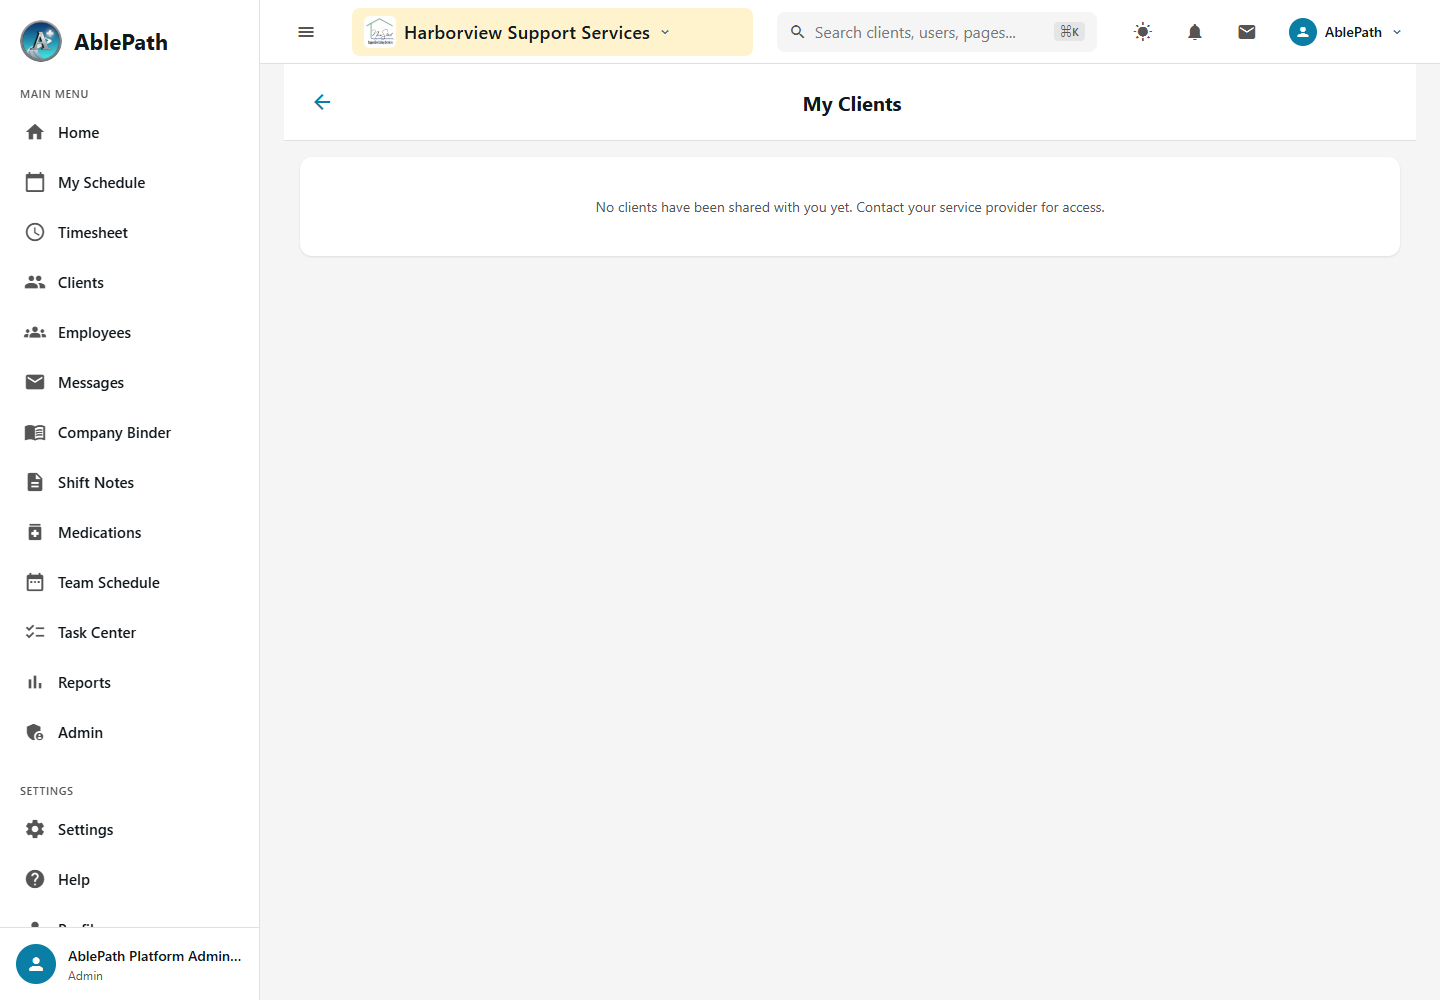
Empty My Clients screen viewed in the admin demo session; this does not demonstrate a linked family member’s portal. Click to enlarge.
WhoFamily role, only for linked clientsWhereFamily portal → My Clients
Log in and land on My Clients — only clients where you have at least one permission enabled appear, each showing badges for which sections you can see.
Open a client, then open whichever section is enabled: Schedule, ISP, Medications, or ILS.
GotchaEverything in the family portal is strictly read-only — there are no edit actions anywhere in it.
ILS / SLS self-service
Set up an ILS client
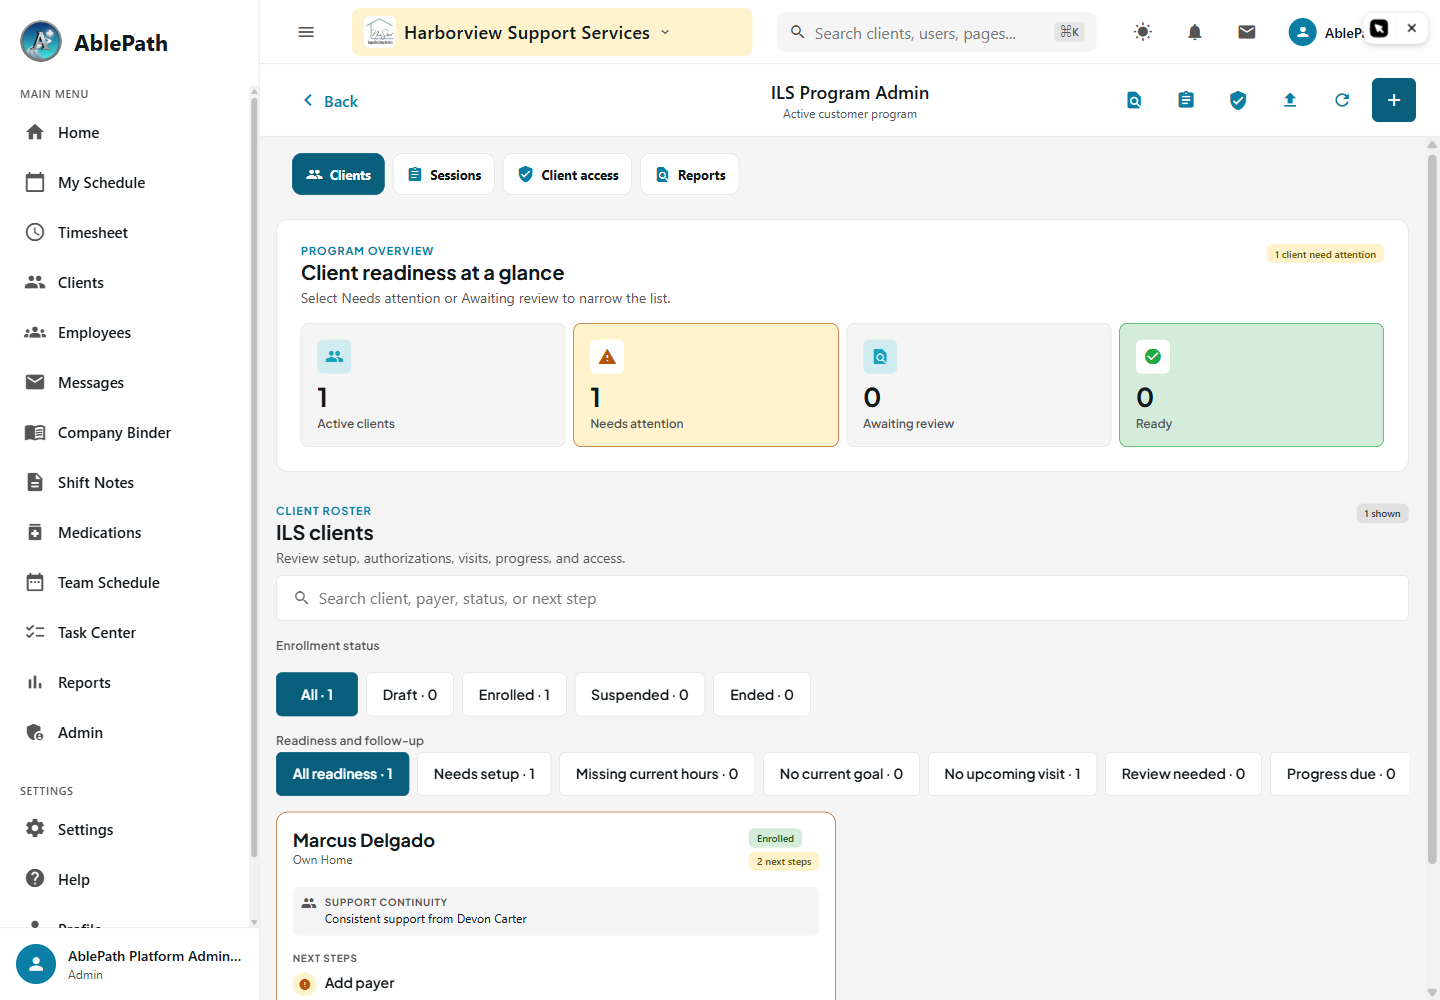
Screen reference: Set up an ILS client. Click to enlarge.
WhoILS admin access (Manager and above)WhereAdmin tab → Client Services → ILS Program Admin (or a client → ILS Profile tab)
Enroll the client against an organization service program and program version.
Pick a residence context — must be one the program version actually allows.
Set the enrollment's effective date range.
GotchaOnce enrolled, the ILS Profile tab scopes everything — authorizations, goals, schedules, sessions — to that one enrollment. You can't pick an arbitrary residence context; only the ones the active program version allows.
Invite an ILS client or staff member to self-service setup
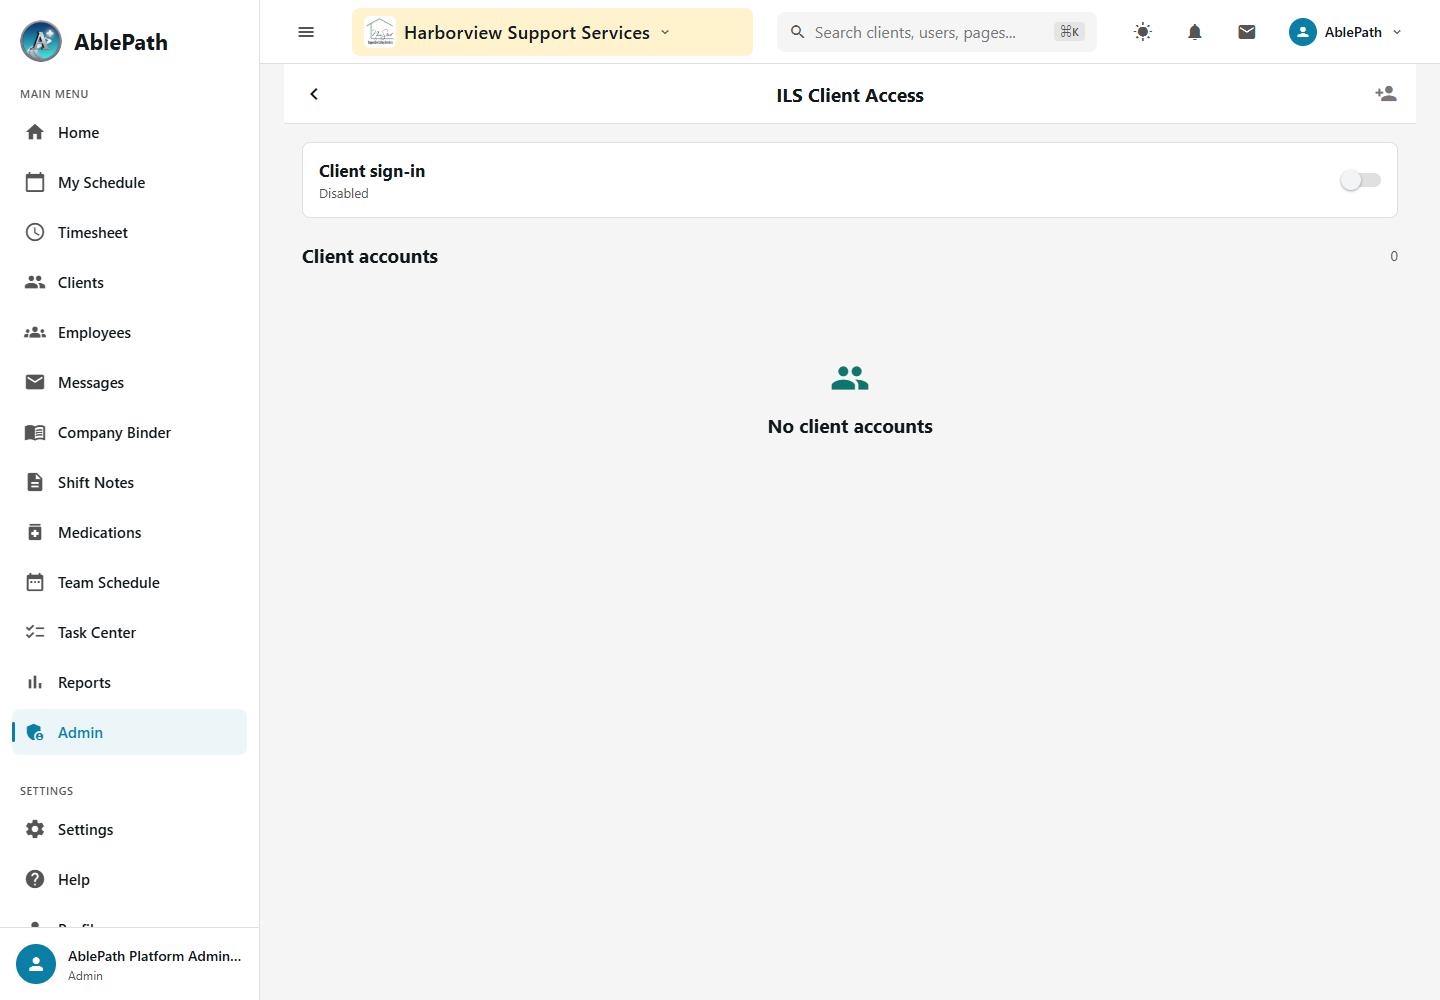
ILS Client Access with sign-in disabled. Invitation creation and activation are not shown. Click to enlarge.
WhoManager and above (issues invite) · Invitee completes itWhereAdmin tab → Client Services → ILS Program Admin → setup invitations
Issue an invitation — it creates a one-time token that expires after 7 days.
The invitee opens the link, previews the invite (organization, name, role, expiry), then sets a password to activate.
Reissue a new token if it expires, or revoke it any time before it's used.
GotchaThis is a real security-sensitive flow — tokens are hashed at rest and can't be reused once completed. Don't try to reuse a lapsed link; reissue instead.
Log and review an ILS session
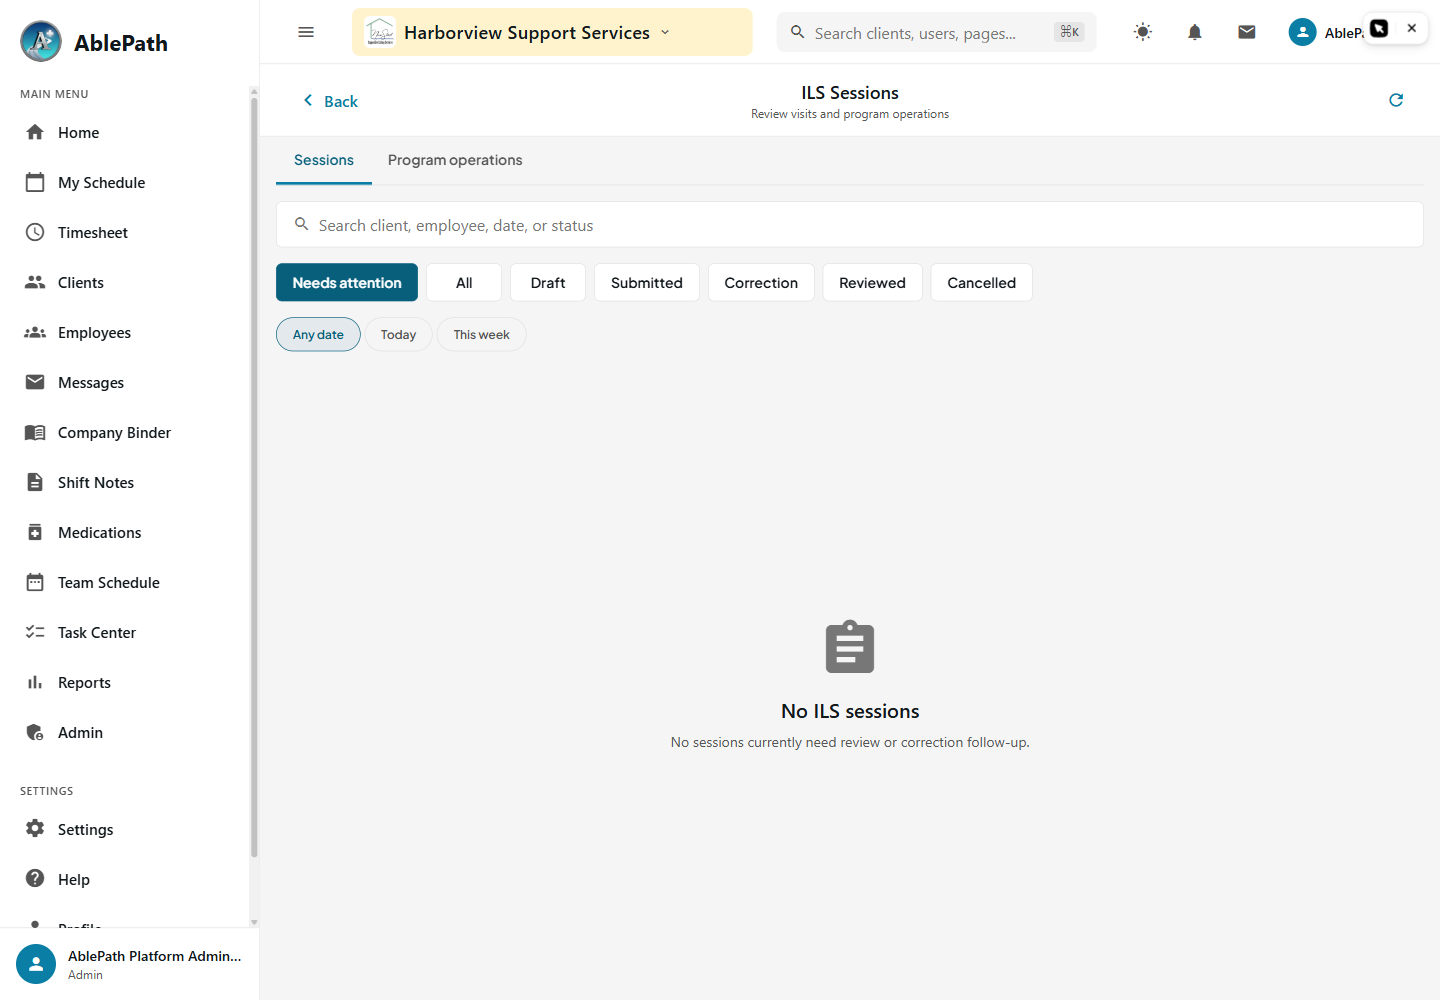
Screen reference: Log and review an ILS session. Click to enlarge.
WhoILS-assigned staff (log) · Manager and above (review)WhereAdmin tab → Client Services → ILS Sessions
A session moves through a plain-language pipeline: Notes needed → Waiting for review → Reviewed, or Correction requested.
Staff open a session, fill in notes, and submit.
If a reviewer requests a correction, it's sent back to the same staff member to revise and resubmit.
Gotcha"Correction requested" is not a rejection — it expects a resubmission from the same person, distinct from cancelling the session outright.
DSP Care & documents
Log and review DSP Care records
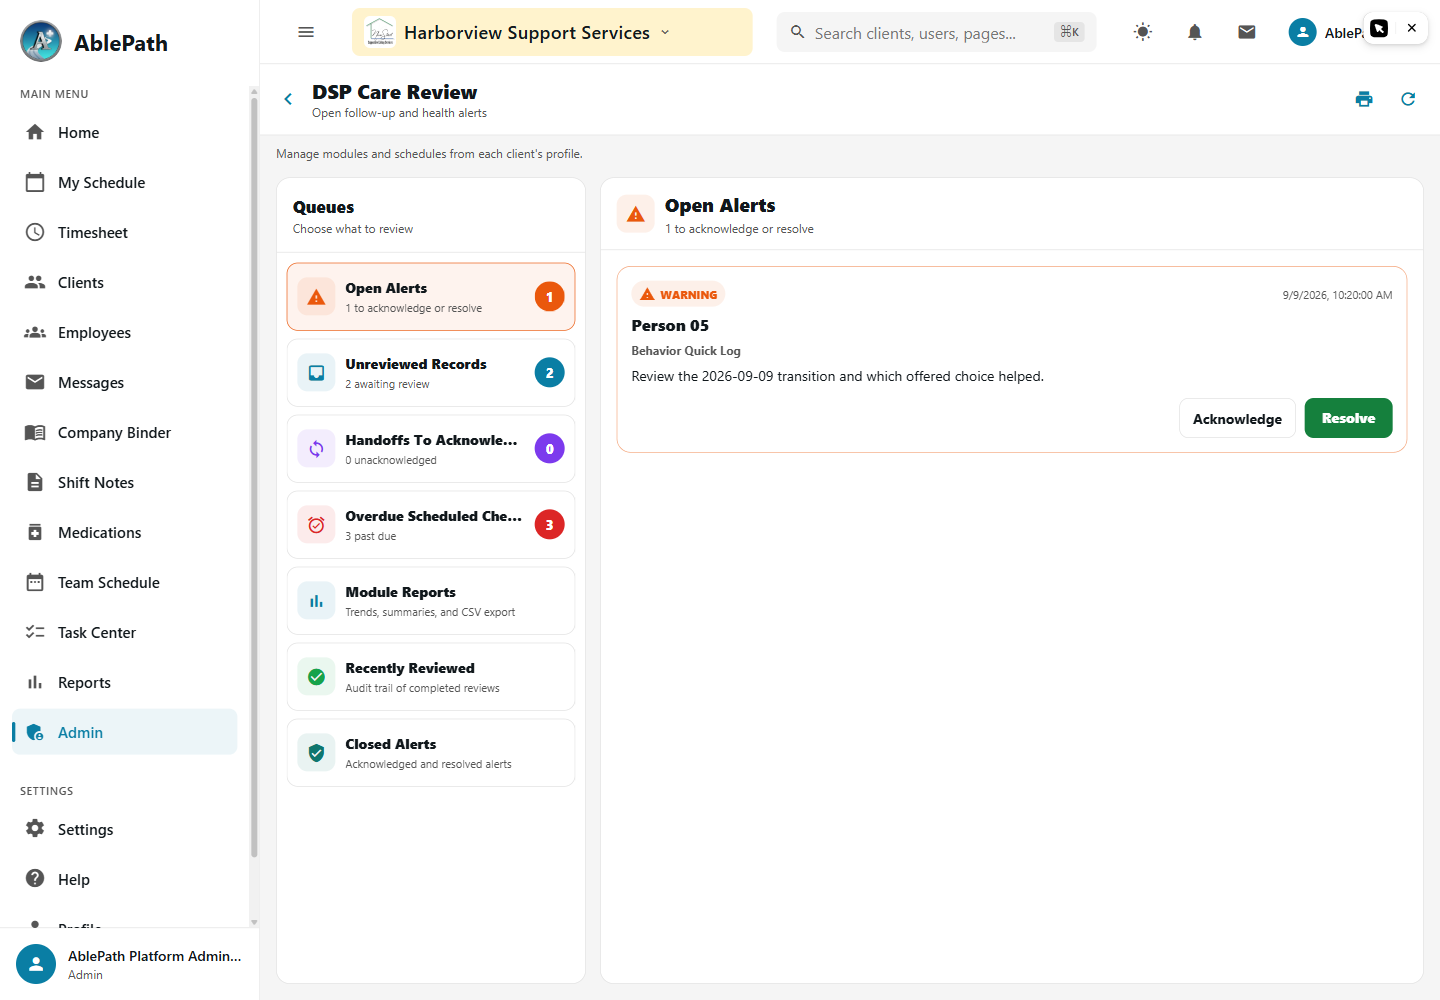
Screen reference: Log and review DSP Care records. Click to enlarge.
WhoDSPs (log) · Manager and above (review)WhereAdmin tab → Client Services → DSP Care Review
Reviewers see sections for Alerts, Records (unreviewed), Handoffs (unacknowledged, if enabled), Overdue Schedules, Reports, and archives.
Tap a record to review it.
GotchaOvernight-check schedules move through a real state machine: upcoming → due → overdue (past a configurable grace period, default 15 minutes) → completed once logged. A seizure-type entry can trigger an automatic escalation if its duration meets a configured threshold — that's a safety feature, not a false alarm.
Upload and manage a client document
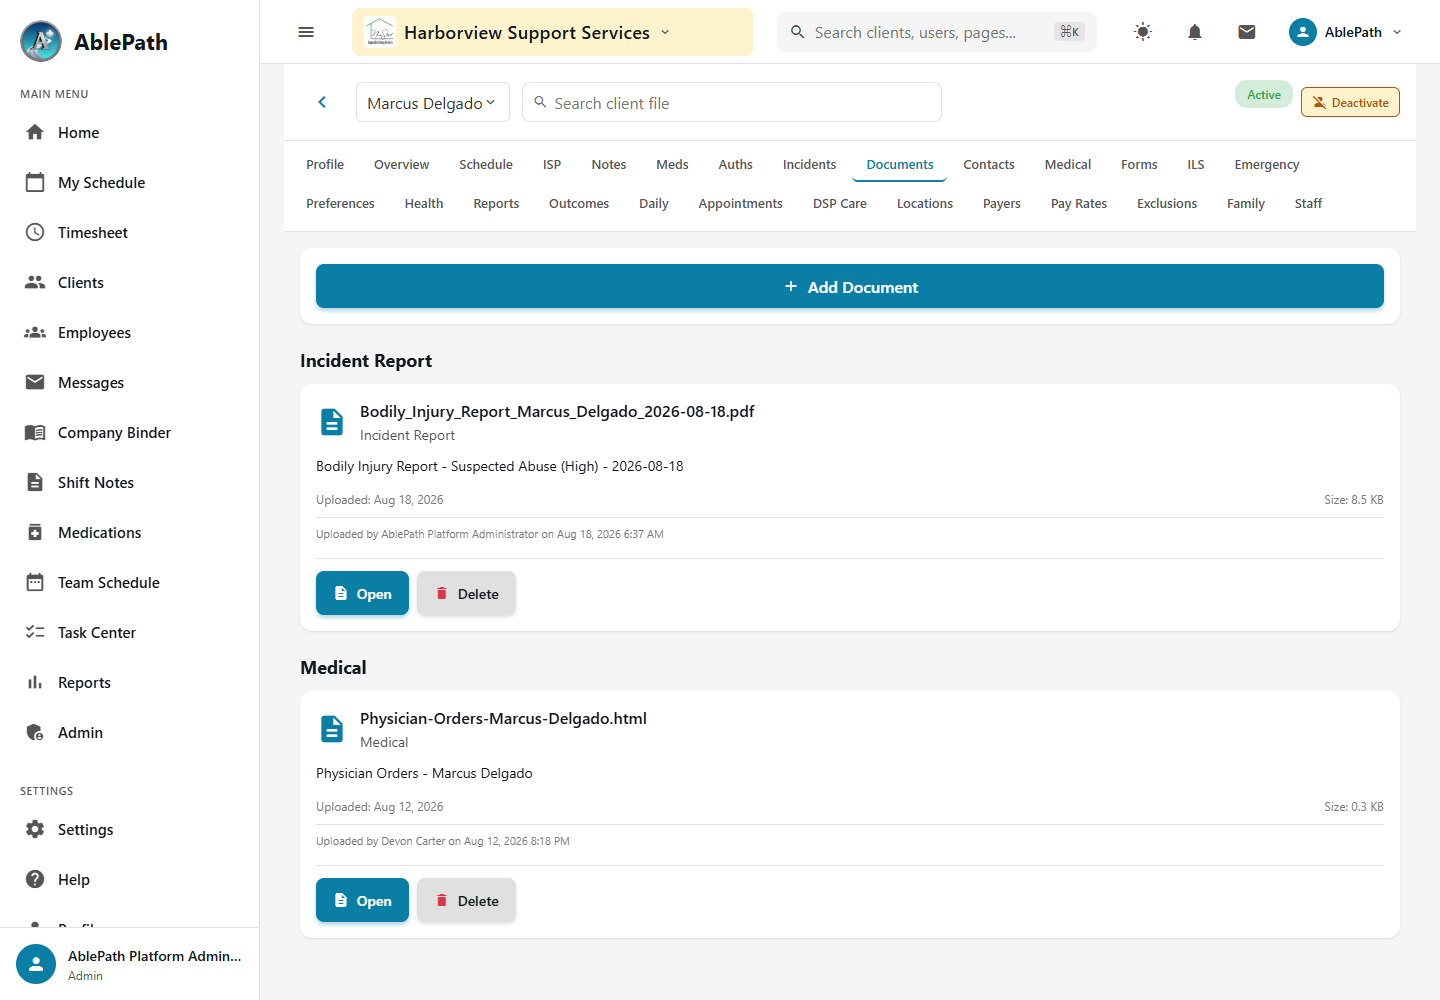
Screen reference: Upload and manage a client document. Click to enlarge.
WhoStaff with edit rightsWhereAdmin tab → Client Services → Client Management → a client → Documents tab
Documents are grouped: Incident Report, Medical Record, Care Plan, Authorization, Identification, Training, Other.
Add Document to upload; use the delete icon to remove one (with a confirmation step).
Gotcha"Other" is the fallback bucket — any document type the system doesn't recognize lands there instead of being hidden.