From an authorization on a client's file to a Regional Center export or a Medi-Cal EDI batch — where every dollar in the system starts and where it's tracked to.
Role ladderManagerDirectorAdminbilling.authorizations permission
Using this guide
Start with Who and Where, then follow the numbered steps. On desktop, Home, Clients, Timesheet and other destinations may appear in the left sidebar instead of a bottom tab. The Admin menu groups additional tools.
Available actions depend on your role, permissions, enabled programs and organization settings. If a tool is missing, ask your administrator to check access. Expand a Settings Hub section to reveal its controls, use that section’s Save button, and wait for confirmation.
Screenshots show the demo web app. Some show a starting screen or an empty list rather than a completed task; read the caption. Click an image to enlarge it. Use Ctrl+F (Command+F on Mac) to find a task, label or keyword.
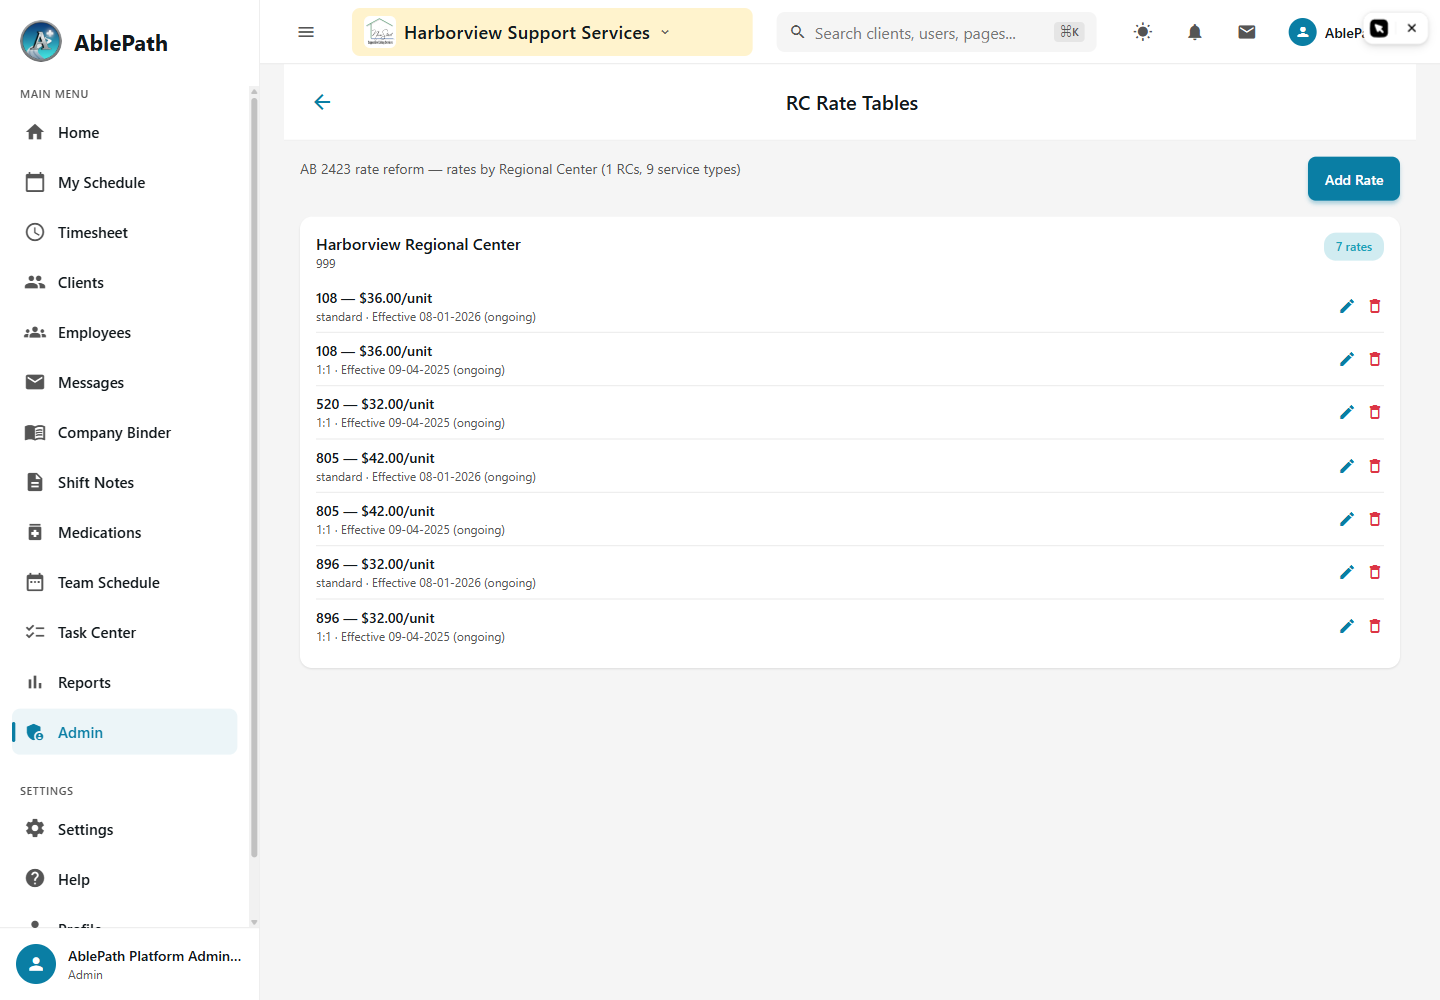
Set up Regional Center billing rates
Screen reference: Set up Regional Center billing rates. Click to enlarge.
Pick a Service Code — only billable service types appear, shown with their DDS code and name.
Choose a Rate Tier: Standard, Enhanced, or Specialized.
Enter the Rate and an effective date, then Save. Click any existing row to load and edit it.
GotchaRegional Center, service code, and rate are all required — the form blocks saving if any one is missing.
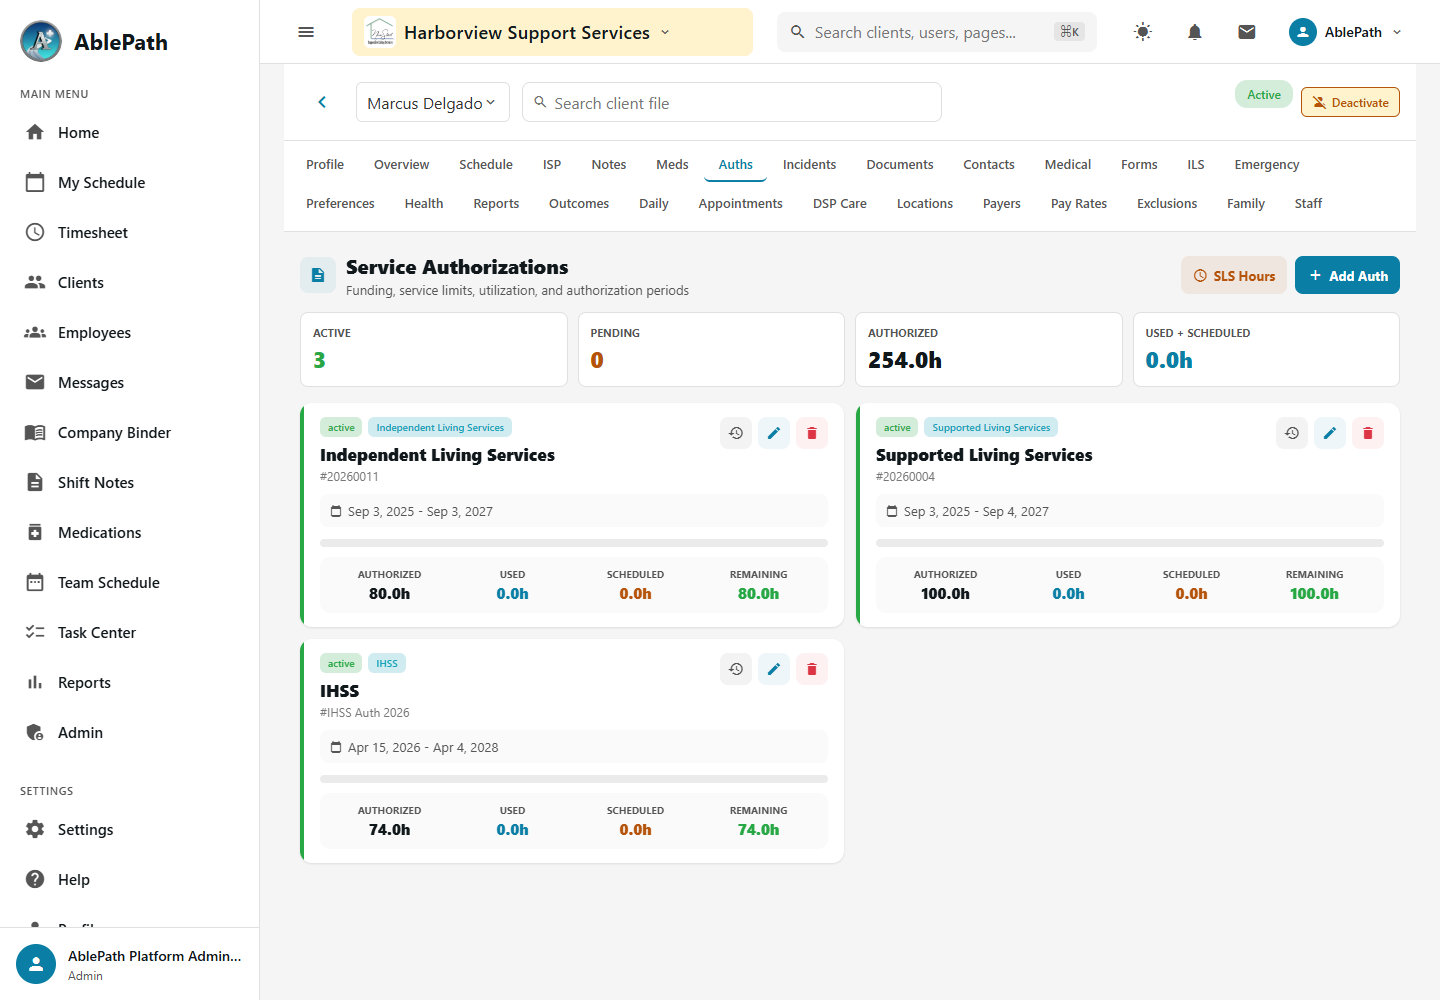
Add a client's service authorization
Screen reference: Add a client's service authorization. Click to enlarge.
WhoAnyone with the billing.authorizations permissionWhereAdmin tab → Client Services → Client Management → a client → Authorizations → Add Authorization
Choose the Authorization Type: Regional Center, IHSS, or Private Pay.
IHSS: enter authorized hours as weekly and/or monthly, in hours:minutes (e.g. 12:30). No dates or authorization number needed.
Regional Center / Private Pay: enter Authorized Hours, Start Date, End Date, and an Authorization Number (all required); case manager name/phone are optional.
Select the Service Type — IHSS forces this to "IHSS" automatically.
Save.
GotchaValidation depends entirely on the type you pick — IHSS skips the date/number fields RC and Private Pay both require, so don't expect the same form fields every time.
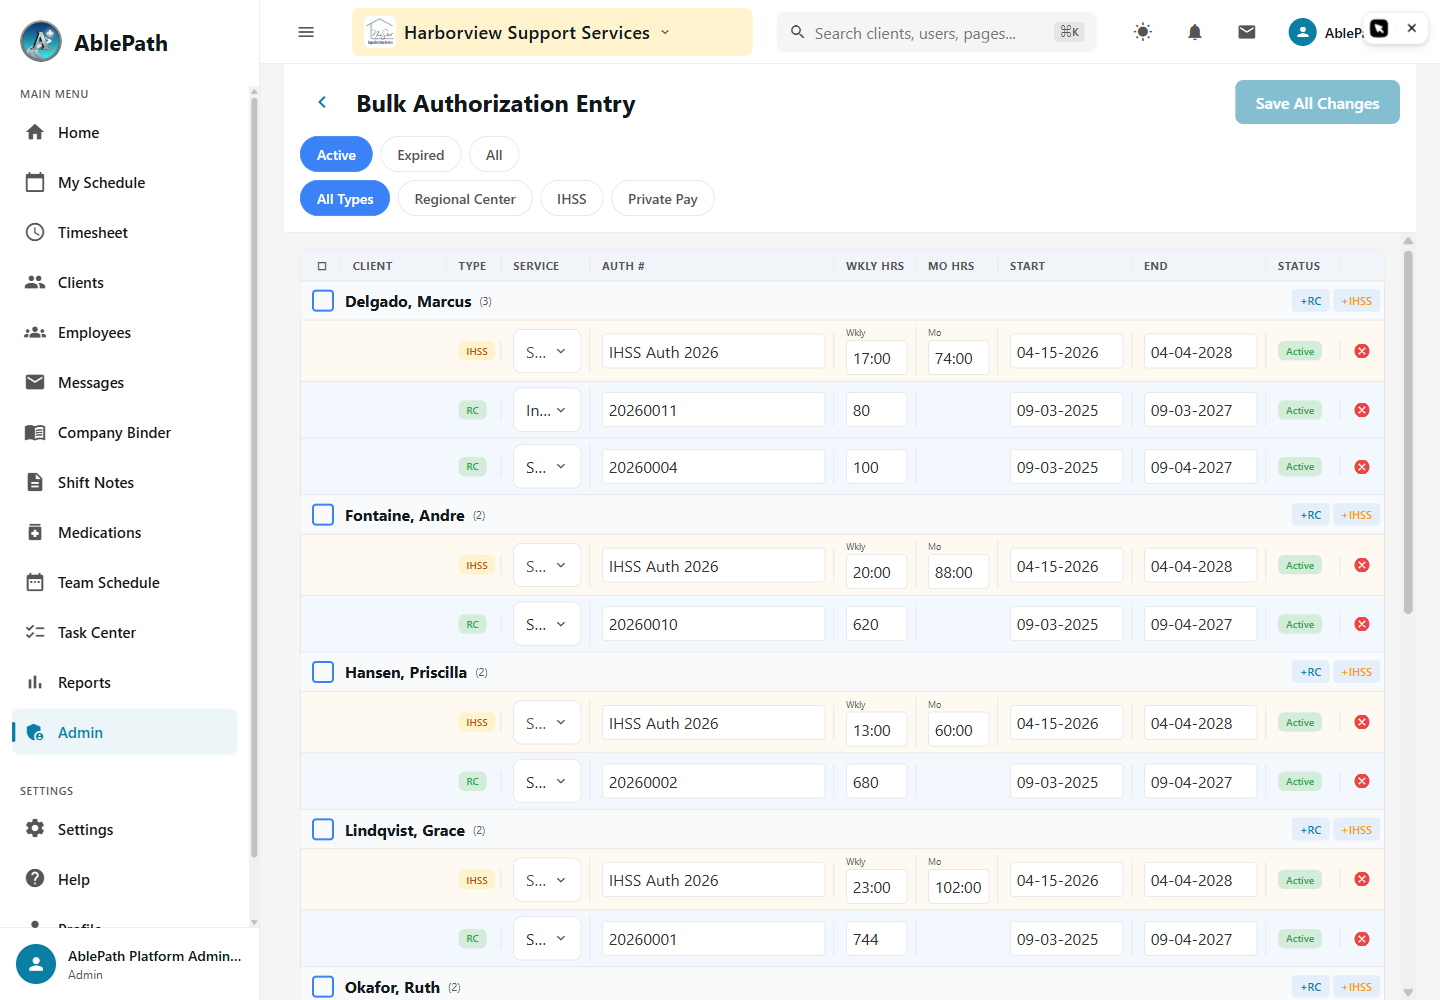
Bulk-update authorizations for many clients at once
Screen reference: Bulk-update authorizations for many clients at once. Click to enlarge.
WhoManager and aboveWhereAdmin tab → Client Services → Bulk Authorizations
Filter by status (Active/Expired/All) and type (RC/IHSS/Private/All).
Edit hours or dates directly in a client's row — RC rows are tinted blue, IHSS amber.
Or select multiple clients with checkboxes and use the bulk-apply panel to set a start date, end date, hours, and service type across the whole selection at once.
Save — only the rows you actually changed are sent.
GotchaThis is the fast path for renewing a whole caseload at the start of a new IPP/ISP cycle — use it instead of opening each client one at a time.
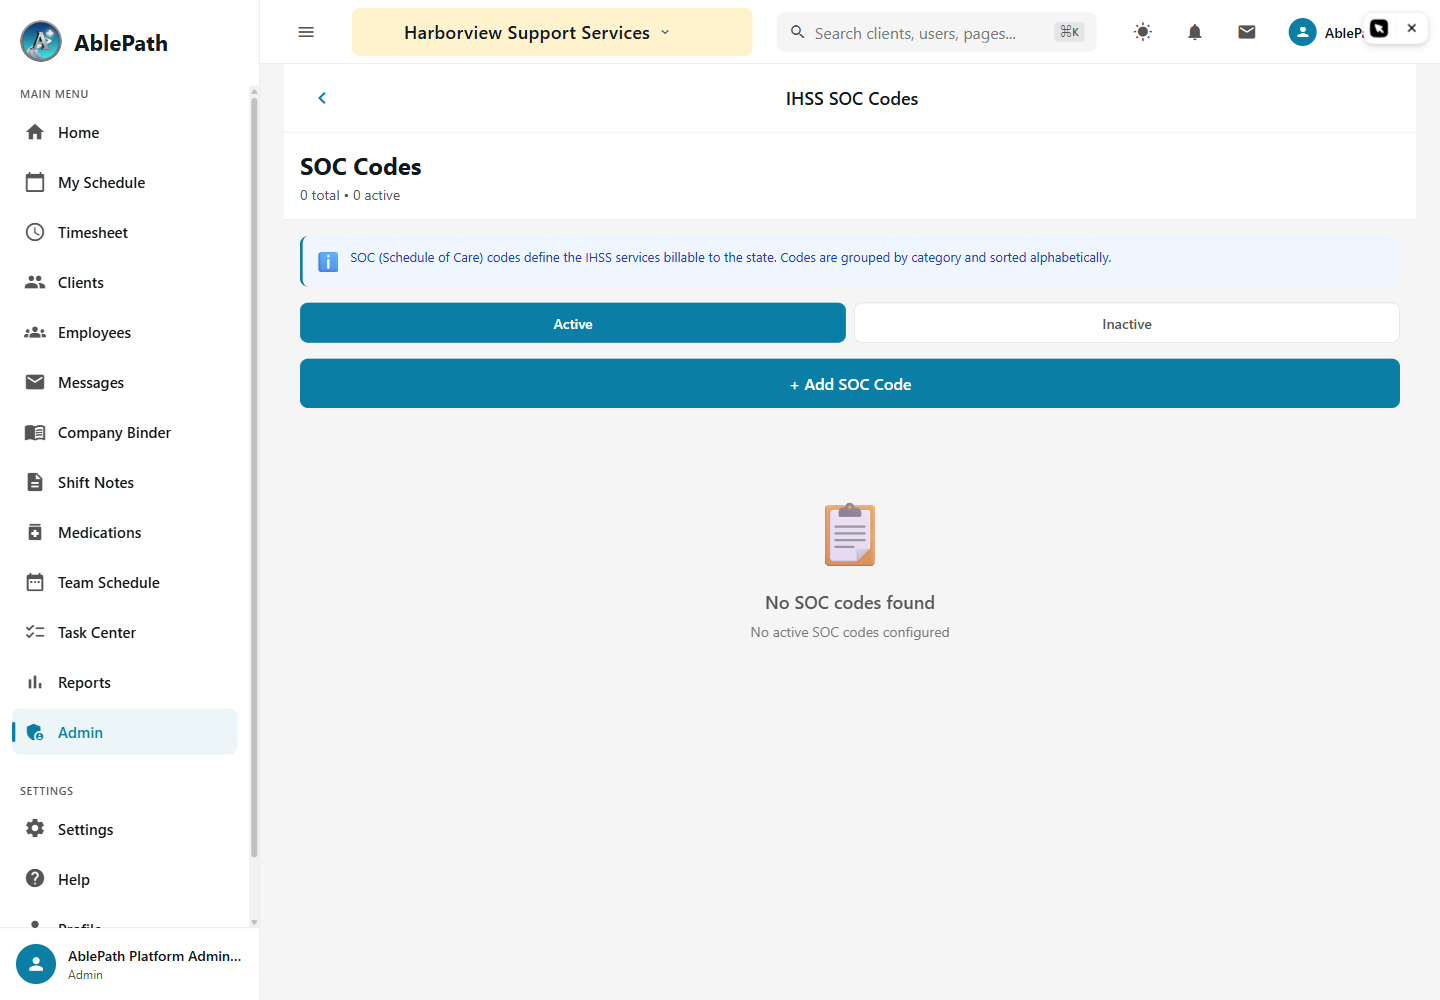
Manage IHSS SOC service codes
Screen reference: Manage IHSS SOC service codes. Click to enlarge.
WhoManager and aboveWhereAdmin tab → IHSS → SOC Codes
View existing codes, filterable by active/inactive.
Add or edit: Code, Category, and Service Name are required.
To retire one, use Deactivate.
GotchaDeactivate, don't delete — existing timesheets that already reference the code stay intact.
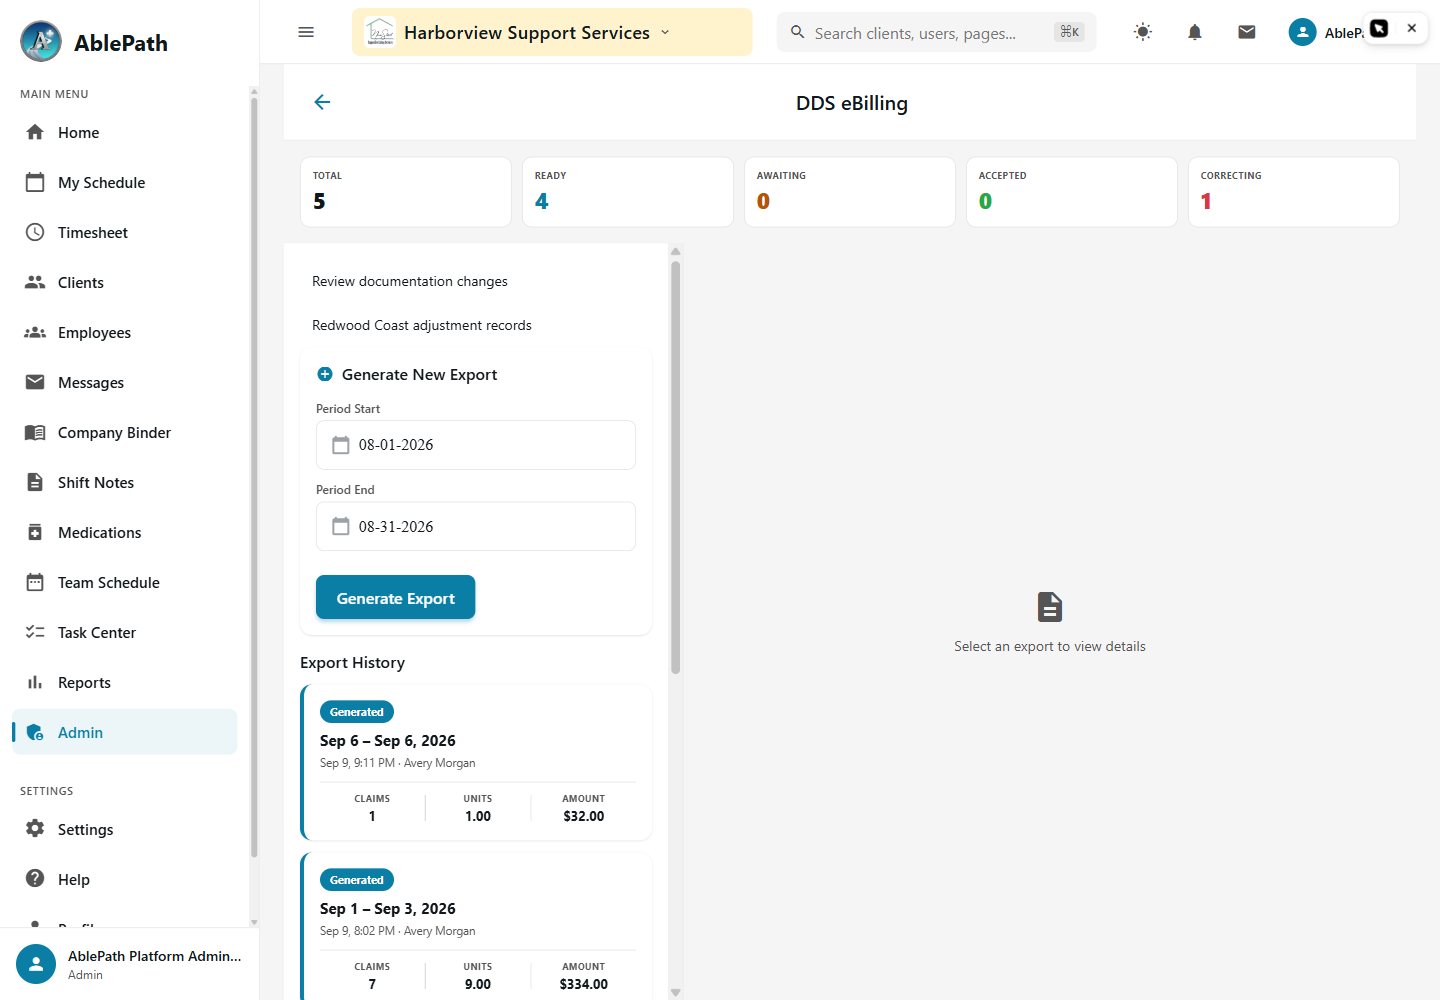
Generate and track the DDS eBilling export
Screen reference: Generate and track the DDS eBilling export. Click to enlarge.
The period defaults to last month — adjust Start/End if needed.
Generate DDS eBilling Export and confirm the date range.
Results show valid vs. invalid line counts. If shifts are missing a shift note, a "Missing Shift Notes" panel lists them with a direct link to open and complete the note.
Once generated, walk the export through its real lifecycle with the status button: Mark Submitted → Record Accepted / Record Rejected → Start Correction → Mark Correction Ready → Record Resubmitted → Record Accepted / Rejected.
Each transition can carry a reference number, effective date, reason code, notes, and an attachment — building an auditable timeline.
Worth knowingAblePath never submits to a Regional Center's portal for you. This whole flow tracks the status of a submission you make manually on the RC/DDS portal — it's an evidence and tracking system, not an auto-submit integration.
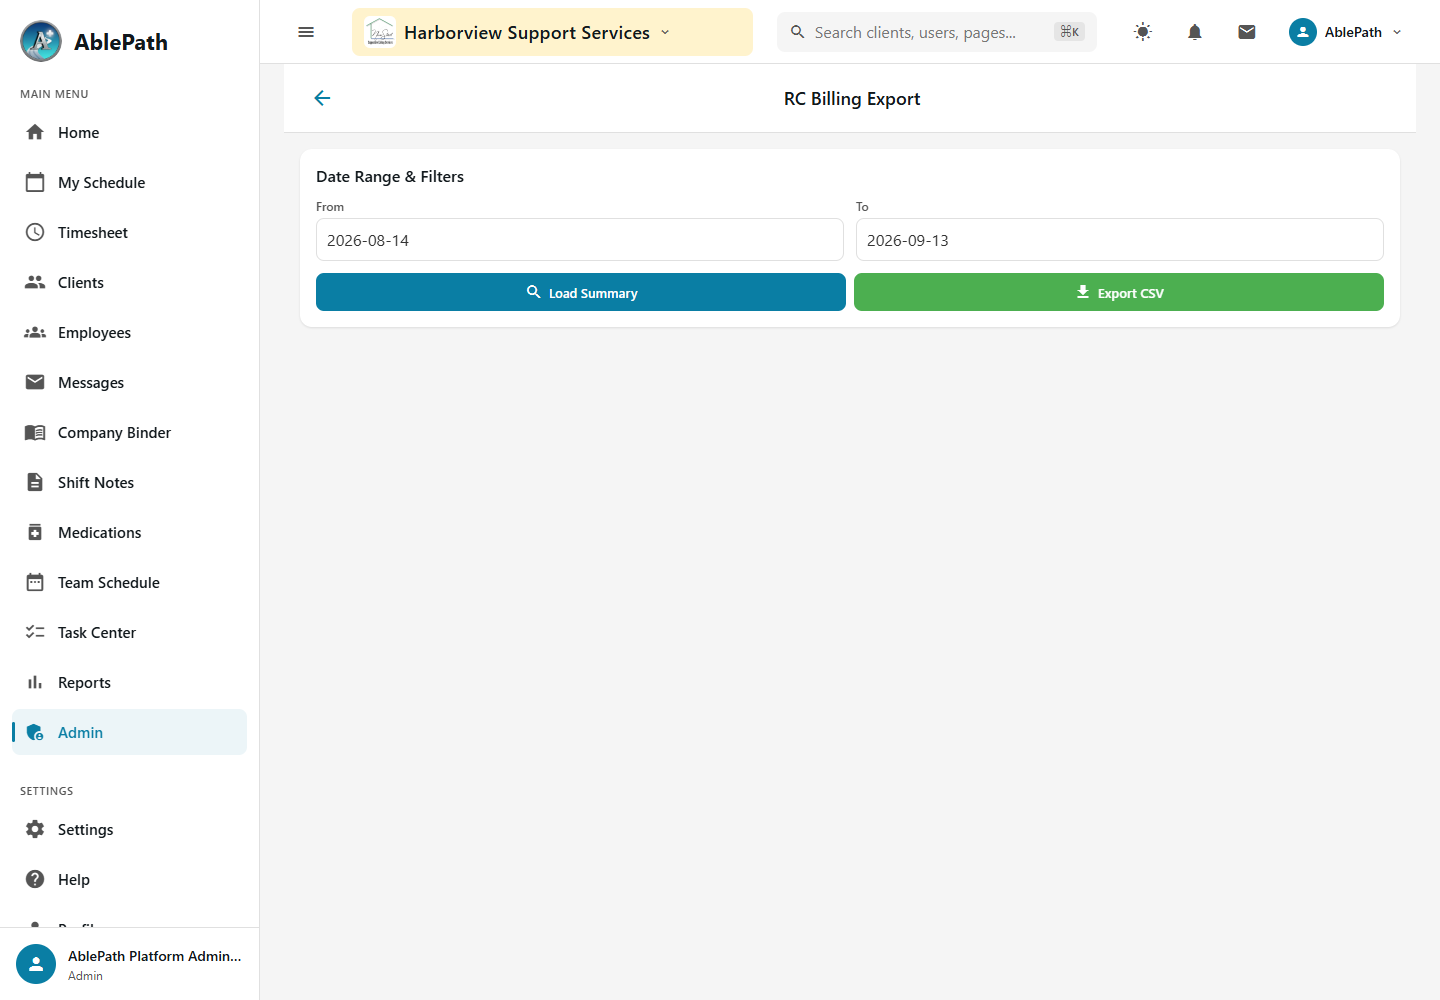
Export a Regional Center billing summary
Screen reference: Export a Regional Center billing summary. Click to enlarge.
Choose a date range, optionally filtered to one Regional Center payer.
Load the summary — broken down "By Regional Center" and "By Client."
Export CSV to download it.
GotchaThis is a plain reporting export with no status lifecycle — separate from the DDS eBilling flow above. Use it to reconcile against what the RC portal shows you, not as your submission record.
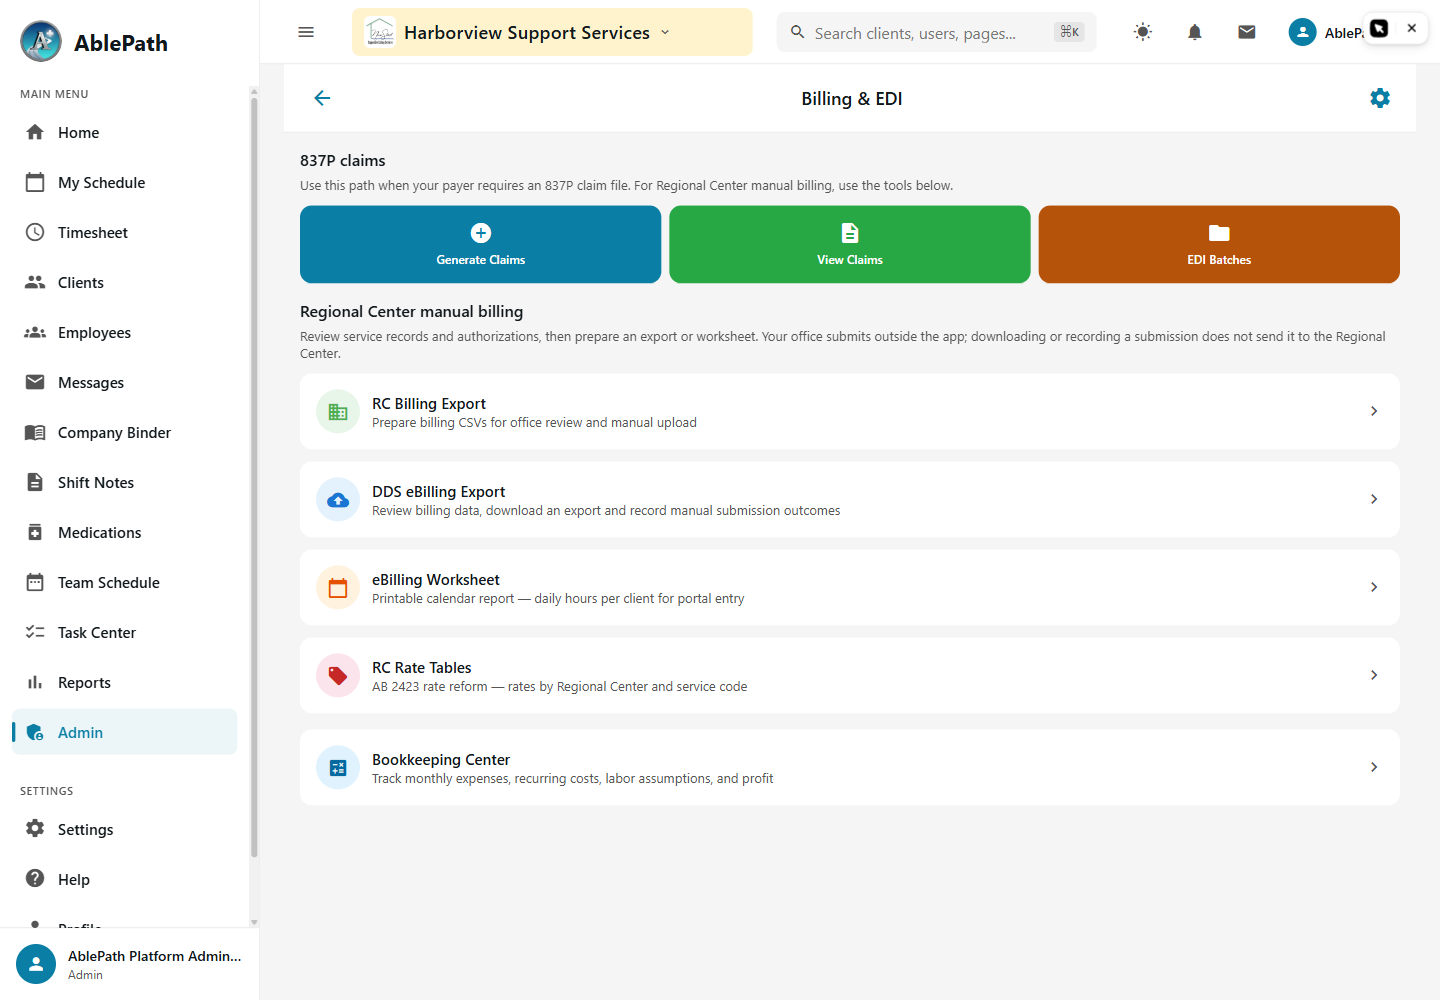
Generate and batch EDI claims (837P)
Claims & EDI landing page. Select View Claims to reach the claims list; batching is not shown. Click to enlarge.
Select claims to batch — every claim in a batch must share the same payer.
Generate Batch, confirm the claim count, payer, and total amount, and choose test file vs. production file.
This produces an EDI file for manual submission and opens the batch detail page.
Gotcha837P EDI claims are Medi-Cal only. Regional Center billing goes through the separate DDS eBilling flow above, not this screen.
Closing the loop
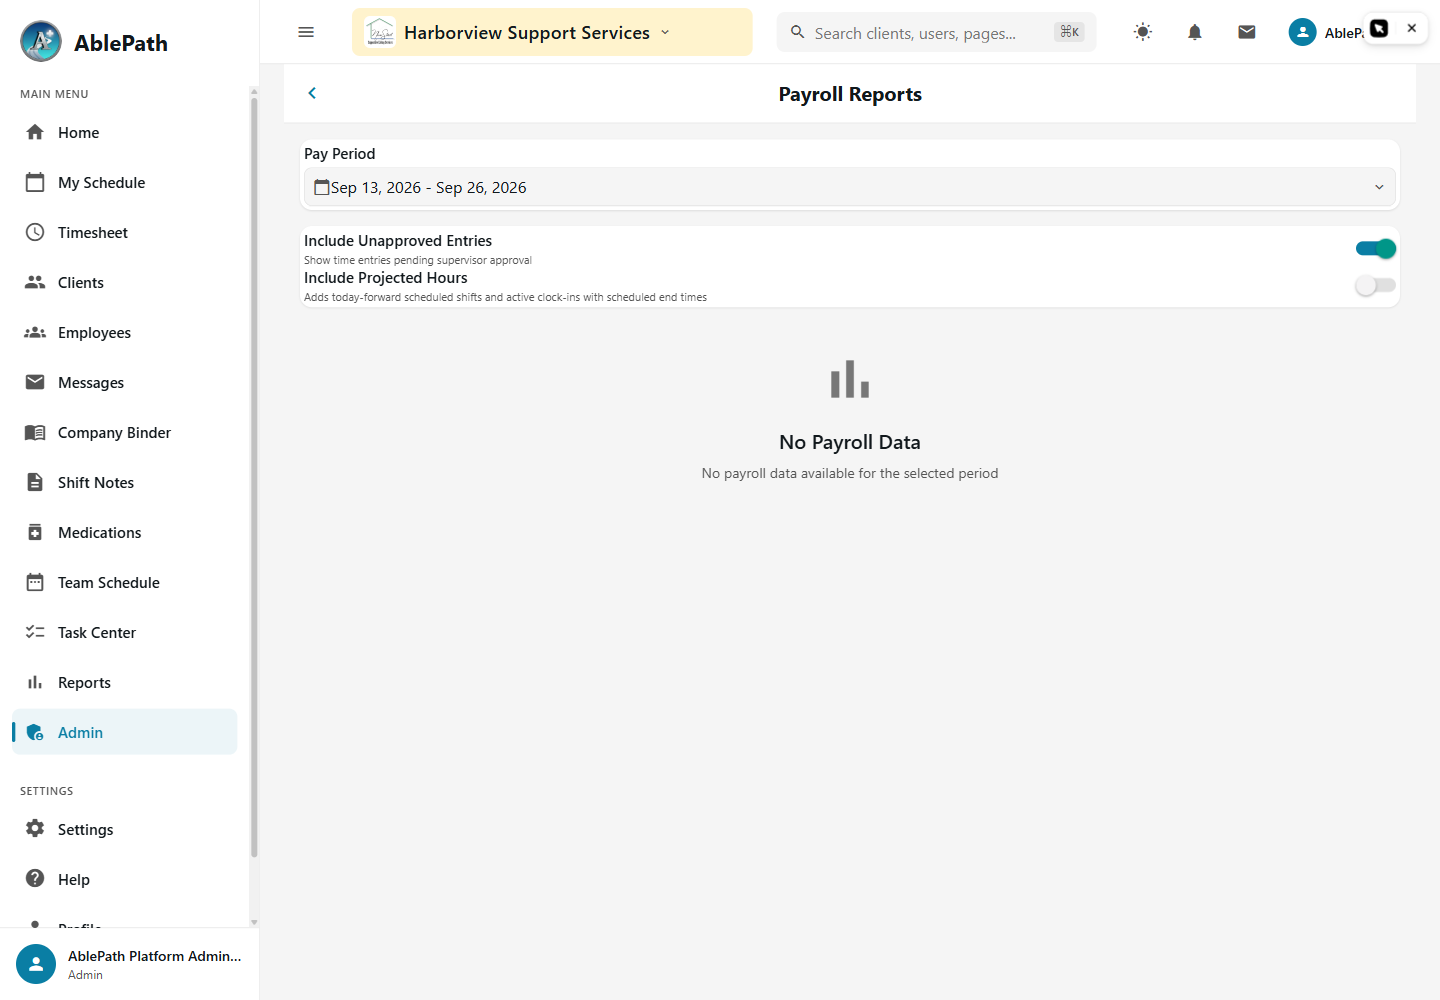
Run the payroll-to-billing reconciliation report
General Payroll Reports starting screen; the reconciliation report is reached through All Reports as described below. Click to enlarge.
WhoManager and aboveWhereAdmin tab → Compliance & Reporting → All Reports → Payroll-to-Billing Reconciliation Report
Open Payroll-to-Billing Reconciliation Report from All Reports.
Set the date range and employee filter requested by the report, then generate it.
Compare Payroll Hrs, Billed Hrs and Variance Hrs, and review Flagged Days and Unbilled Days. Resolve discrepancies in the underlying records before rerunning the report.
GotchaThe general Payroll Reports screen shown in this reference is not the reconciliation report itself. Use All Reports and select the report by name. The report requires payroll reporting permission and enabled payroll and billing features.
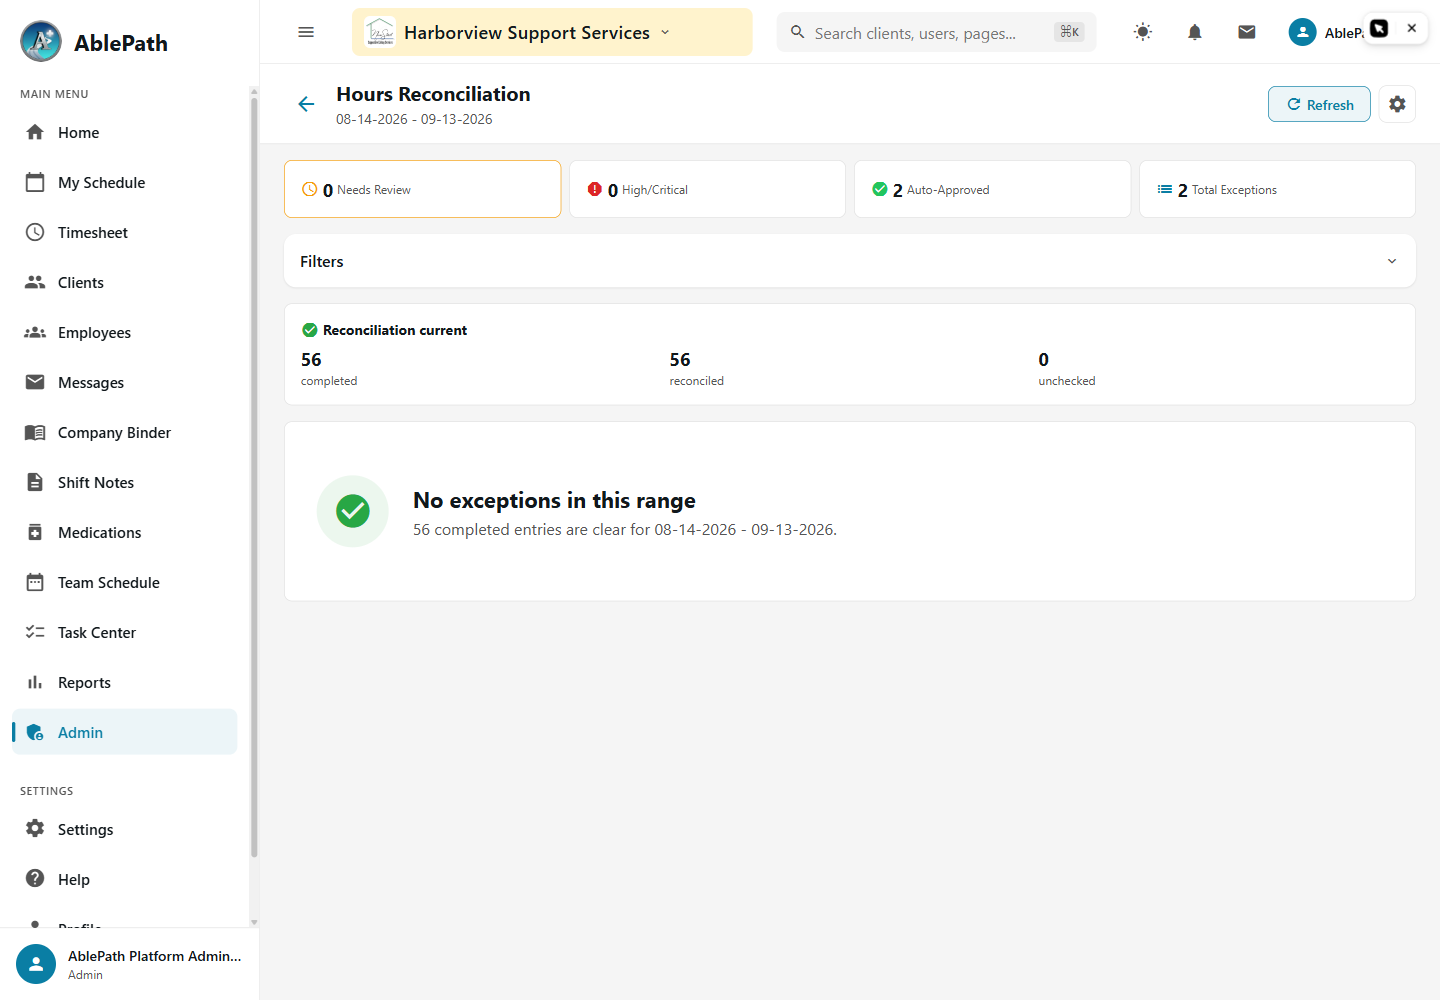
Reconcile time-entry exceptions
Screen reference: Reconcile time-entry exceptions. Click to enlarge.
Exceptions are grouped by time entry and sorted by severity.
Review and resolve or dismiss each one.
GotchaThis catches punch-level problems — a missing clock-out, overlapping shifts — before they ever reach a billing report, which is different from the audit-style reconciliation above that compares totals after the fact.
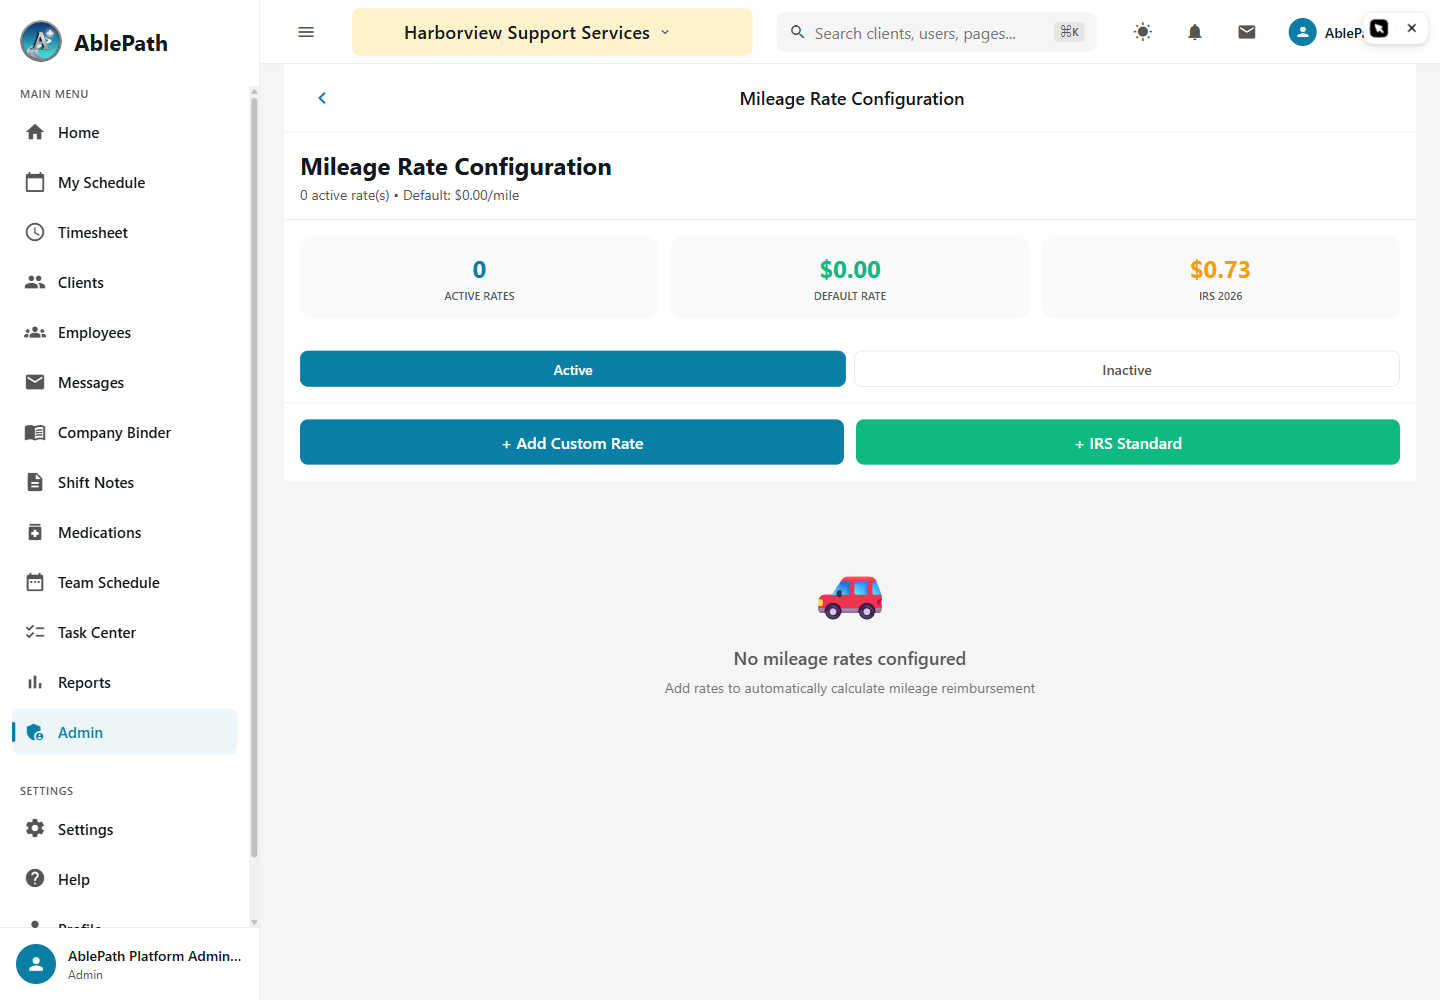
Configure mileage reimbursement rates
Screen reference: Configure mileage reimbursement rates. Click to enlarge.
Create a rate: name, rate per mile, effective start/end date, and type — Fixed, IRS Standard, or Custom.
IRS Standard pre-fills the rate bundled with this app version. Confirm the rate and effective dates before saving.
Optionally scope the rate to specific roles or specific users.
GotchaThe IRS Standard rate is a fixed value in the system, not fetched live from the IRS — someone needs to manually update it when the published federal rate changes.
Payroll
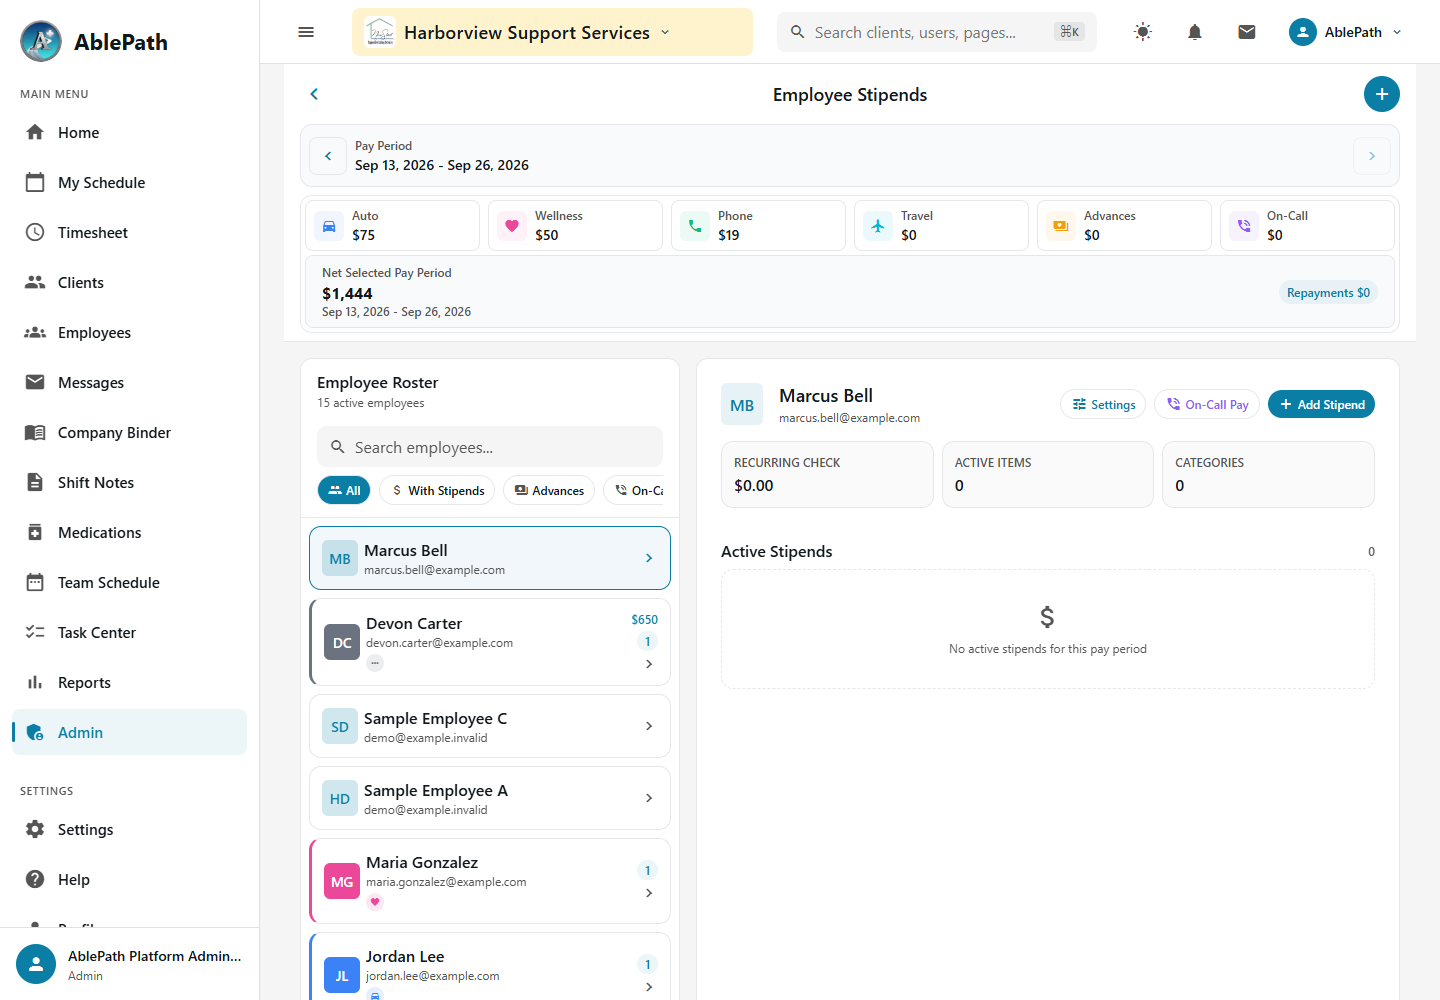
Set up an employee stipend
Screen reference: Set up an employee stipend. Click to enlarge.
Choose a Stipend Type (e.g. Automobile), a name, an Amount, and a Frequency (e.g. Semi-Monthly).
Set an Effective Date and optional End Date, plus any notes.
Save — it now applies automatically to that employee's future pay periods. On-call pay is entered separately from its own "Add On-Call Pay" action on the same screen.
GotchaSome stipend types are flagged as deductions rather than additions to pay — double-check the type before saving, since a deduction-type stipend reduces the paycheck instead of adding to it.
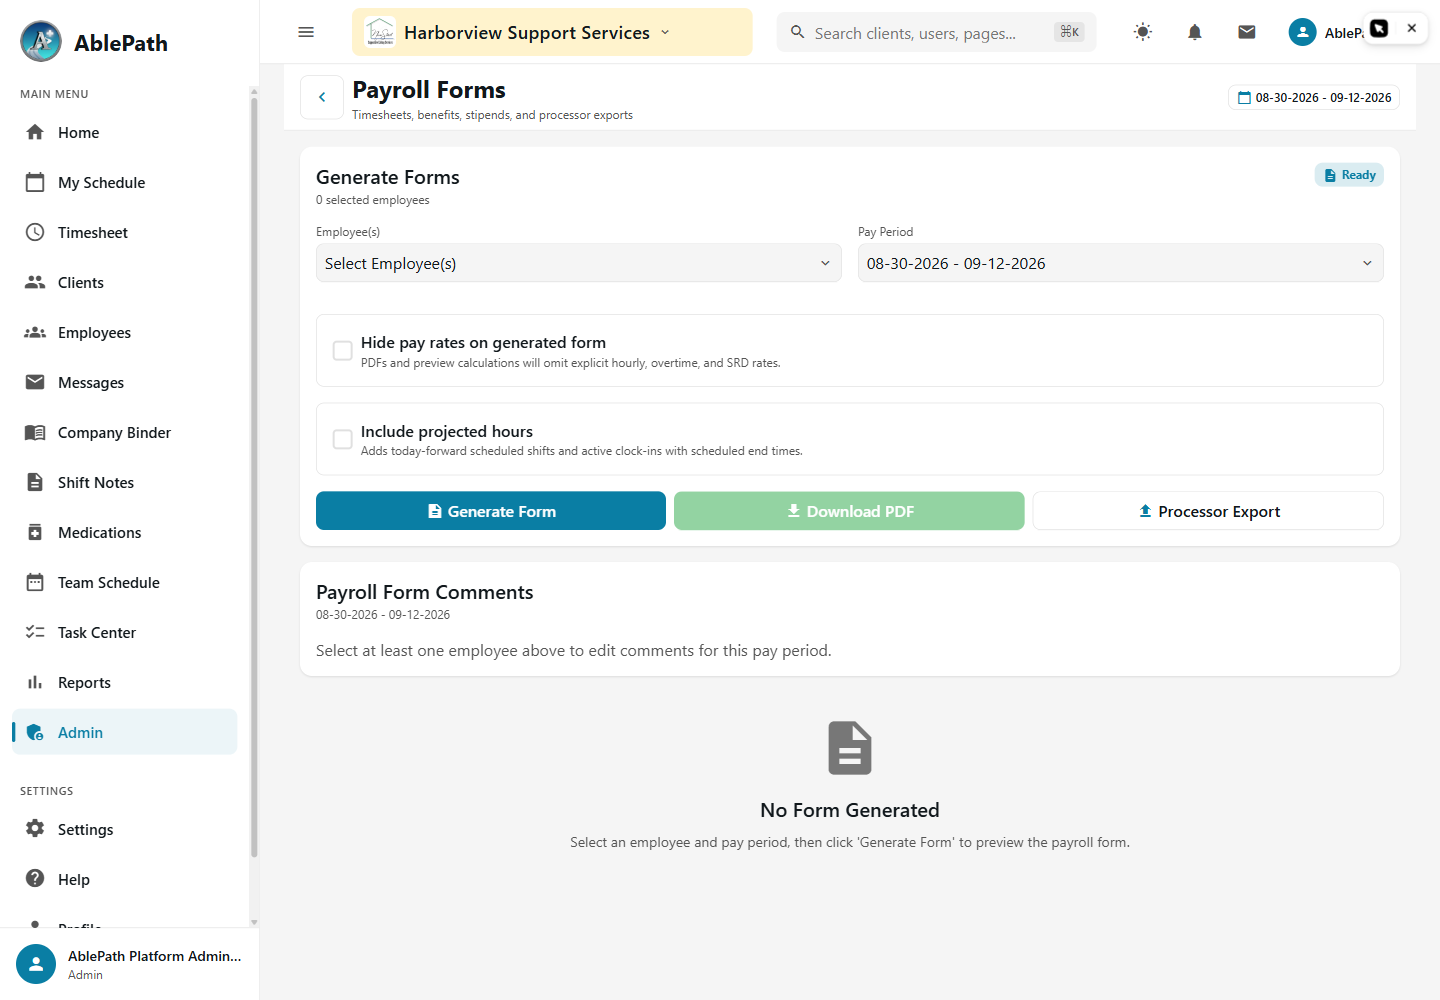
Generate a payroll form for a pay period
Screen reference: Generate a payroll form for a pay period. Click to enlarge.
WhoManager and aboveWhereAdmin tab → Payroll & Expenses → Payroll Form
Pick a pay period and an employee.
The form auto-breaks out regular, overtime, birthday, and holiday hours, plus any special pay rates, from that employee's timesheet.
If a scheduled punch is missing for the period, you'll be prompted to resolve it before the form can be finalized.
Leave a comment on the period/employee if payroll needs a note, then generate the form.
GotchaThe holiday premium rate is calculated from the organization's configured pay rates first, only falling back to (holiday pay ÷ holiday hours) if no rate is configured — if holiday numbers look wrong, check the configured rate before assuming a calculation error.
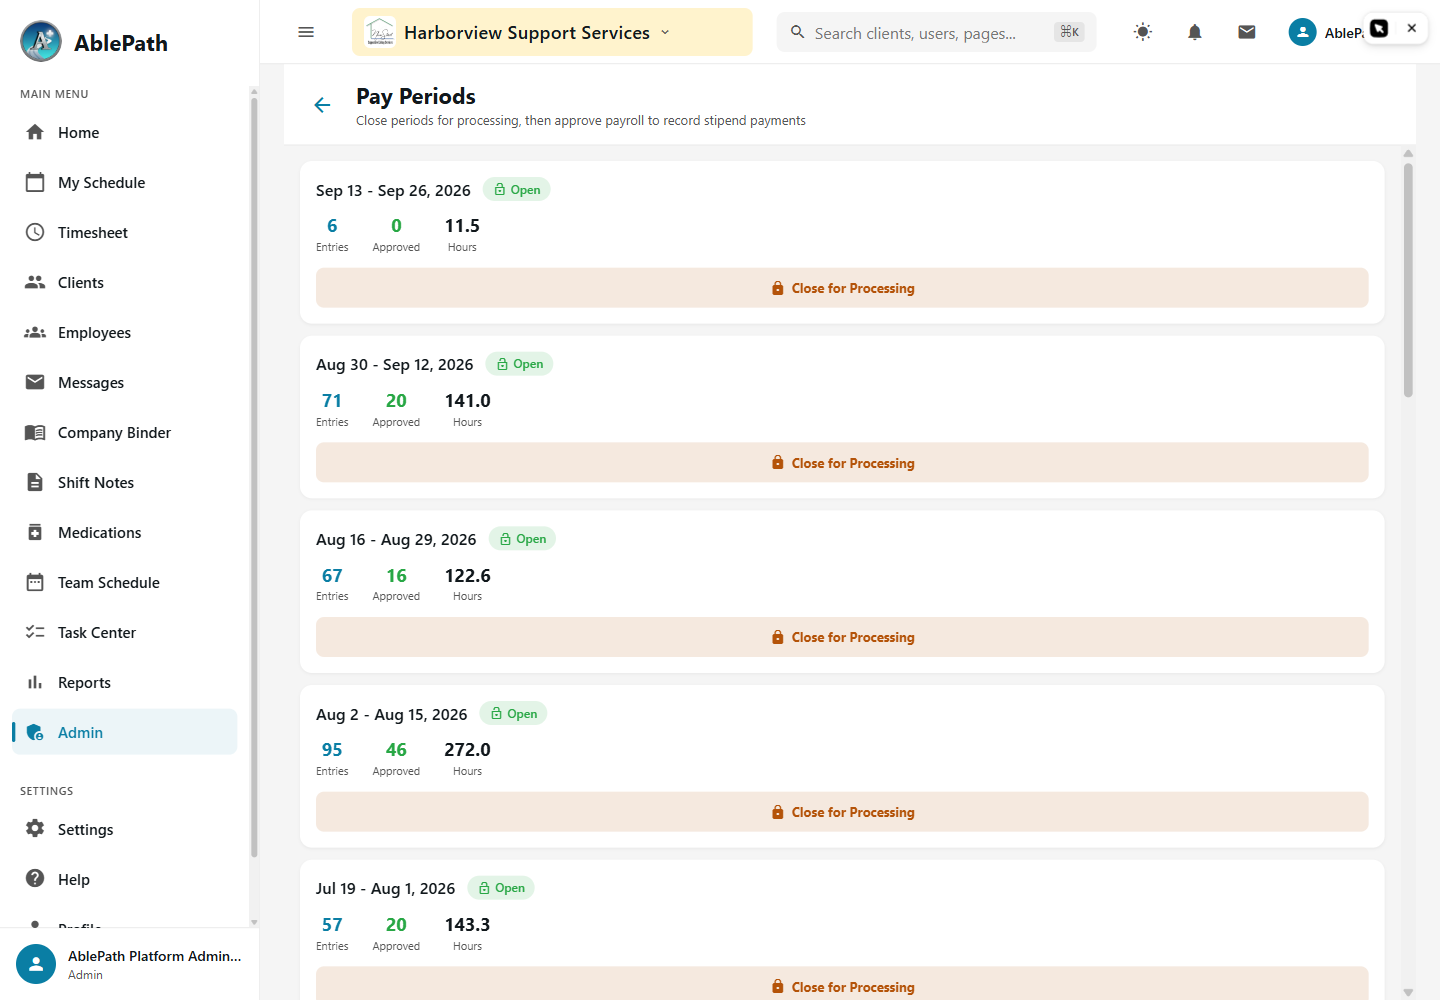
Set up and close a pay period
Screen reference: Set up and close a pay period. Click to enlarge.
WhoAdmin, DirectorWhereAdmin tab → Payroll & Expenses → Pay Periods
Pay periods carry a status: Open, Processing, Approved, Closed (Legacy), or Locked.
Close for Processing to lock a period — this calculates payroll totals and blocks active time entries inside it.
Approve Payroll once processed — this finalizes the period and records any receipt-based stipend payments due, reporting how many were recorded and their total.
Reopen a closed period if it needs changes.
GotchaClosing or reopening can fail if staff still have an active (not clocked-out) time entry inside the period — the error names up to 5 affected employees so you know who to chase before retrying.
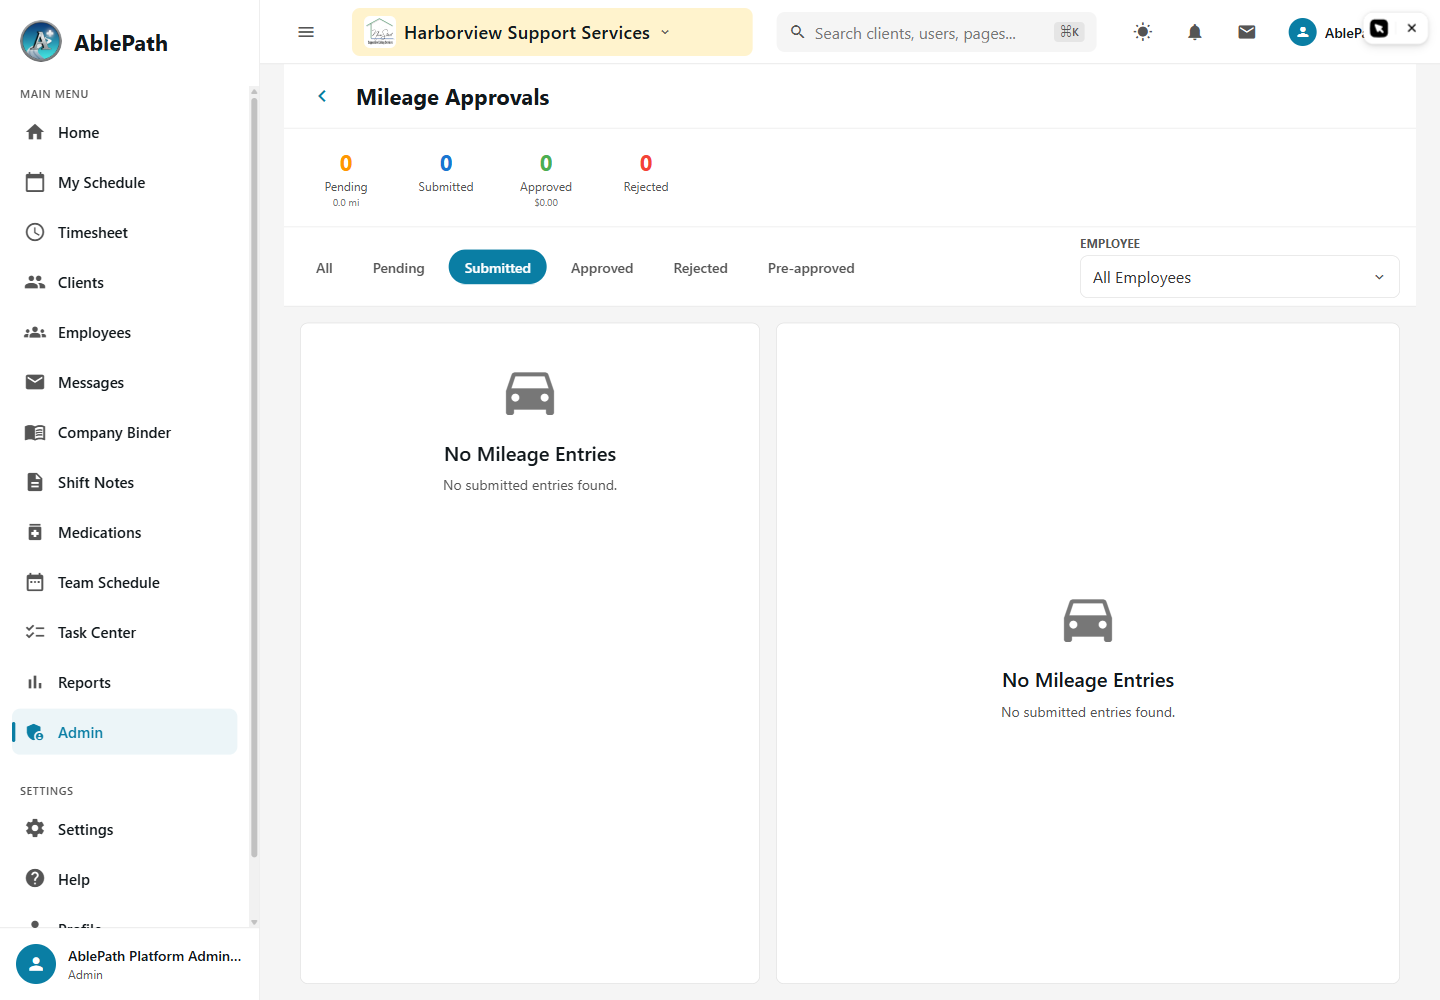
Review mileage submissions
Screen reference: Review mileage submissions. Click to enlarge.
Filter by status (defaults to Submitted) or by employee.
Open an entry to see its detail — GPS-tracked trips render an actual driving route on a map; manual entries show address text instead.
Approve (optional notes) or Reject (a reason is required).
Select multiple entries to bulk-approve at once.
GotchaOpened from a specific employee's profile, the status filter clears automatically so you see all of that person's mileage, not just pending entries.
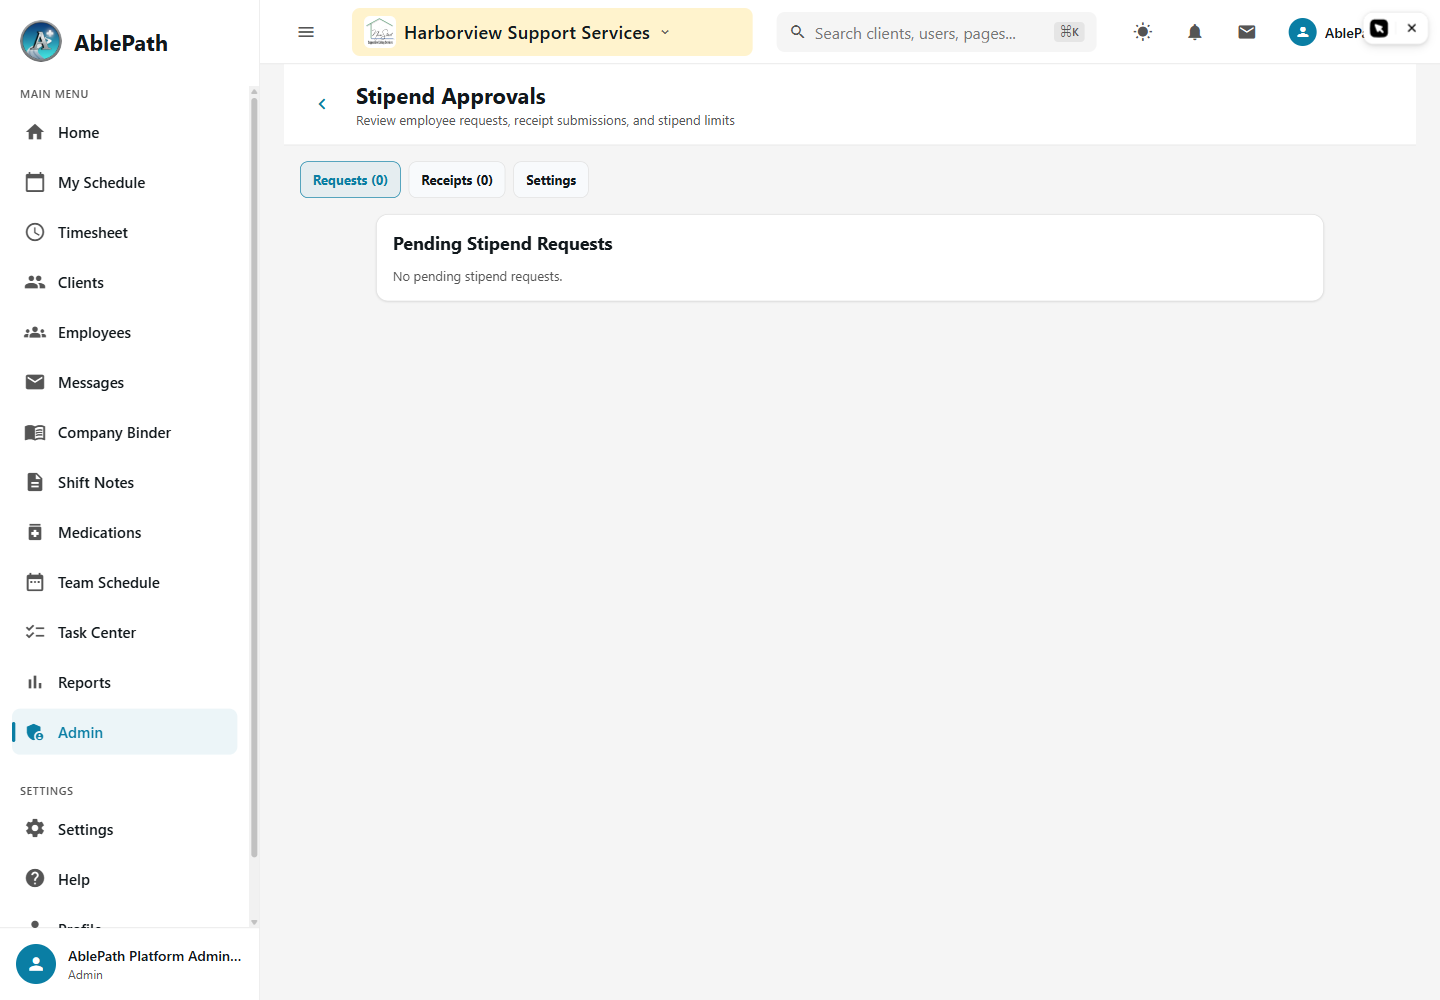
Review stipend requests and receipts
Screen reference: Review stipend requests and receipts. Click to enlarge.
Switch between the Requests, Receipts, and Settings tabs.
On Requests/Receipts: Approve, or Reject with a required reason.
On Settings: toggle Require Receipt Approval, choose which stipend types require a receipt (Automobile and Wellness by default), and set default annual limits per type.
Gotcha"Advance" is a stipend type but is deliberately excluded from the annual-limit settings — advances aren't capped the way other stipend types are.
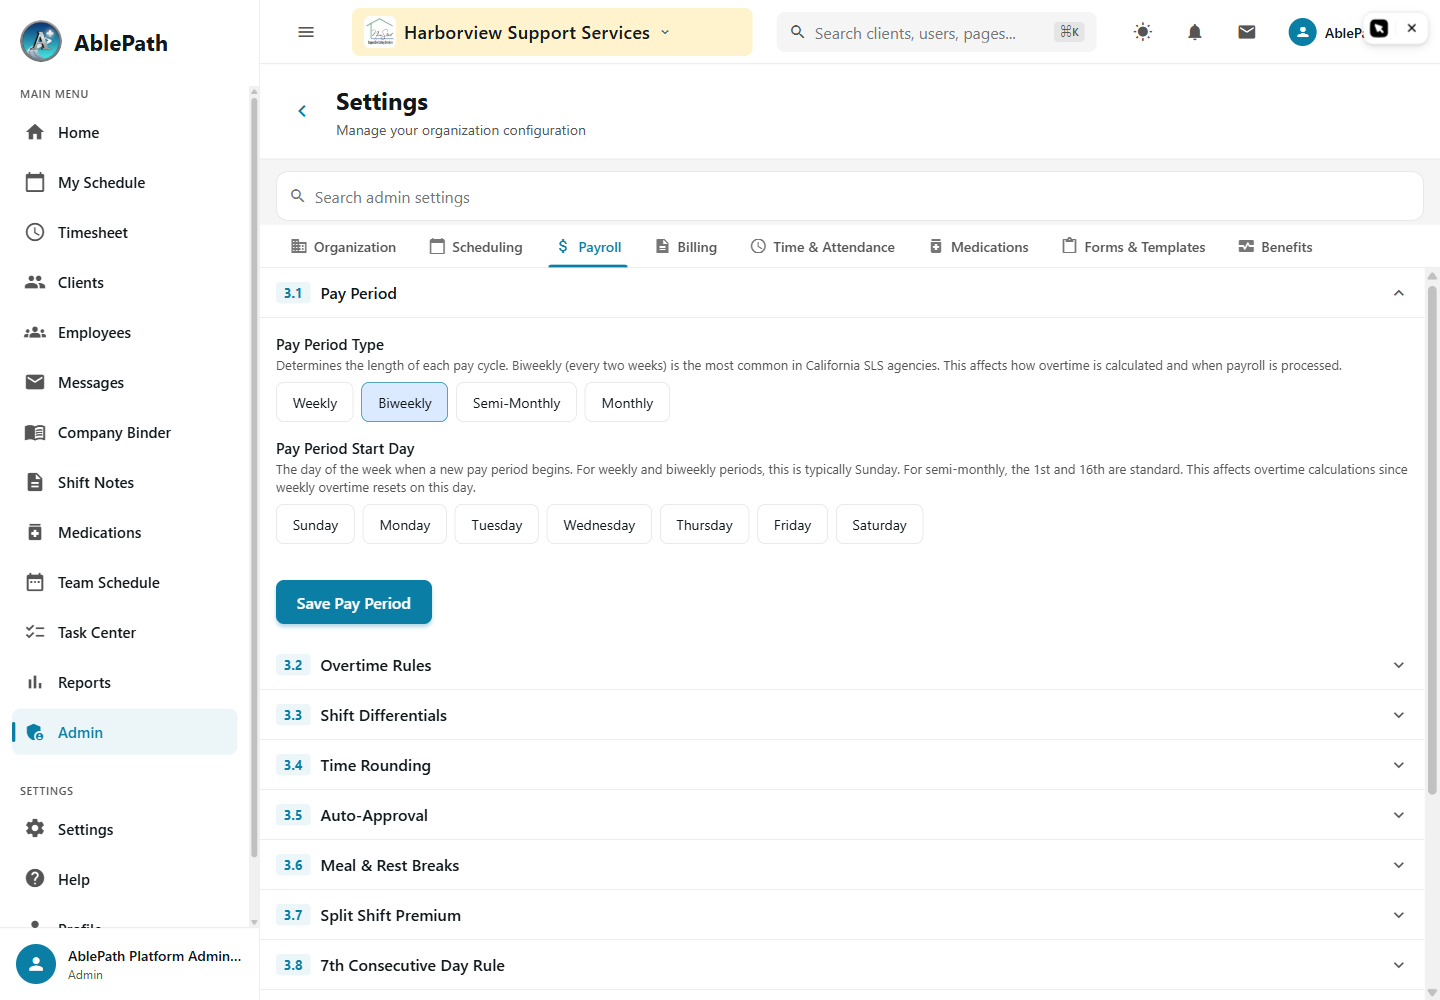
Configure overtime, holiday, and pay-rate rules
Screen reference: Configure overtime, holiday, and pay-rate rules. Click to enlarge.
WhoManager and aboveWhereAdmin tab → System Config → Settings Hub → Payroll tab
Open Settings Hub → Payroll, or the Payroll Settings shortcut under Payroll & Expenses.
Expand the section you need: Overtime Rules, Shift Differentials, Holidays or Bulk Pay Rate Updates.
Review the values and use that section’s named Save action. For a bulk rate change, review the selected population and effective date before Create Update.
Wait for confirmation and reopen the section to check the saved values.
GotchaPayroll Settings in Admin → Payroll & Expenses opens this same Settings Hub tab. Use either that shortcut or Settings Hub → Payroll.
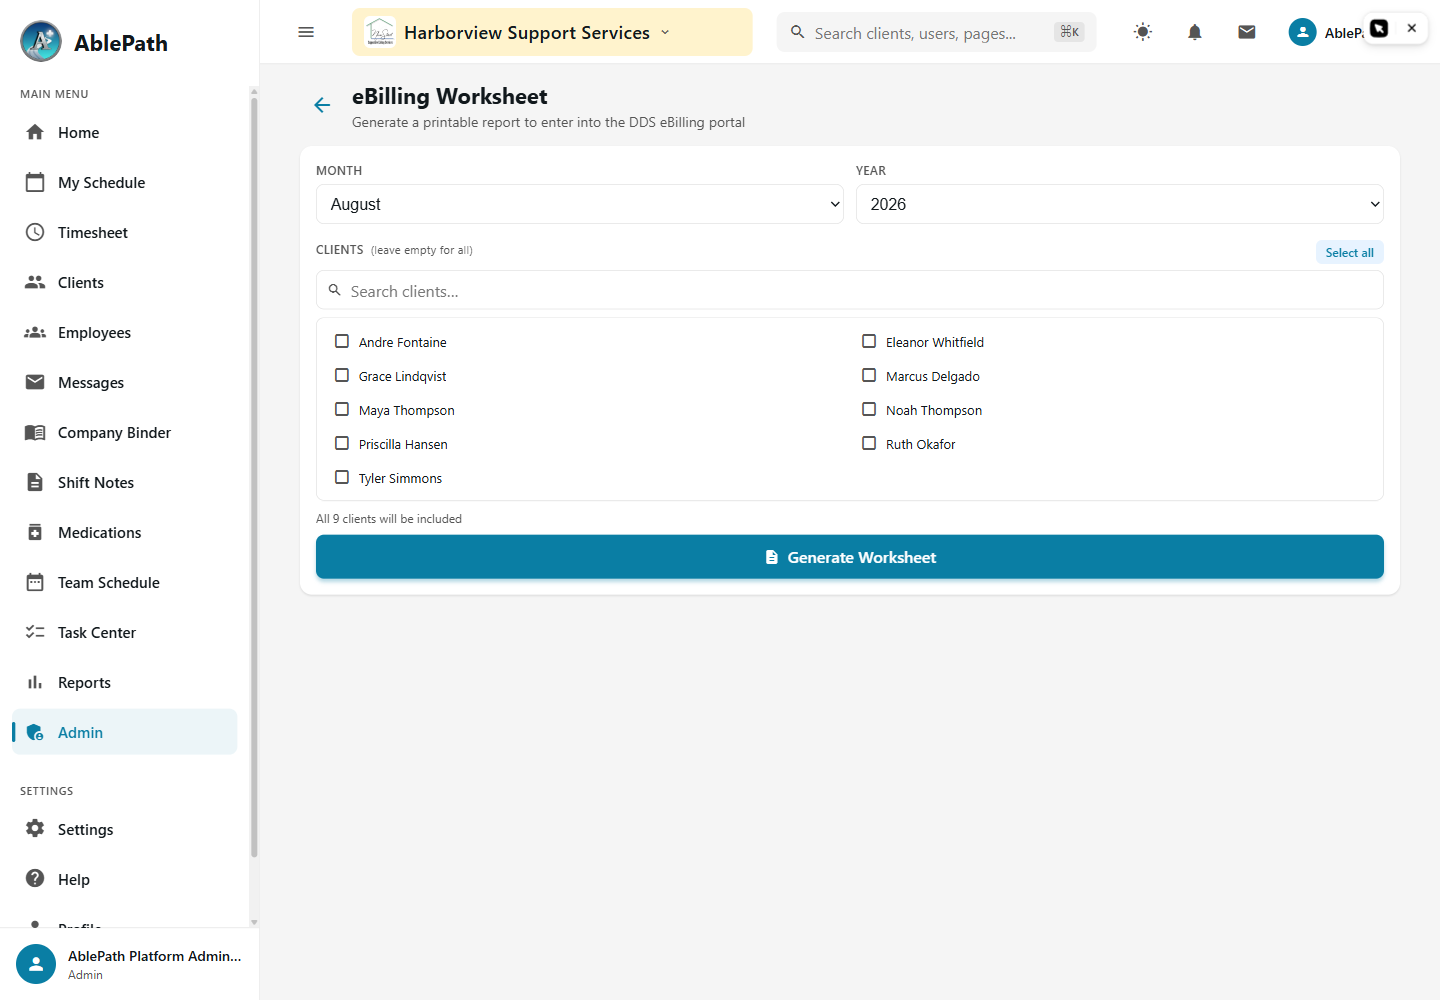
Generate a printable eBilling worksheet
Screen reference: Generate a printable eBilling worksheet. Click to enlarge.
WhoAnyone with the billing.claims permissionWhereAdmin tab → Billing & Payers → eBilling Worksheet
Pick a month/year (defaults to last month) and optionally filter to specific clients.
Generate — produces a calendar-style worksheet per client with daily billable hours, clock-in/out times, and an authorization utilization summary.
Days where hours exceeded the authorization cap show an inline "not billed" warning.
GotchaThis is a print/reference layout, not a submission — it doesn't track or export anything on its own. Use it to sanity-check a billing period before running the real DDS eBilling export, or to keep as a paper record.
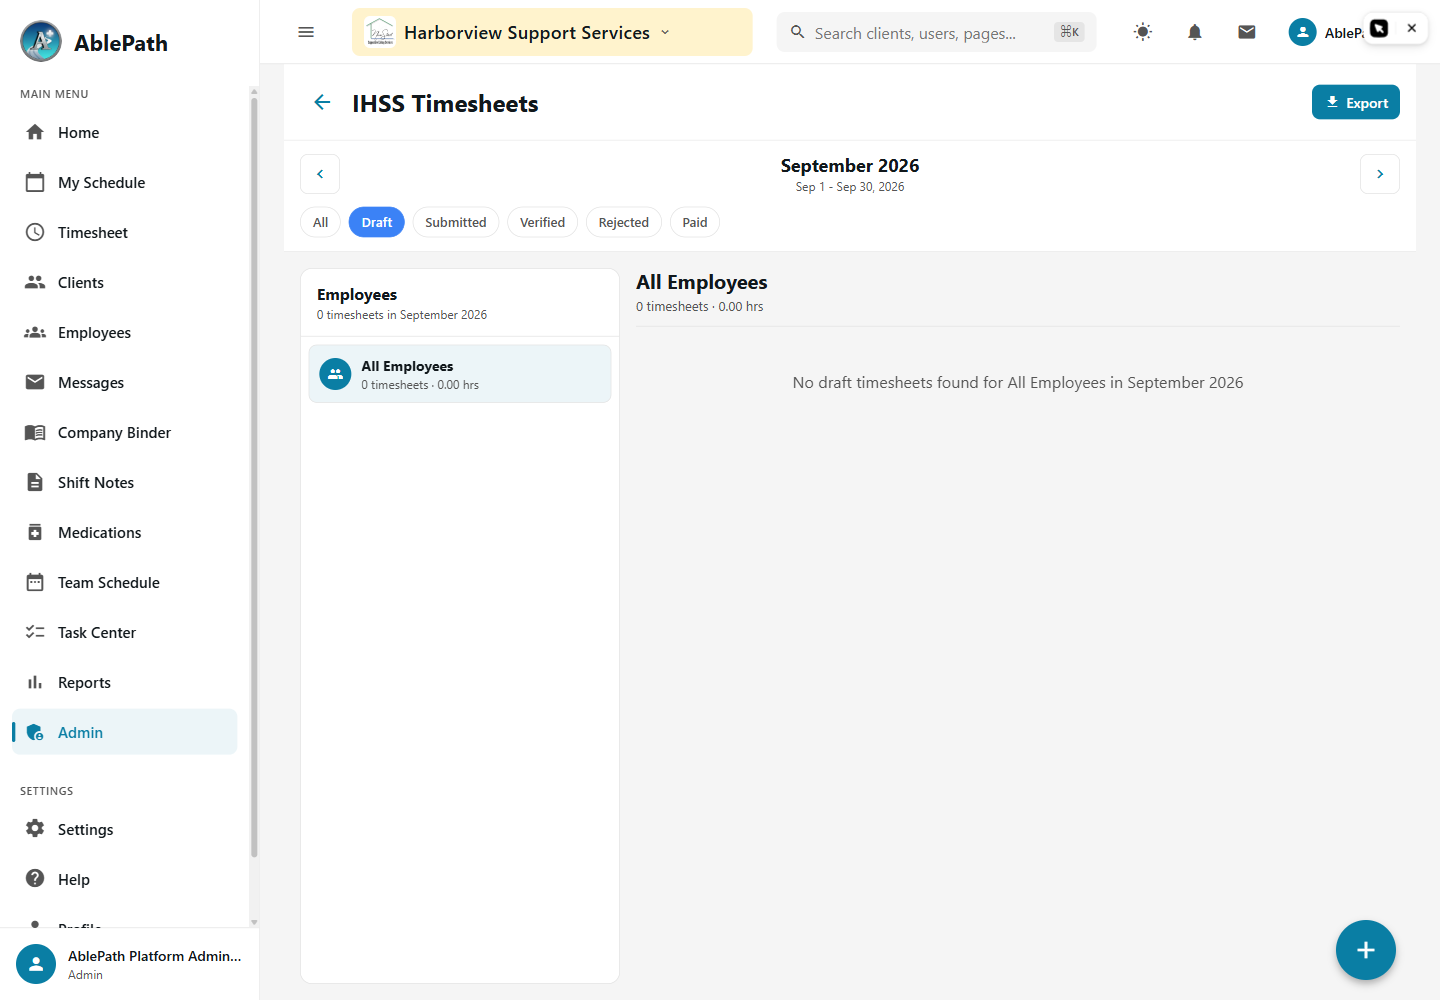
Review and approve IHSS timesheets
Screen reference: Review and approve IHSS timesheets. Click to enlarge.
WhoManager and aboveWhereAdmin tab → IHSS → IHSS Timesheets
Browse timesheets by month — each records location type and hours.
Review and approve or reject per the IHSS-specific workflow.
GotchaThis is separate from the general Timesheet Review screen used for SLS/ILS staff — IHSS timesheets follow county rules, not the organization's standard payroll rules.
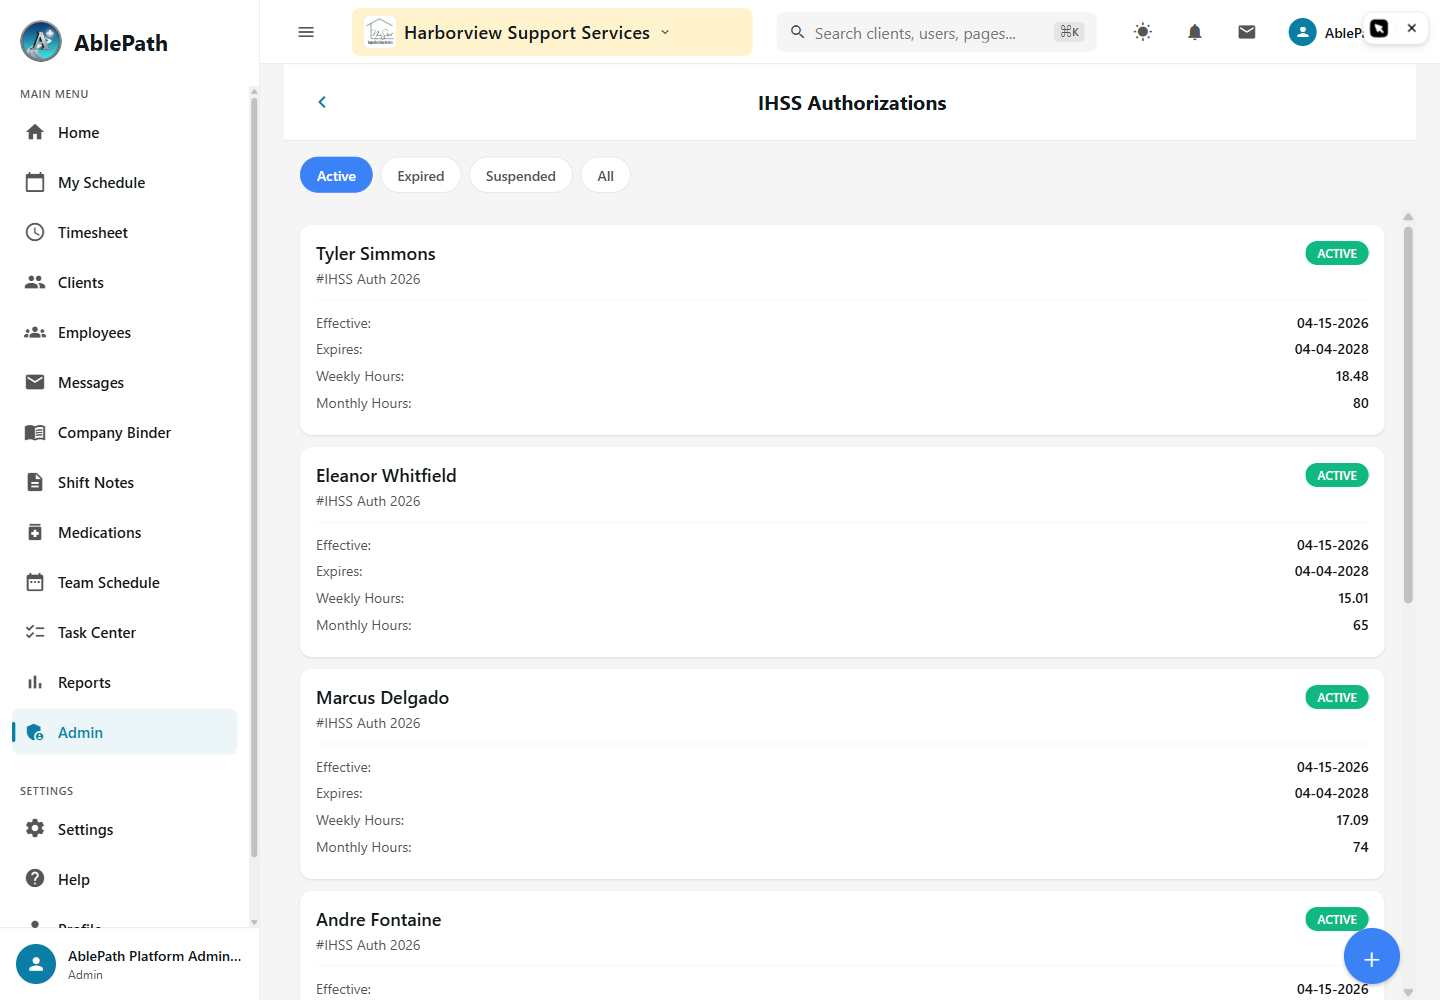
Manage client IHSS authorizations
Screen reference: Manage client IHSS authorizations. Click to enlarge.
WhoManager and aboveWhereAdmin tab → IHSS → IHSS Authorizations
Filter by status.
Each authorization shows client name, authorization number, status, effective/expiration dates, and weekly hours.
Add or edit an authorization for a specific client.
GotchaThis is the IHSS-specific authorization record with its own number and dates — distinct from the generic Add Authorization flow used for RC and Private Pay, even though both ultimately track hours against a client.
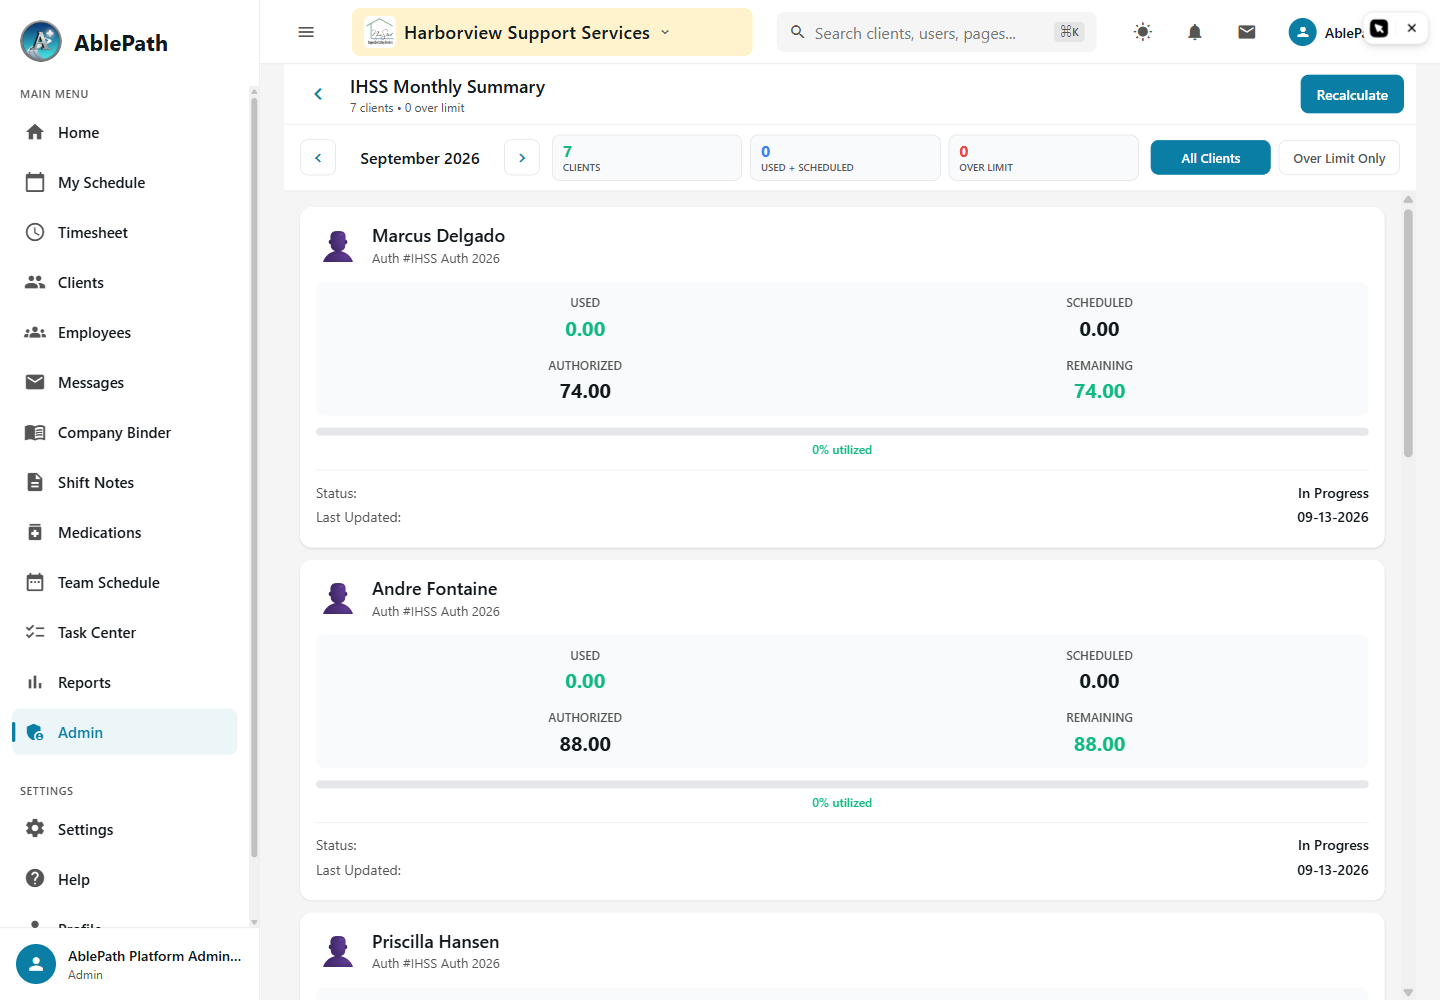
Track monthly IHSS hours and compliance alerts
Screen reference: Track monthly IHSS hours and compliance alerts. Click to enlarge.
Monthly Hours Summary: pick a month to see each client's authorized vs. used vs. scheduled hours, filterable to Over Limit, with a Recalculate action to refresh totals.
Compliance Alerts: filter by severity (Critical/High/Medium/Low) for clients approaching or exceeding their authorized IHSS hours this month.
GotchaBoth screens compute from the same underlying authorization data — if a client's hours look wrong in one, check the other, since they're the same numbers presented two ways (raw summary vs. severity-ranked alerts).
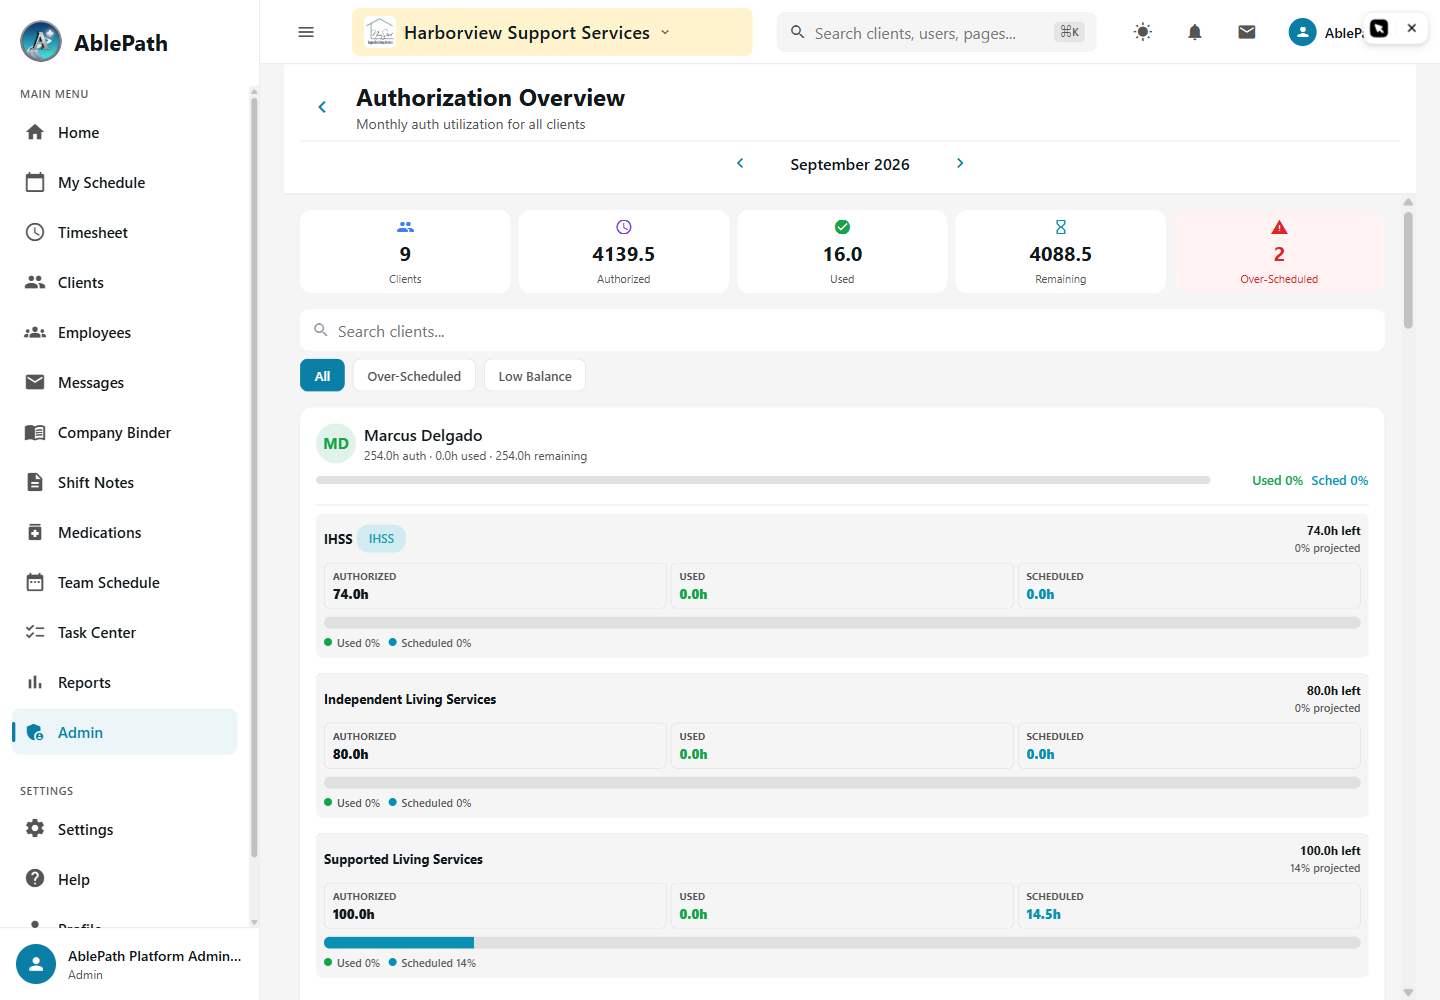
View authorization usage across all clients
Screen reference: View authorization usage across all clients. Click to enlarge.
WhoManager and aboveWhereAdmin tab → Client Services → Authorization Overview
Step through months with the prev/next controls.
See every client with total authorized, used, and scheduled hours, a per-service-type breakdown, and a flag for anyone over-scheduled relative to their authorization.
Search and filter by status.
GotchaThis spans all authorization types (RC, IHSS, Private Pay) in one view — use it for a cross-program caseload check, and use the program-specific screens (IHSS Monthly Summary, RC billing reports) when you need program-specific detail or actions.
Finance oversight
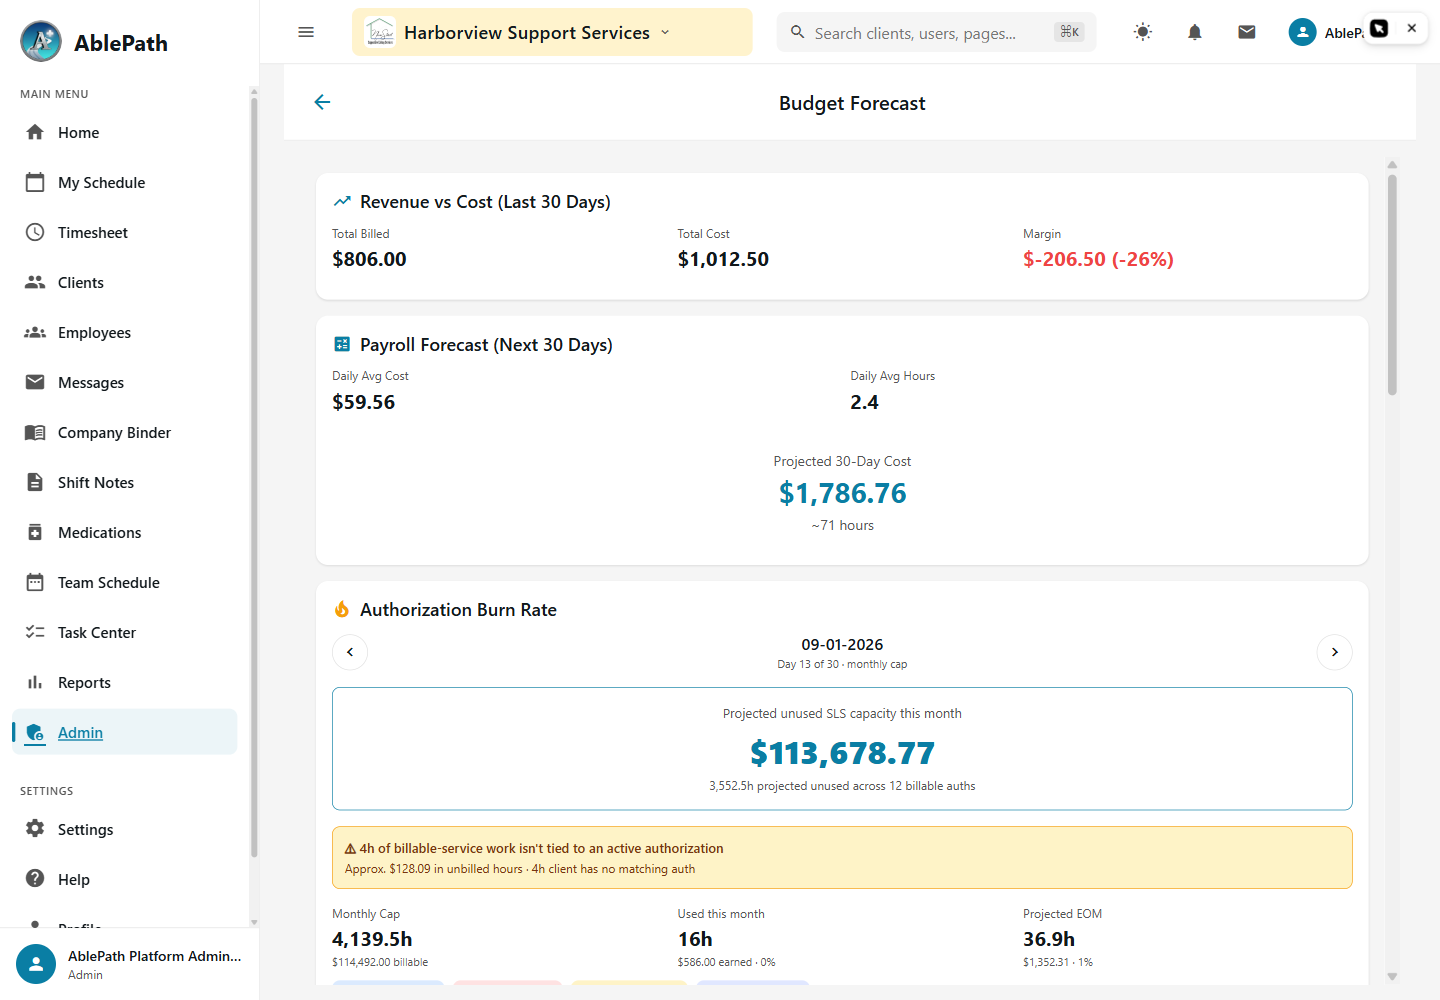
Review the budget forecast
Screen reference: Review the budget forecast. Click to enlarge.
Review the authorization burn summary (utilization and "opportunity" per client, expandable and searchable), a payroll forecast, and a revenue forecast — Total Billed, Total Cost, and Margin, colored green if positive and red if negative.
GotchaThe three data sources load independently — if only one fails to load, the page still shows the other two rather than a blank error screen. A fully blank page means all three failed at once, which is worth escalating.
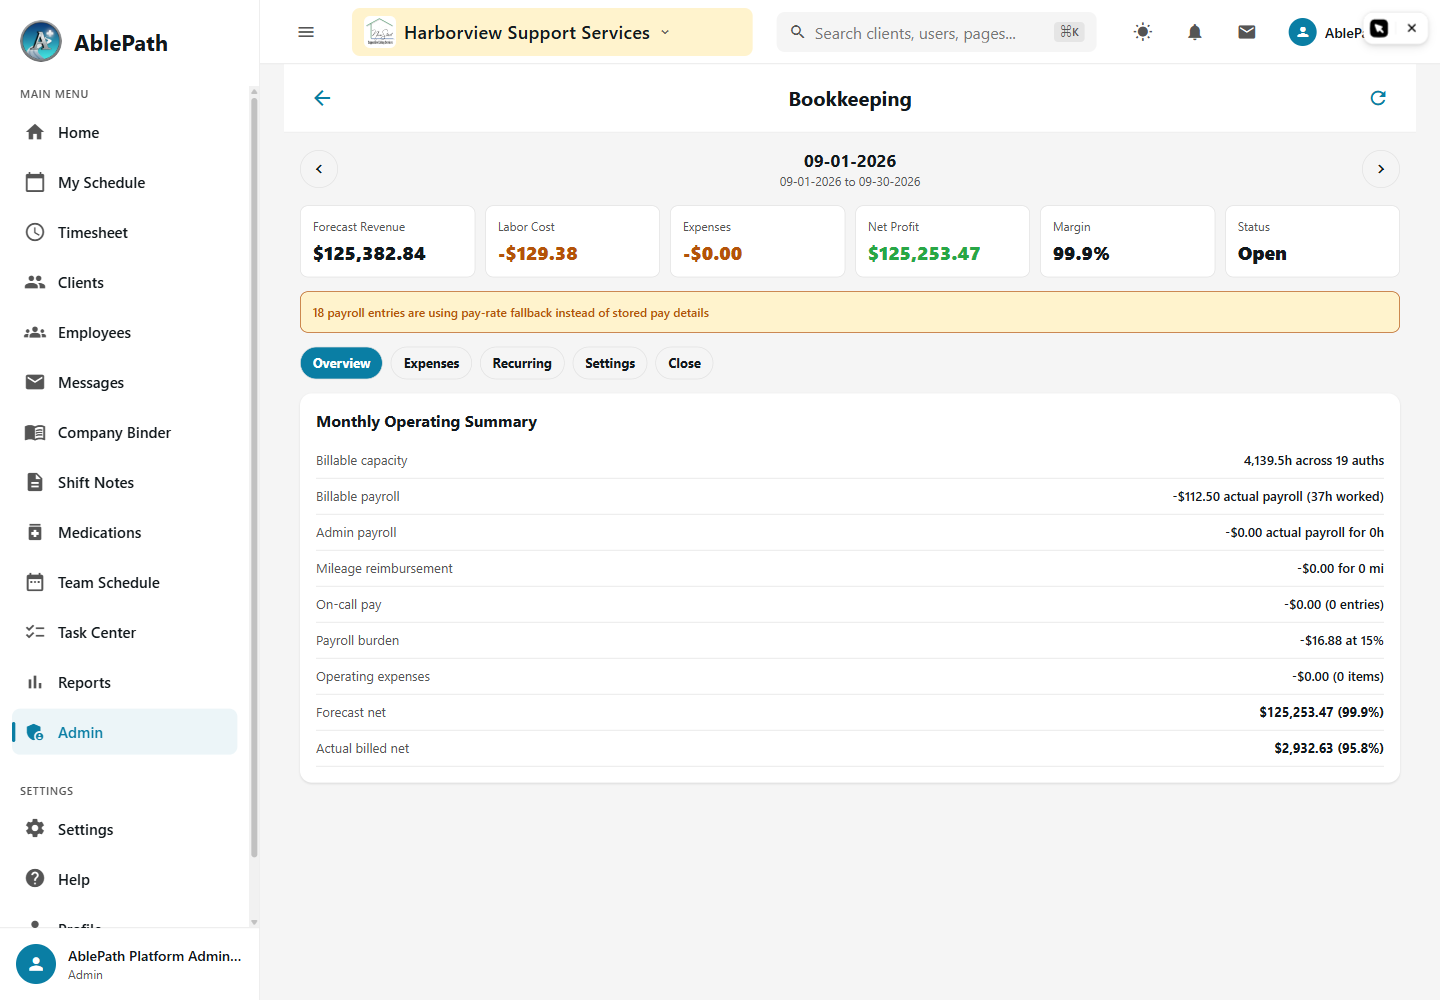
Manage the Bookkeeping Center
Screen reference: Manage the Bookkeeping Center. Click to enlarge.
WhoAdmin onlyWhereAdmin tab → Billing & Payers → Bookkeeping Center
Pick a month to see period close status, revenue (forecast vs. actual billed), labor costs (billable payroll, admin payroll, on-call, mileage, payroll burden), expenses, and profit/margin.
Add a one-off Expense (vendor, amount, category, date, status, notes) or a Recurring Expense (same fields plus frequency and an auto-post toggle).
Close or reopen the month once actuals are finalized.
GotchaThis month-close lifecycle is separate from payroll's own Pay Periods lifecycle. Check the warnings list (e.g. missing pay-rate data) before treating a closed month's numbers as final.
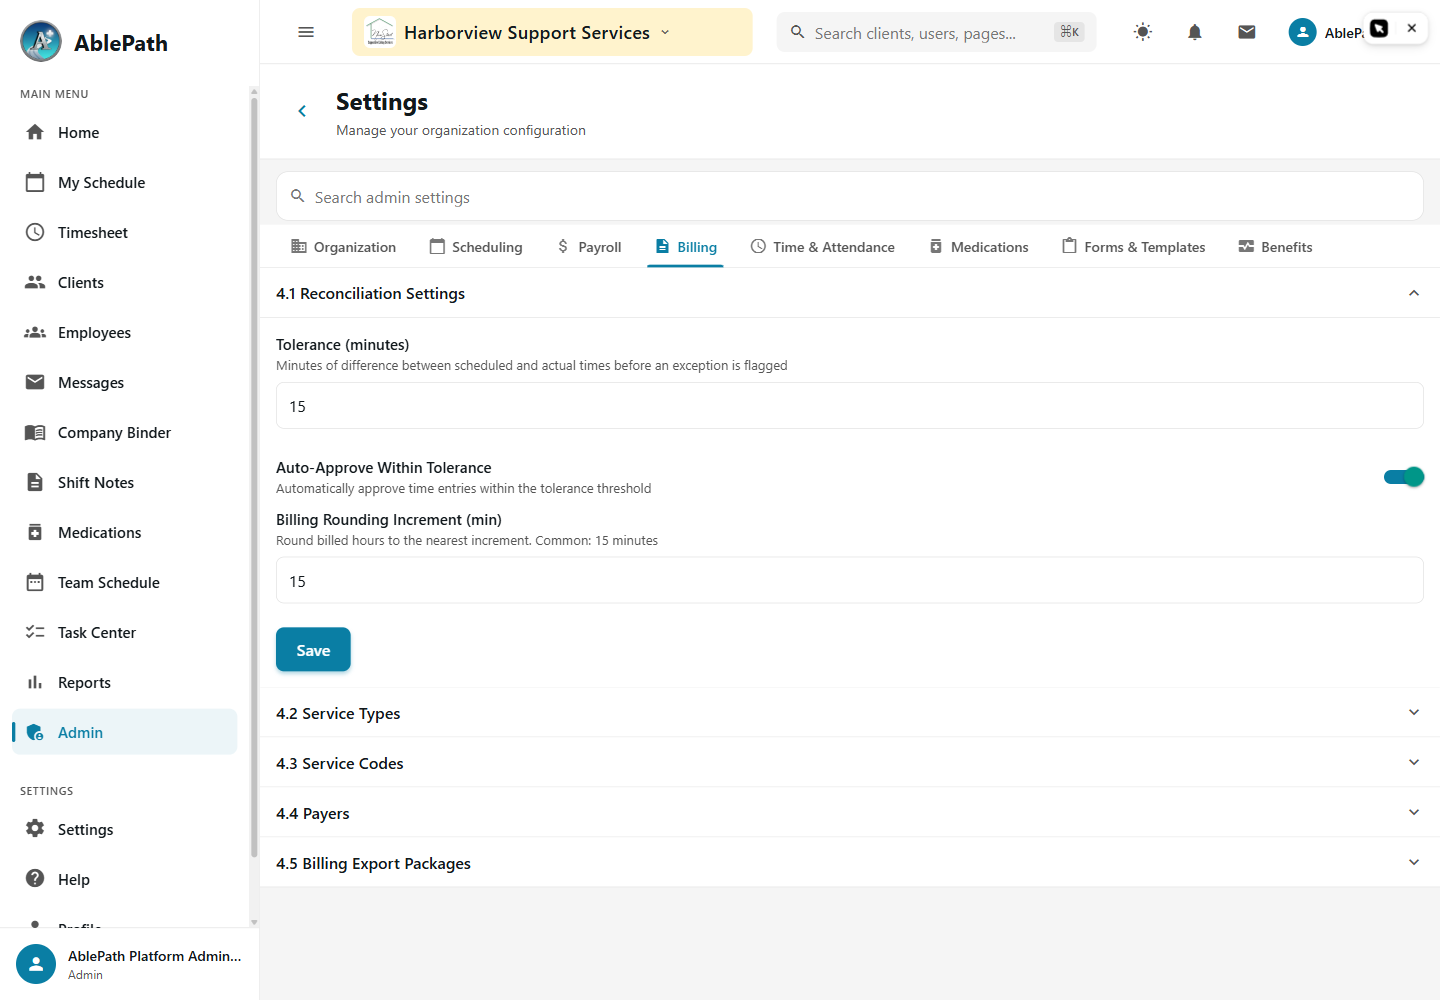
Configure billing settings
Screen reference: Configure billing settings. Click to enlarge.
WhoAnyone with the admin.billing_config permissionWhereAdmin tab → System Config → Settings Hub → Billing tab
Open Settings Hub → Billing, or the Billing Settings shortcut under Billing & Payers.
Expand Reconciliation Settings to set tolerance, auto-approval and billing rounding; use its Save button.
Expand Service Types, Service Codes or Payers to review the lists. Open or manage the relevant item in its dedicated screen and save there.
Confirm the saved values before preparing the next billing export.
GotchaBilling Settings in Admin → Billing & Payers opens this same Settings Hub tab. Benefits Settings and Payroll Settings also have shortcuts to their respective tabs.
Submit and track EVV exports
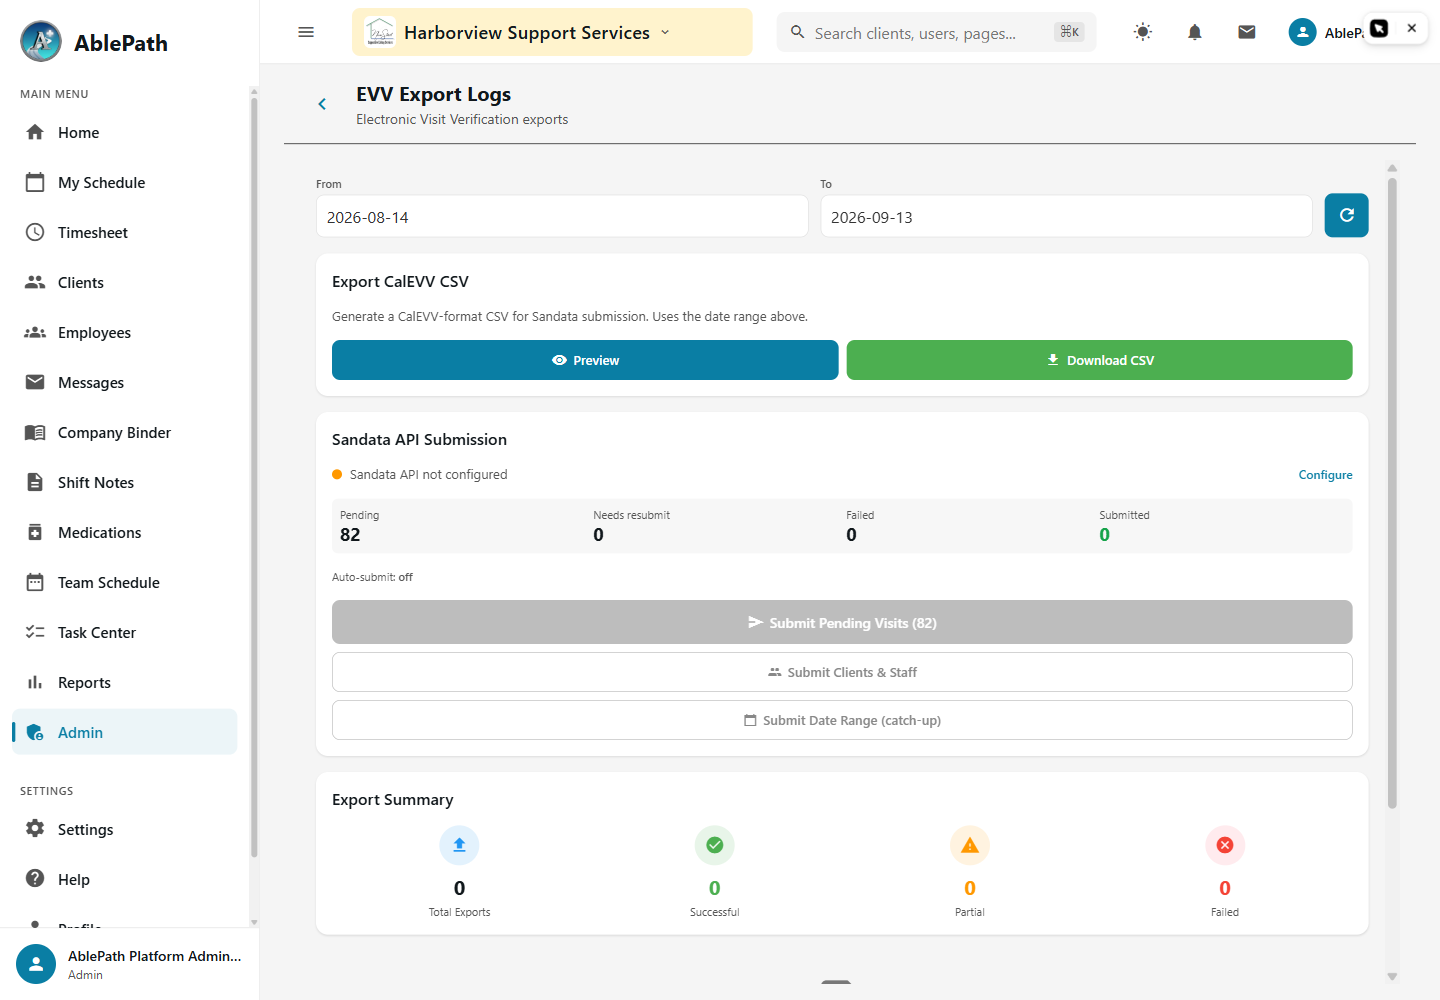
Screen reference: Submit and track EVV exports. Click to enlarge.
Set a date range (defaults to the last 30 days) and review past export logs.
Run a CalEVV preview/export directly from this screen.
If Sandata API integration is configured, submit visits by environment (UAT vs. production), check submission status per batch, and view the per-org queue (pending / needs-resubmit / failed / submitted) along with auto-submit configuration.
GotchaThis is the actual submission mechanism — distinct from the EVV Compliance screen, which only monitors compliance stats and verification photos without submitting anything. If a client's visits aren't reaching the aggregator, check here, not EVV Compliance.
Set SLS premium/standard staffing hours for a client
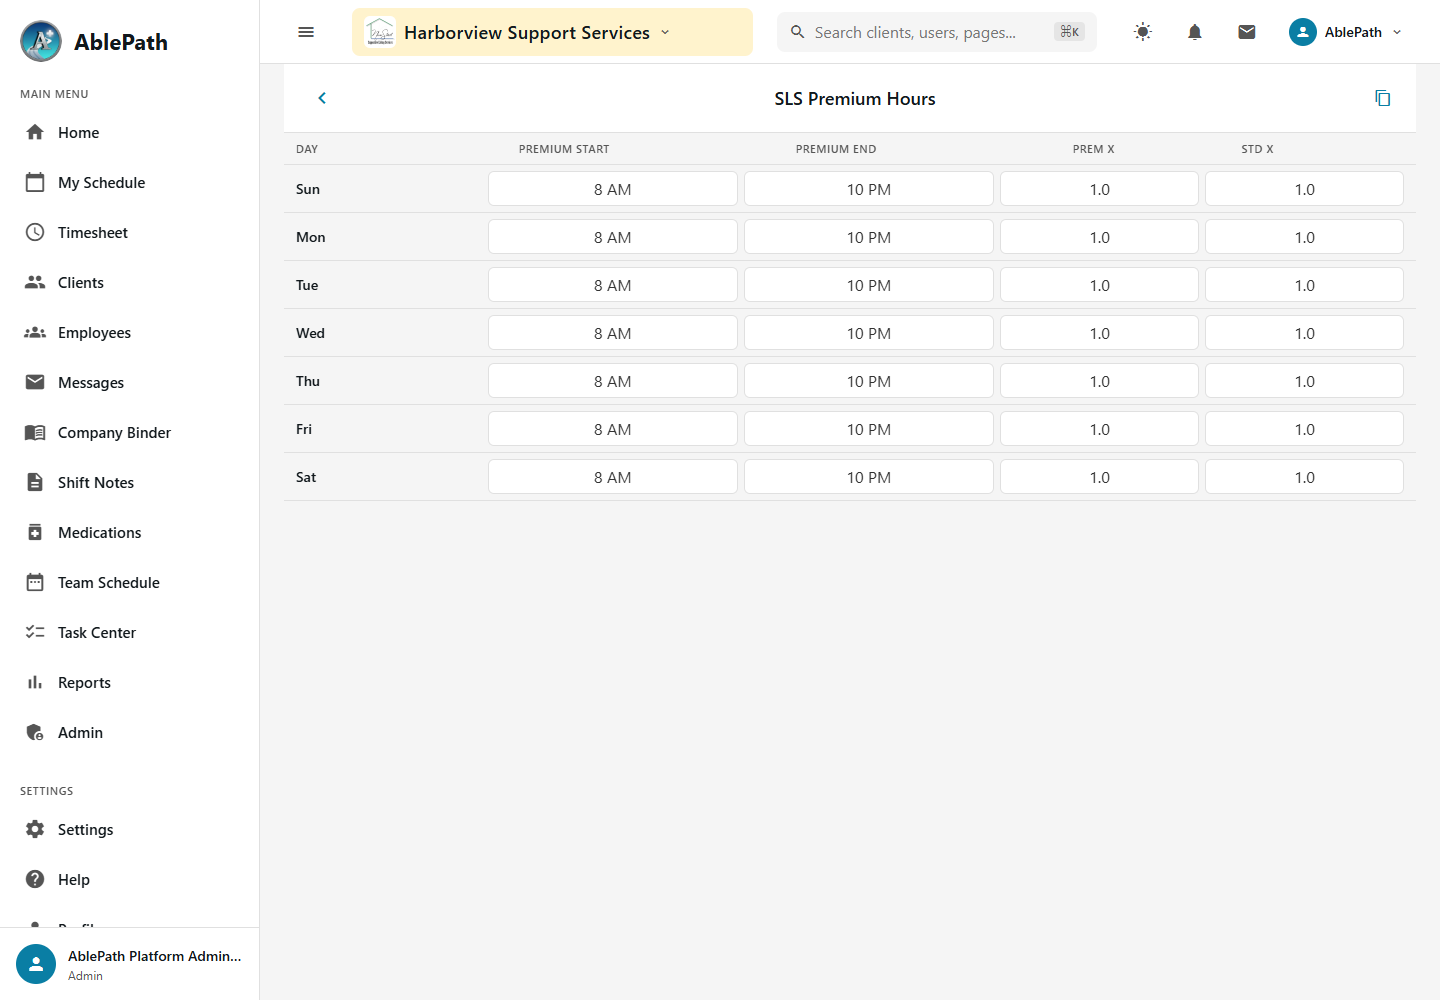
Screen reference: Set SLS premium/standard staffing hours for a client. Click to enlarge.
For each day of the week, set a Premium Start/End time.
Set a Premium Rate Multiplier and a Standard Rate Multiplier for that day.
All seven days are editable inline at once.
GotchaThis is per-client only — there's no org-wide SLS hours dashboard. Times display in 12-hour format but are stored as 24-hour internally, so stick to the picker rather than typing an unusual format.